
Results 21 to 30 of 40
 19Likes
Thread: New aquisitions
 LinkBack URL
 About LinkBacks
-
07-12-2015, 02:51 PM #21Member

- Join Date
- Jul 2015
- Location
- NH, USA
- Posts
- 49
Thanked: 7
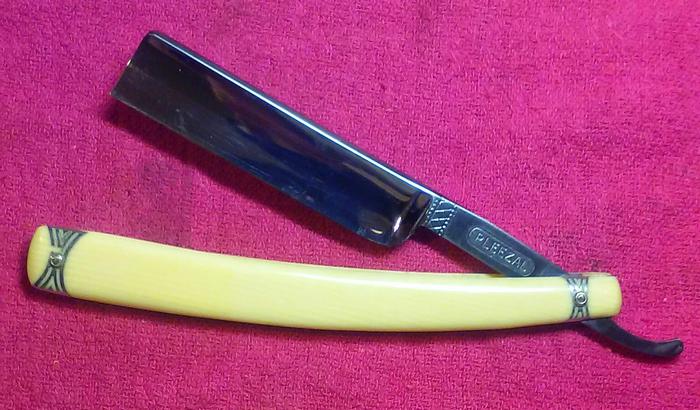
Paid $35 for both straights and a Treet SE safety razor. [emoji39] so I'm not exactly stressing about the investment.
-
07-12-2015, 03:10 PM #22Senior Member


- Join Date
- Mar 2015
- Location
- Akron, Ohio
- Posts
- 12,090
Thanked: 4312
Well you did good then. Originally Posted by PARTSGUYNH

Thats how i like to find them ( cheap). The most I've spent for a vintage straight was $45.
Made in 1905 and had never been honed or used. Had a very small chip in the blade that honed out quickly
And my cheapest was only$6.
Their out there, just have to look around. All mine have come from, that I've paid for( a few were given to me) from antique malls&stores.
And flea markets
-
07-12-2015, 03:16 PM #23Member
- Join Date
- Jul 2015
- Location
- NH, USA
- Posts
- 49
Thanked: 7
Yeah, I like finding them cheap and hopefully finding diamonds in the rough, or aquiring something special from someone who doesn't know or doesn't care what they have. I'm going to see what I can put together for an interesting and maybe valuable collection with minimal investment.
-
The Following User Says Thank You to PARTSGUYNH For This Useful Post:
outback (07-12-2015)
-
07-12-2015, 03:55 PM #24Senior Member
- Join Date
- Mar 2012
- Location
- Thunder Bay, Ontario, Canada
- Posts
- 17,324
Thanked: 3228
Yea, that is the point of doing the bevel set first as you only have so much metal you can remove from the blade sanding it down you may wind up there anyway. Easier to see what you've actually got by bevel setting than sanding and much less work too. If it will take a good bevel it might then be worth investing the time in sanding the rest of the blade. As a razor for practicing restoring on you really did get more than you moneys worth on that on though. Have fun with it. Originally Posted by PARTSGUYNH
BobLife is a terminal illness in the end
-
The Following User Says Thank You to BobH For This Useful Post:
outback (07-12-2015)
-
07-12-2015, 04:12 PM #25Member
- Join Date
- Jul 2015
- Location
- NH, USA
- Posts
- 49
Thanked: 7
What's the suggestion there? One layer of tape on the spine and take it to the 1000 grit?
-
07-12-2015, 04:53 PM #26Senior Member
- Join Date
- Mar 2015
- Location
- Akron, Ohio
- Posts
- 12,090
Thanked: 4312
Personally 3-4 till you reach good steel then go to 1 .
The higher the angle the quicker you remove steel.
Once you reach good steel go to1 layer. THEN set the bevel.
Works for me. YMMVMike
-
07-12-2015, 04:56 PM #27Member
- Join Date
- Jul 2015
- Location
- NH, USA
- Posts
- 49
Thanked: 7
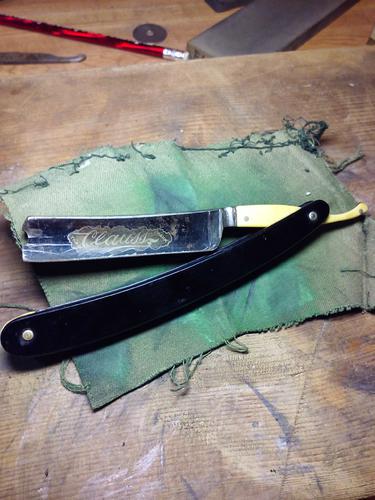
That's what I figured, that's why I started at 3 last night to get rid of the serrated edge.
Hart likes this.
-
07-12-2015, 05:12 PM #28Senior Member
- Join Date
- Mar 2015
- Location
- Akron, Ohio
- Posts
- 12,090
Thanked: 4312
Do you have magnification?
Being photographer you probably do. I use mine to check for pits in the bevel that cant be seen by the eye. Also how deep in relation to the blade thickness. If its going to make it too thin just sand out what you can or you might destroy the blade.
Live an learn, i did it myself.
The toe was so thin, it would flex at the slightest pressure ( dammit! )
Just had to try and make it perfect. Not anymore, if it's deep it's still there, at least whats left after removing the rest. Again YMMV
-
07-12-2015, 09:33 PM #29Member
- Join Date
- Jul 2015
- Location
- NH, USA
- Posts
- 49
Thanked: 7
Outback, I shoot digital. To magnify I hold the control button and press the + key until I'm as close as I want to be. Haha. I'm going to have to invest in some real time magnification for working on fine edges.
-
07-12-2015, 10:13 PM #30Senior Member
- Join Date
- Mar 2015
- Location
- Akron, Ohio
- Posts
- 12,090
Thanked: 4312
I picked up a jewlers loupe yesterday while i was at the flea market.
It works great, just rather had one that clips on my glasses.
Only$5. Its 20x21mm


 Reply With Quote