
Results 1 to 10 of 16
 69Likes
 LinkBack URL
 About LinkBacks
-
06-13-2018, 06:02 PM #1Razor Vulture


- Join Date
- Oct 2010
- Location
- Lone Star State
- Posts
- 26,123
Thanked: 8612 Some projects with a few old strops
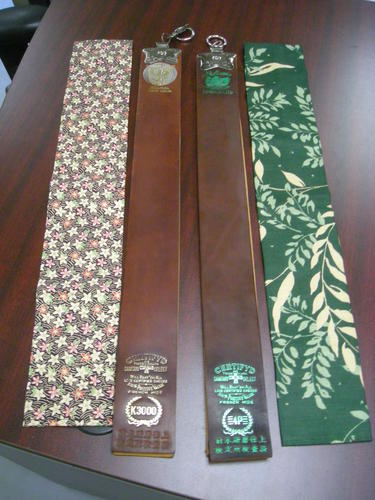
Some strop projects to-day...
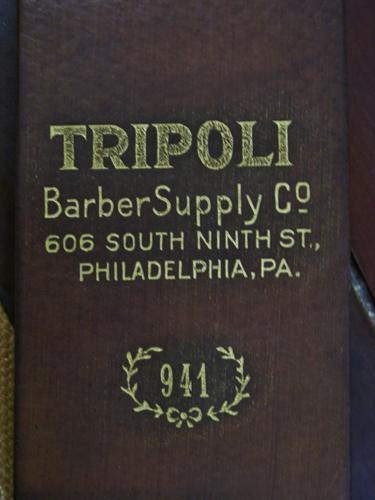
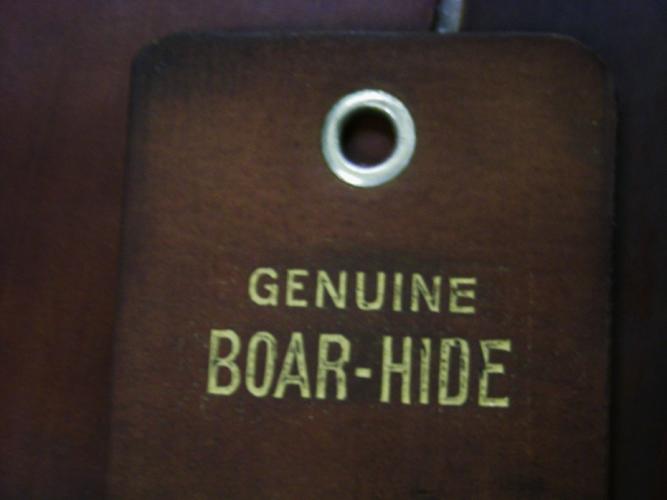
Figured a way to get some gold into the stampings on my old Tripoli boarhide strop.
Looks pretty good. Lotsa work...
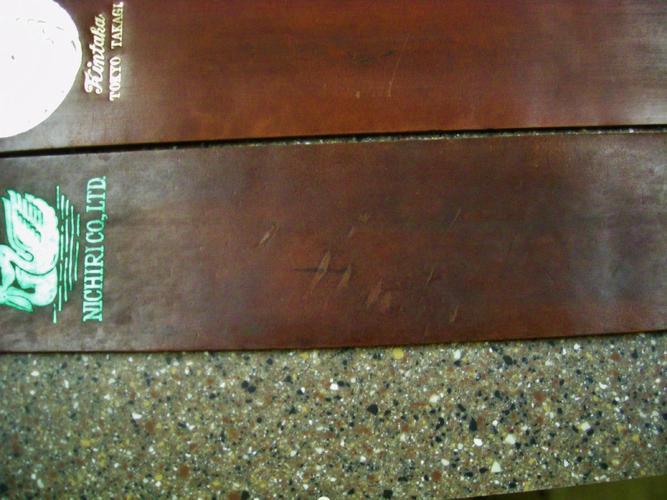
Took down some old Kanoyama projects I have been contemplating.
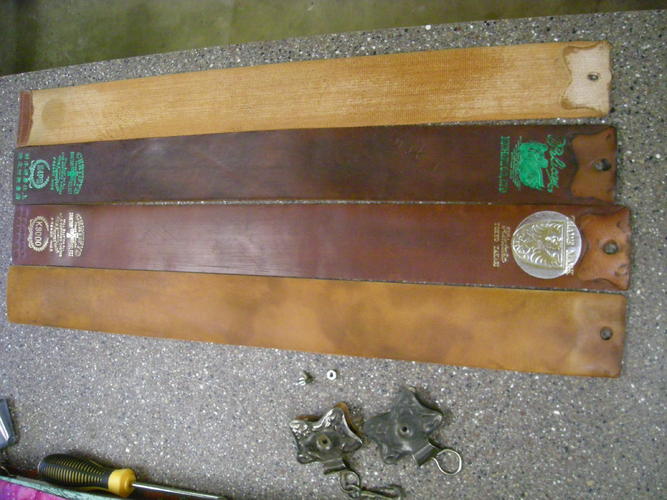

Too bad the former owner in Japan must have used these on tools or something.
Lengthwise scratches on them, the K3000 is not so bad. The 4P, however, has several light gouges where the user must have gotten carried away while setting a chisel or something down.
No flaps, yet some light gouges.
Think I will play with the 4P first. Some light sanding will be involved.
Don't think they will come out. Reckon I will get it usable, anyway.
I suppose I cannot screw it up any more than it is if I go lightly.
-
The Following 5 Users Say Thank You to sharptonn For This Useful Post:
Butzy (06-14-2018), Martin103 (06-15-2018), MedicineMan (06-14-2018), ScoutHikerDad (07-25-2018), Toroblanco (06-15-2018)
-
06-13-2018, 07:23 PM #2Senior Member


- Join Date
- Jun 2013
- Location
- archbold ohio
- Posts
- 2,378
Thanked: 546
Nice! How do you get gold back into the lettering?
sharptonn and Toroblanco like this.
-
06-13-2018, 09:26 PM #3Razor Vulture
- Join Date
- Oct 2010
- Location
- Lone Star State
- Posts
- 26,123
Thanked: 8612
After some experimentation, I sanded the area with 1000 wet/dry using a block really good to try and eliminate any irregularities around the stamps which would hold the gold (rubNbuff). Originally Posted by tintin

Then, a piece of printer paper very lightly smeared with mink oil rubbed lightly over the stamps to help the gold come off the top as best possible. Rubbed in just enough gold to completely fill the letters and began with a dry paper towel around and in between the text.
Then, a paper-towel with mink-oil absorbed to do same.
I basically then alternated the fine sandpaper block and the mink-oil towel until it looked best while avoiding pressure which would remove it from the stamps.
LOTS of hand/finger-work.
I could have gone over it again for better results, I think.
Yet I called it good enough, for I am lazy!
Last edited by sharptonn; 06-14-2018 at 04:03 AM.
-
The Following 8 Users Say Thank You to sharptonn For This Useful Post:
Diboll (06-14-2018), Gasman (06-15-2018), Geezer (06-13-2018), markbignosekelly (06-14-2018), Martin103 (06-15-2018), MikeB52 (06-14-2018), Slawman (10-25-2018), Toroblanco (06-15-2018)
-
06-13-2018, 09:29 PM #4Senior Member


- Join Date
- Oct 2013
- Location
- Oakland Tn
- Posts
- 6,588
Thanked: 1894
you can send the Pelican my way to help you test the work you do it ! Tc
I,m getting the impression that everyone thinks I have TIME to fix their bikes
-
The Following User Says Thank You to tcrideshd For This Useful Post:
sharptonn (06-13-2018)
-
06-13-2018, 09:56 PM #5Razor Vulture
- Join Date
- Oct 2010
- Location
- Lone Star State
- Posts
- 26,123
Thanked: 8612
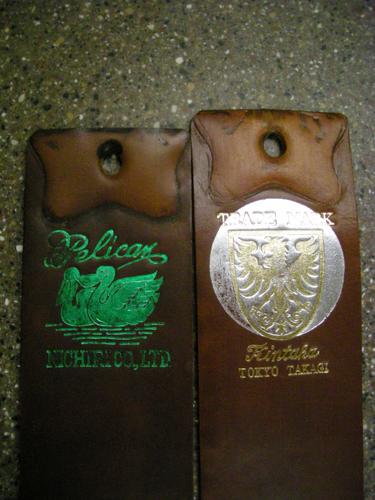
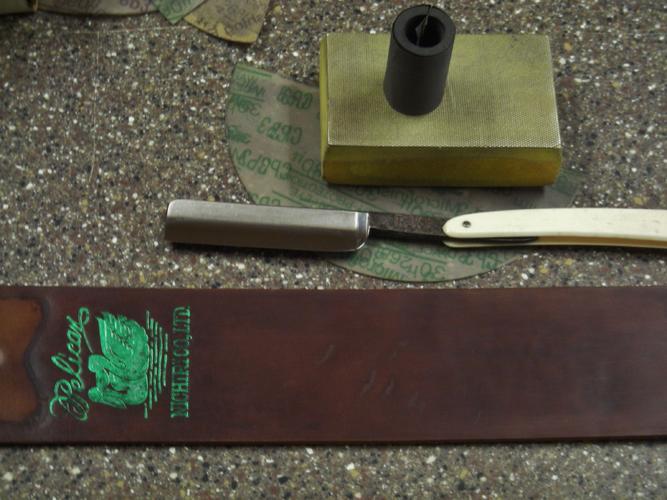
After several passes, my Pelican strop is definitely usable.
I settled on 325 on a piece of rubber hose on the problem spots, followed by block sanding the whole thing with a 500 Diapad up and down to smooth it out. I then wiped the dust off with a damp microfiber and allowed to dry for a half hour and lightly hit everything with a 30 mesh diamond paper to smooth.
Damp microfiber again and allow to dry again.
Constantly cleaning the leather off the abrasives goes without saying.
Repeat!
Just stropped a razor on it and it is fine. I will go a while longer for cosmetic purposes and then a progression of micromesh. Then some mink oil.
What I DON'T want to do is sand off the shell anywhere. Looking at the sides, it seems thick enough yet.
Last edited by sharptonn; 06-14-2018 at 04:30 AM.
-
06-14-2018, 12:44 AM #6Str8Faced Gent.


- Join Date
- Aug 2013
- Location
- Orangeville, Ontario
- Posts
- 8,456
- Blog Entries
- 1
Thanked: 4207
Nice work on the Golding Tom, as well as the refurb on the pelican.
Took a strong resolve to start rubbing that horsehide I reckon..
Worthy results as per pics.
 "Depression is just anger,, without the enthusiasm."
Steven Wright
https://mobro.co/michaelbolton65?mc=5
-
The Following User Says Thank You to MikeB52 For This Useful Post:
sharptonn (06-14-2018)
-
06-14-2018, 01:22 AM #7Razor Vulture
- Join Date
- Oct 2010
- Location
- Lone Star State
- Posts
- 26,123
Thanked: 8612
Thanks, Mike! Originally Posted by MikeB52
All of the abrasives I am using are quite worn. Not like I am blasting through the leather.
It's so much smoother, nicer, and clean.
the damp wipes are getting moisture back in. I am impressed how well it's going.
Tempted to get them all-out, yet the possibility of going through the shell is there.
Strops like butter. Likely getting time to quit. But can I?
-
06-14-2018, 03:37 AM #8Senior Member

- Join Date
- Feb 2013
- Location
- Haida Gwaii, British Columbia, Canada
- Posts
- 14,443
Thanked: 4828
Looks like a successful project Tom. It’s your attention to detail that puts your projects over the top.
It's not what you know, it's who you take fishing!
-
The Following User Says Thank You to RezDog For This Useful Post:
sharptonn (06-14-2018)
-
06-14-2018, 03:49 AM #9Razor Vulture
- Join Date
- Oct 2010
- Location
- Lone Star State
- Posts
- 26,123
Thanked: 8612
Thanks, Bruv! I figure 2 more rounds to add legitimacy to what I have learned will be enough! Originally Posted by RezDog
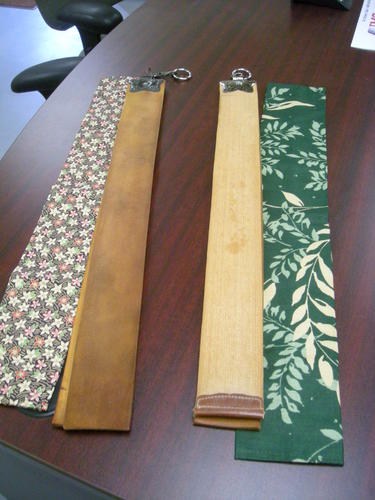
Still have the fabric to clean...Hardware, etc.
Onward to the K3000 which features a thick felt secondary!RezDog and Toroblanco like this.
-
06-14-2018, 11:34 PM #10Razor Vulture
- Join Date
- Oct 2010
- Location
- Lone Star State
- Posts
- 26,123
Thanked: 8612
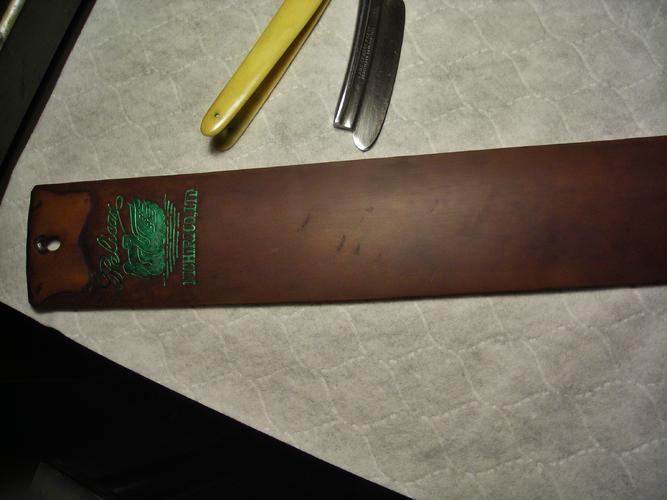
Well, I seem to be where I wanted to get with these.
I was tired of sanding, so I went to the micromesh up to the 12000 and gave them a light coat of mink oil. The Pelican is a bit rougher, but seems to strop better than the K3000 (which strops heavenly!).
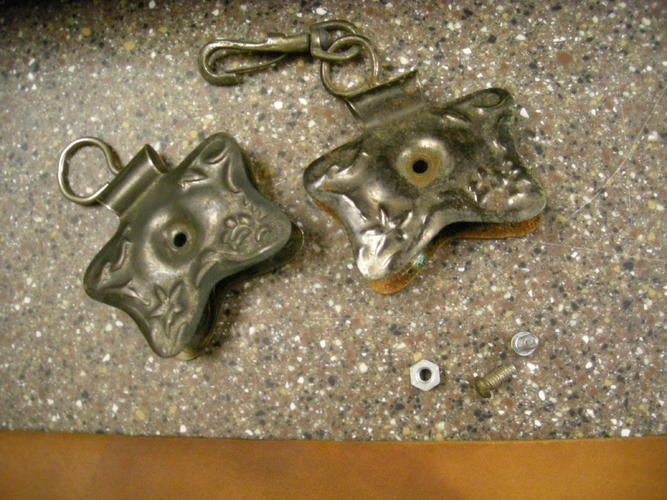
For the sake of them being old, I lightly cleaned the secondaries and turned them to the best-looking sides and scrubbed the hardware with a toothbrush and some barkeeper's friend. I even reused the flat-head screws and nuts.
Then, I chose some Razorfeld strop-socks I felt went well with them. Done!
So...Anyone have any experience with the felt secondary?
Last edited by sharptonn; 06-15-2018 at 04:31 AM.


 Reply With Quote