
Results 11 to 20 of 23
 32Likes
Thread: Strop restorations
 LinkBack URL
 About LinkBacks
-
04-15-2020, 05:45 PM #11Senior Member

- Join Date
- Sep 2009
- Location
- Freiburg, Germany
- Posts
- 309
Thanked: 19
I decided to update this thread, partly to get everything in one place, and partly to avoid burdening other threads with absurd levels of detail on restoring strops that were probably not worth bothering with by any 'reasonable' metric...
So, with respect to progress on the second of the strops in the opening post above, the convex paddle strop, this was discussed in this thread:
https://sharprazorpalace.com/strops/...strop-why.html
This one is waiting for a decision on what to paste the two sides with.Last edited by Montgomery; 04-15-2020 at 06:11 PM.
MrZ likes this.
-
04-15-2020, 06:11 PM #12Senior Member
- Join Date
- Sep 2009
- Location
- Freiburg, Germany
- Posts
- 309
Thanked: 19
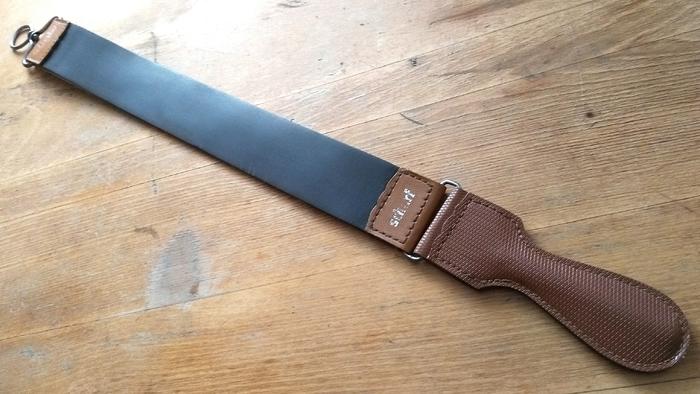
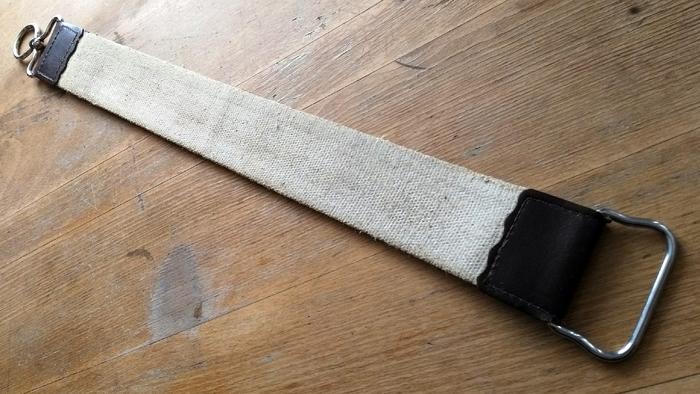
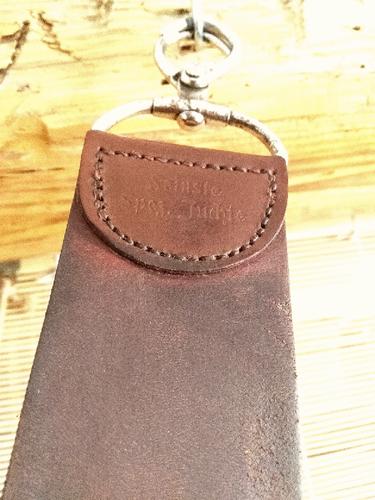
With respect to the first strop in the opening post, the hanging strop, this one has come out really well:
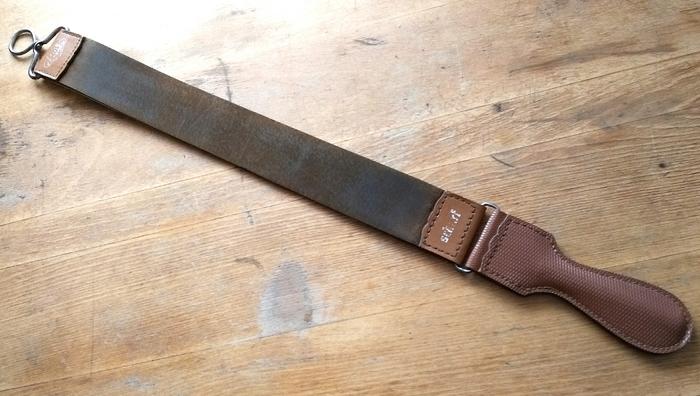
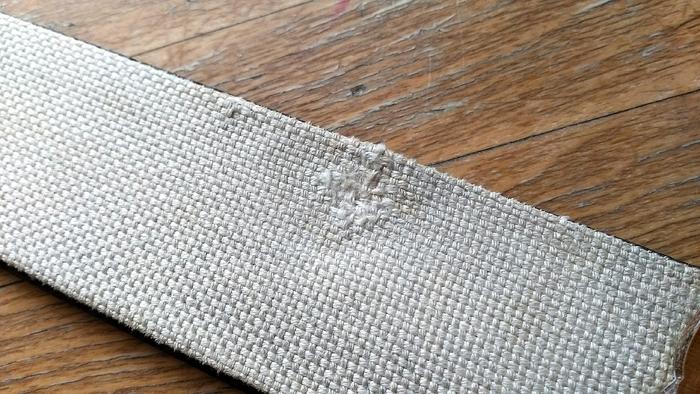
A few things to say: one of the questions earlier in the thread was about the frayed section in the linen. I came up with a solution which I'm very happy with. I firstly put all the loose threads to the back of the linen, as you would with a pull or loose thread on a sweater; then the back of the frayed section was lightly covered with contact adhesive, which was left to dry for a few minutes before being pressed between some wood in the vice. The idea is to stop the loose threads from moving, but retain some flexibility in the fabric and avoid affecting the surface. It worked pretty well, which I'm glad about, because this is my favourite of all the linen strops I have:
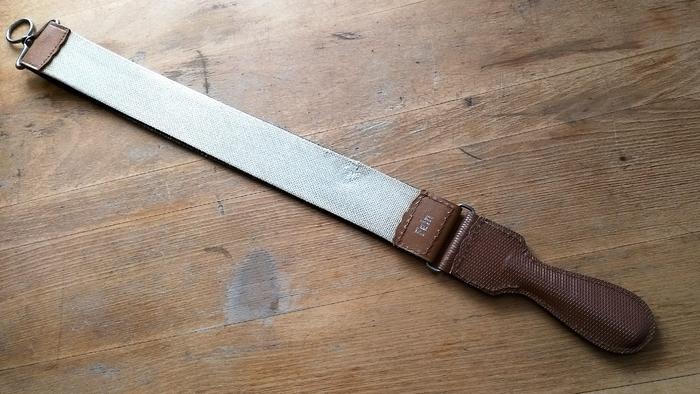
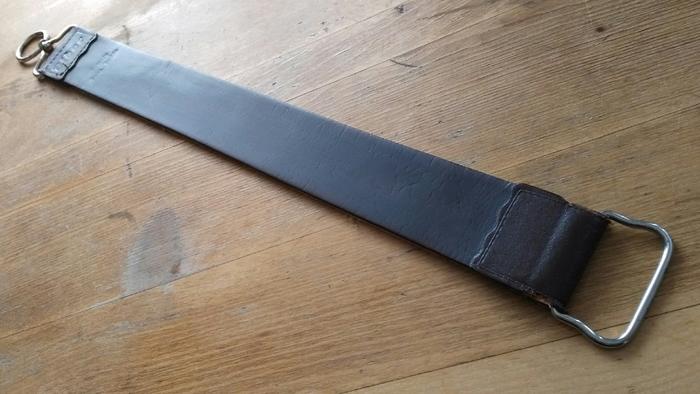
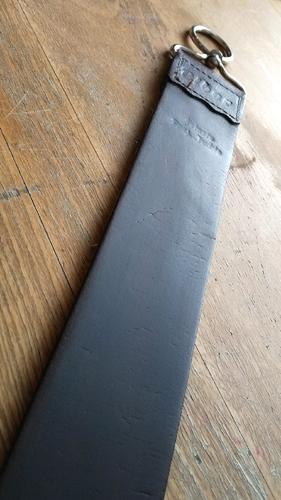
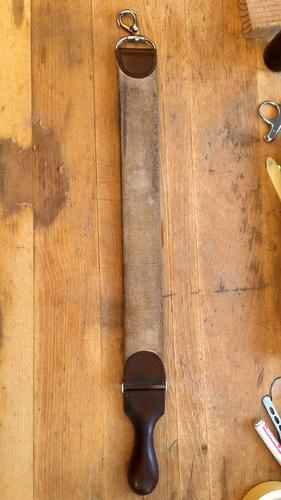
After gluing the cuts in the hide, the hide was softened, sanded and scraped. I believe that with this one, the hide side is on the reverse, which should in theory mean that there is less of a problem with sanding thickness off the strop, if my understanding is correct: The reverse looks like this:
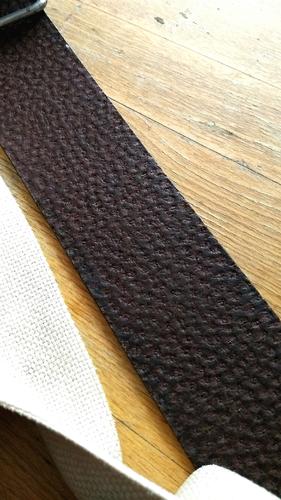
I have experimented with two finishes, a very fine nap, finished with #600 wet and dry, and this finish wiped with Chamonix Milk. The draw is very heavy with the fine nap, so at the moment I'm sticking with the slicker finish. The napped finish is as above, the slicker finish is like this:
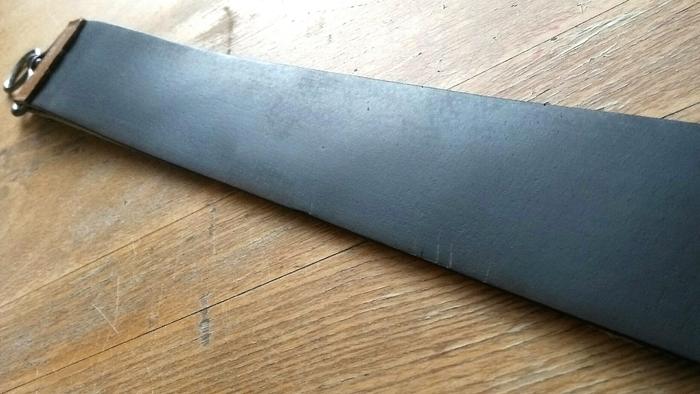
The strop has been pasted in the past, and earlier in the thread I did wonder about whether the abrasive could be removed. I've since found it to be really useful as it is, it is in the ball park of my Herold loom strop which was bought pasted with green paste; that is to say, a good level of abrasive for after honing, or for a touch-up, but not for regular use. I am still wondering what the strop has been pasted with, whatever it is kind of sparkles like tiny specks of glitter. You can just about see the spots in this picture, which also shows the napped finish:
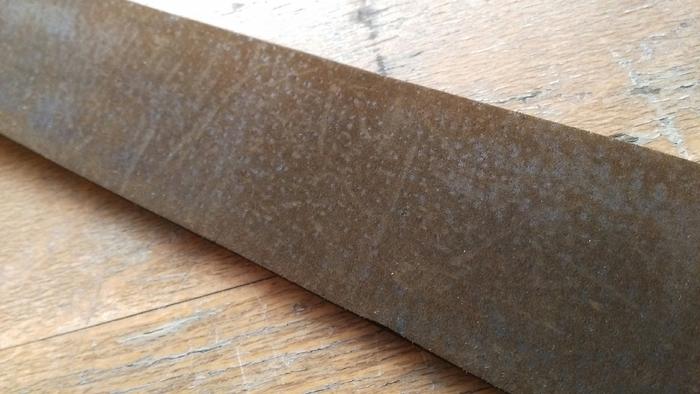
[edit: seems the sparkles of the abrasive have been lost with the loss of resolution when posting the picture]
Overall, a good learning experience, and a very useful strop.Last edited by Montgomery; 04-15-2020 at 10:18 PM.
-
04-18-2020, 10:30 PM #13Senior Member
- Join Date
- Sep 2009
- Location
- Freiburg, Germany
- Posts
- 309
Thanked: 19 Another strop report...
Another strop story which I'm pulling into this thread...
The story so far is here: https://sharprazorpalace.com/worksho...st1900522.html
The most useful response to my request for advice was from @Euclid440:
So I tried more oil then scraping. As mentioned earlier, the surface of the strop was almost powdery when I started, and on scraping some of the surface came away as a sludge. After this, I thought I would see where I was up to, and gave the strop a quick sand with #600 wet and dry. There were still cracks in the leather, so I decided to sand with the strop over a rolling pin, in order to chamfer the edges of the cracks. After a wipe over with Chamonix milk to clean the leather, I ran a microfibre cloth over the strop, and it was not catching at all. Here it is: Originally Posted by Euclid440

And hopefully this shows the surface of the leather:
To this point, it was all just to see where we were up to, and obviously I tried it with a razor. To cut a long story short, it is really good. Even though it has been oiled and softened, it is thick old leather and is still fairly stiff. Regardless, it is the best finishing strop I have out of four (one other vintage Biber which has been heavily sanded, one Herold I bought in 2006, and an almost new Herold). This strop puts a noticeably keener edge on a razor than the other three. This was not what I expected.
Something else I did not expect is how rough the fabric backing is. There are hard fibres protruding from the weave which feel like splinters of wood, the weave is rough, and the whole thing is coated in something waxy. But it seems to strop fine. I can't say it improves an edge greatly, but by the same token, it does not seem to damage it either.
I know that the accepted wisdom on this board seems to be that a strop with cracks in the surface is probably finished. However, I also know that many members don't worry too much about nicks in a strop as long as the edges of the nicks are smooth. All that said, I'm guessing the final test of whether a strop is any good is... whether it is any good, right? In any case, I'm truly surprised that this strop turned out so well, with the cracks and all, but I'm certainly going to continue to use it.
Thanks again to @Euclid440 and to the forum!Last edited by Montgomery; 04-19-2020 at 09:01 PM.
-
05-17-2020, 09:02 PM #14Senior Member
- Join Date
- Sep 2009
- Location
- Freiburg, Germany
- Posts
- 309
Thanked: 19 More strop projects
Got a new batch of vintage strop projects...
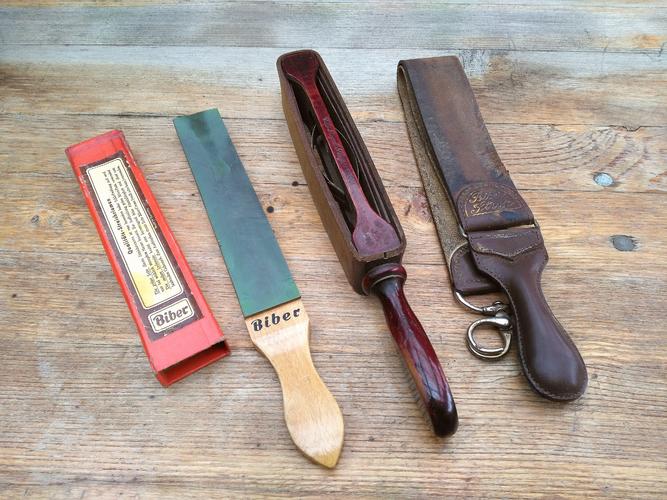
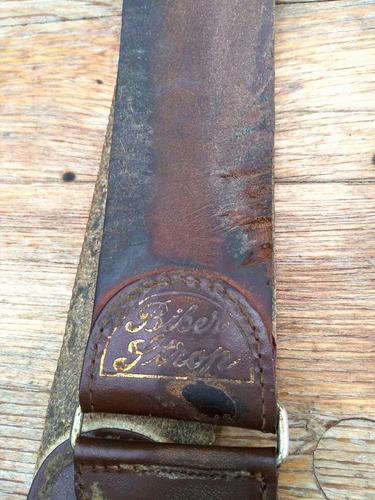
The old Biber looks to be a venerable old strop. I've done a bit of work on it since these pictures were taken, and there is good news and bad news. It was seriously filthy, covered in black crud filled with bits of stubble, so it didn't belong to anyone fastidious. Bad news is that the dirt hid other problems, the strop is also heavily nicked on the left side as well as the right. Also, it seems to have been used heavily, because it is pretty worn, thinned along the right edge, right down to almost a knife edge at the point where all the nicks are on the bottom right. The hanging hooks are also heavily worn, from this and the amount of soap and hair on it, I guess it was used in a barber shop.
But, the good news is that the leather is in excellent condition, a clean with saddle soap and a bit of neatsfoot, and after settling overnight it is as soft and as flexible as you could wish. When I first handled it, the leather felt heavy, cold and clammy, so there was still plenty of oil or fat in it.
A question for anyone reading, this strop has the two-hook type of hanging hooks, does anyone have a rough idea when these gave way to the ring type?

My guess is roughly pre- and post- WWII. Interesting how the configuration and hardware of European strops is all different to the US-style strops.
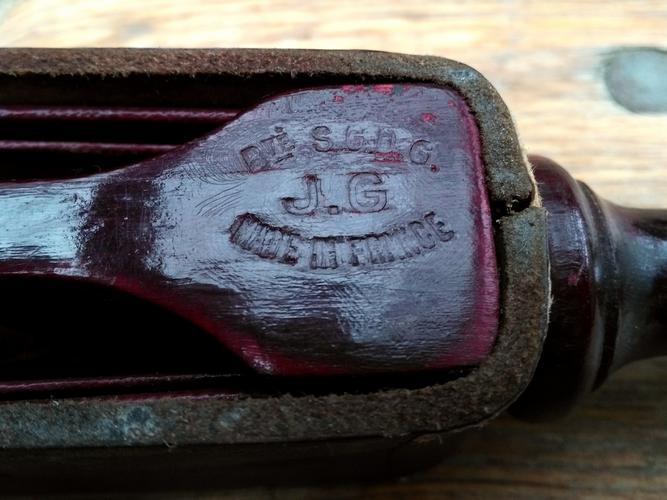
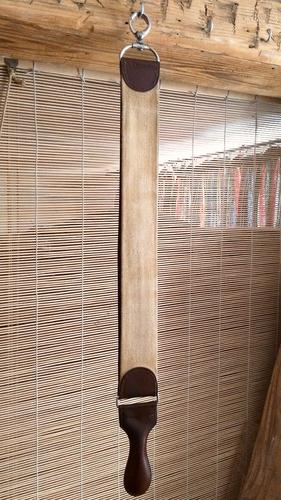
The loom strop is an interesting one, named 'The Royal Strop', it has a strange configuration of springs and straps to tension the leather. Seems like a lot of work for questionable benefit:
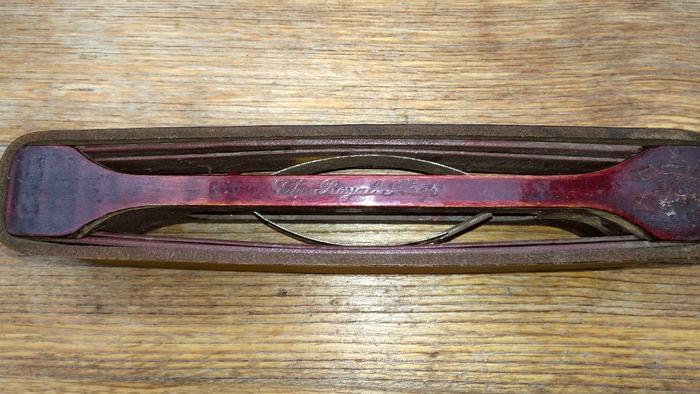
The leather on this one looks fine, one sided is pasted with a greyish abrasive, seems to be the stuff I have found on other German strops, when you look against the light or with magnification it appears as lots of tiny silvery reflective particles. This side has some big nicks. The other side is very clean, looks like it will clean up nicely.
The Biber paddle is one of those with slots cut in the wood to make it more flexible, not sure how useful this is either, this one has warped a little so the stropping surfaces are a bit wavy. The green side has been over-pasted with that greyish stuff, which is ok, not a big deal, I think the greyish stuff is a bit coarser, but I can see myself using that side as is. Sadly the plain side also has the greyish stuff on it, I'll need to think about what to do there. I'll never get it all off.
-
05-18-2020, 05:42 PM #15Senior Member
- Join Date
- Sep 2009
- Location
- Freiburg, Germany
- Posts
- 309
Thanked: 19 Biber cleanup
The Biber story continues to be good and bad...
First thing was that all the stitching was totally rotten:
I knew it was worn, but I didn't realise at first that it had lost all its strength:
So, that had to be re-sewn:
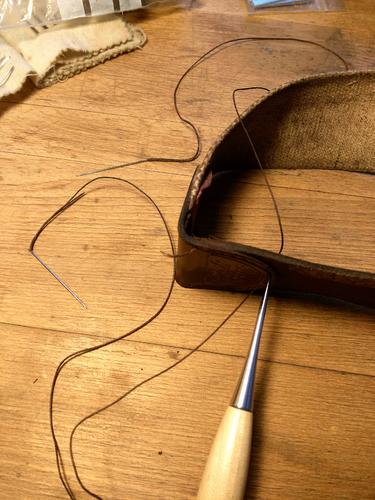
Not the neatest, and the last of some really old thick linen thread I had. It would have been neater if I had not sewed over the old thread in places, I was cautious about dismantling it completely. Probably didn't need to be so cautious.
That done, on to the strop itself. It came up nice and supple pretty quickly, but in addition to the heavy wear down one side, it has either been pasted at some point, either that or contaminated. I did find a useful new (to me) technique for cleaning a strop, which is scraping while wet. Essentially, I lathered the strop with a thick shaving soap lather, scraped gently with a scraper, repeating about ten times in each direction. I think it has worked to clean the strop and get *most* of the abrasives out. It looks nice now:

Sadly all of the gold lettering got lost in the cleaning process. Not sure there was much I could have done about that, both leather end pieces had lumps of sticky black gum stuck to them, that could only be removed with rubbing alcohol.
The linen cleaned up ok, still yellowed, but it is almost 100 years old:
So, where to now? I got most of the abrasive out, but it still leaves a few scratches on a polished bevel, so I'm not sure it will ever be a finishing strop. If I could get it clean, the best idea would be dismantle it again, and turn the leather around 180º in the mounts, so I'm stropping on the unworn edge. But unless I can get it clean, that isn't any help, and received wisdom is that it is almost impossible to get an abrasive out of a strop once it is there. I could turn the leather around and paste it, but I already have plenty of pasted strops. Last idea would be to buy a completely new piece of leather and mount it in the old hardware with the old linen. This could be an appealing idea. Let's let this one sit for a while...ScoutHikerDad and bartds like this.
-
05-23-2020, 04:06 PM #16Senior Member

- Join Date
- Sep 2016
- Location
- Silicon Valley
- Posts
- 465
Thanked: 113
Great job with the restoration! Love the look of a vintage strop.
Montgomery likes this.
-
The Following User Says Thank You to Toroblanco For This Useful Post:
Montgomery (05-24-2020)
-
05-24-2020, 09:11 AM #17Senior Member
- Join Date
- Sep 2009
- Location
- Freiburg, Germany
- Posts
- 309
Thanked: 19
It does look good, and it was a good exercise. Sadly I think the leather itself it almost too far gone. I did manage to get *almost* all of the abrasive out, by lathering and scraping gently, which I feel is a good technique. Originally Posted by Toroblanco
I'm going to let it settle for a while, wait for the oil to dissipate a little, then I'm going to try stropping on it. Whether it strops well depends on enough of the top layer of the leather being present and serviceable, and the abrasive contamination being sufficiently removed. If it does go well, I'll take the leather out and reverse it lengthways, so I'm stropping on the less-used edge. If it does't go well, I'll think about replacing the leather - shouldn't be difficult, and as you say, it looks cool.
-
05-24-2020, 02:54 PM #18Senior Member
- Join Date
- Sep 2016
- Location
- Silicon Valley
- Posts
- 465
Thanked: 113
You can make the oil penetrate deeper into the leather by applying water with a damp cloth or rag. Instead of having to wait days for it to happen naturaly. Just aply it evenly and wait for it to dry. Do this as many times until you reach the desired effect. I learned this from a saddle maker, works like a charm.
Montgomery and alex1921 like this.
-
The Following User Says Thank You to Toroblanco For This Useful Post:
Montgomery (05-24-2020)
-
05-24-2020, 09:33 PM #19Senior Member
- Join Date
- Sep 2009
- Location
- Freiburg, Germany
- Posts
- 309
Thanked: 19
Yes, I also find this works very well. The first oiling of this strop was after cleaning with saddle soap because it was so filthy, the oil went on straight afterwards, and within a day it was floppy and flexible. In actual fact, I don't think this strop had ever really dried out, the leather felt dense, cold and clammy right from the get-go, so it did not take much to bring the flexibility back. Originally Posted by Toroblanco
Toroblanco likes this.
-
06-06-2020, 09:05 AM #20Senior Member
- Join Date
- Sep 2009
- Location
- Freiburg, Germany
- Posts
- 309
Thanked: 19 Mini-strop
Here's an interesting one, a very small loom strop:
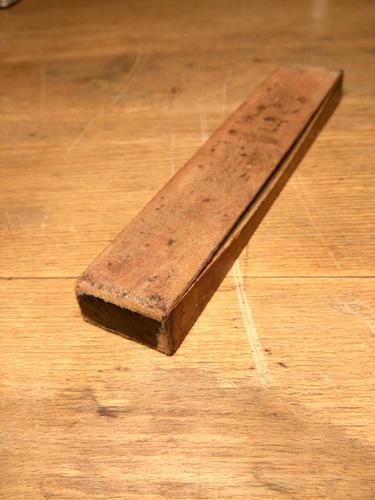
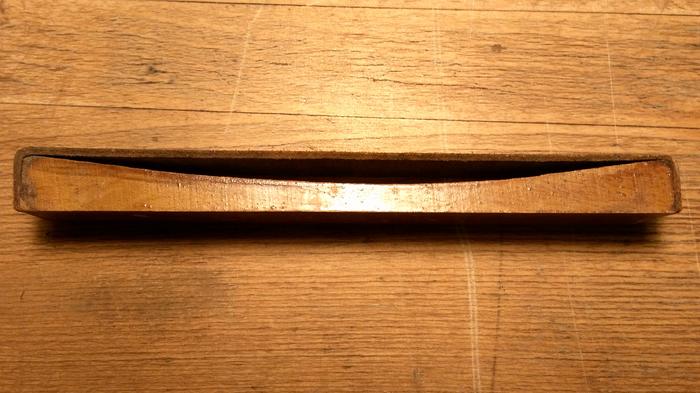
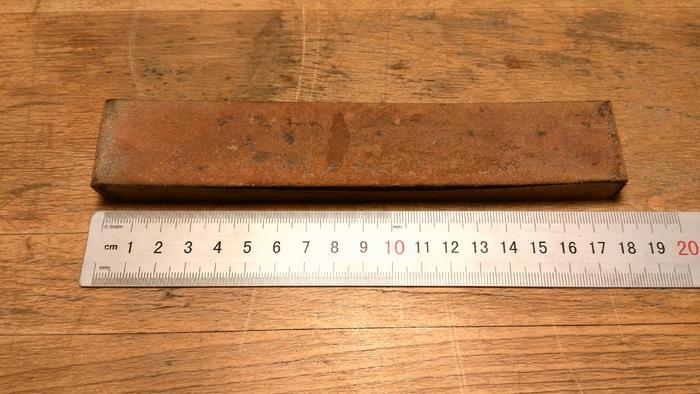
In pretty good shape, just a clean with Arko lather followed by a bit of neatsfoot:
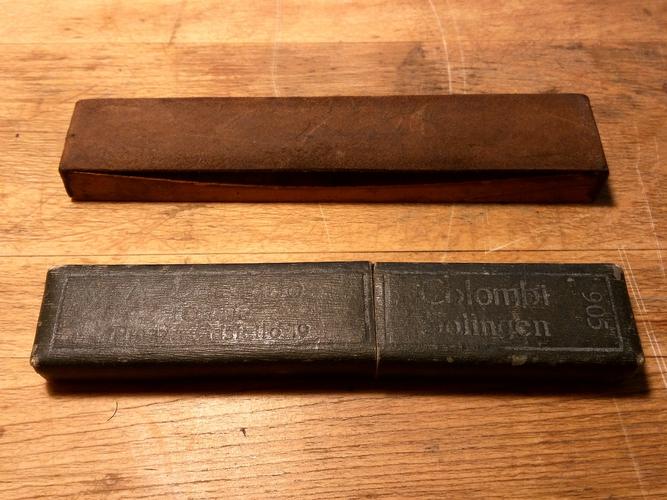
Sadly, it has a little of the ever-present sparkly paste on it. Maybe not enough to really matter. At only a touch larger than a razor box, perhaps it was a travel strop. No makers marks, unfortunately.MrZ likes this.


 Reply With Quote