Results 41 to 49 of 49
-
05-18-2014, 10:44 AM #41
Where did the time go, I can't believe it's nearly 3 months since posting on the progress this razor.
Not going to bore everyone with the details - had some personal things to sort out and took some time out.
So now it's back to the fray and the restore.
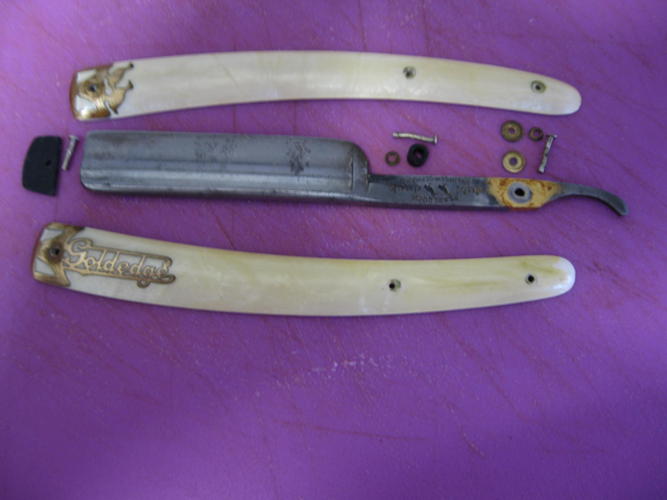
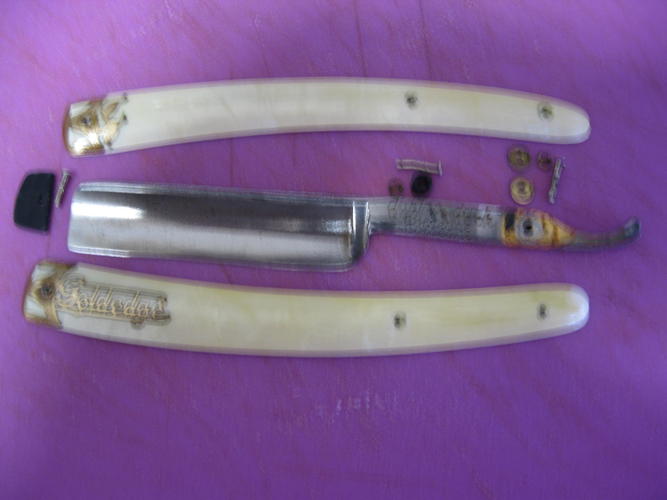
After several attempts to get the scales shaped right, I ran into some other problems
I got a set of Maple scales shaped very close to what I wanted
Decided to polish the Bolsters using me Dremel tool and .... disaster
The buff pad caught on the brass and badly twisted it where it wasn't held by pliers
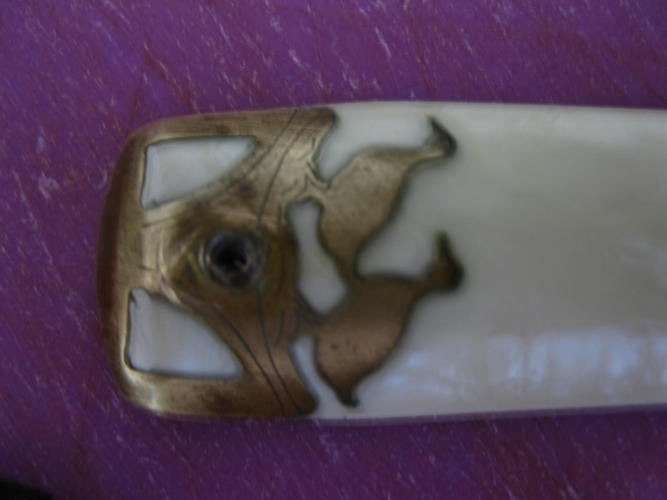
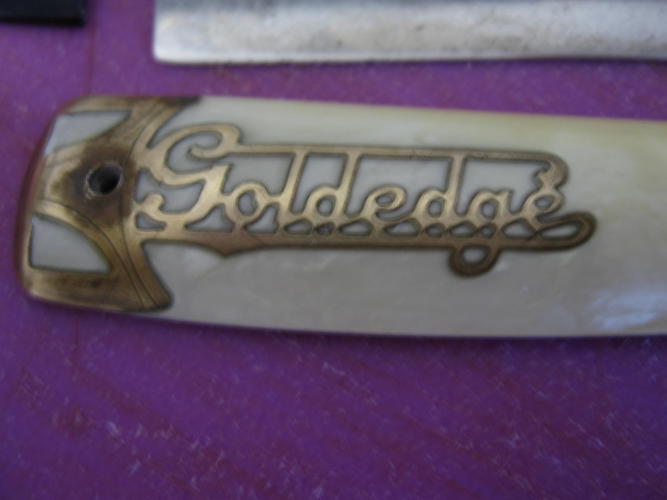
I was left with just the Goldegde lettering salvagable, the rest of the piece was toast.
After I calmed down and assessed the problem I think I have a modified save sorted out
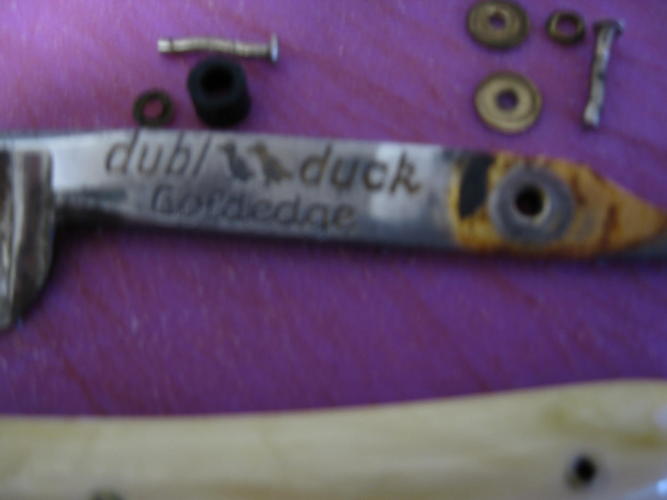
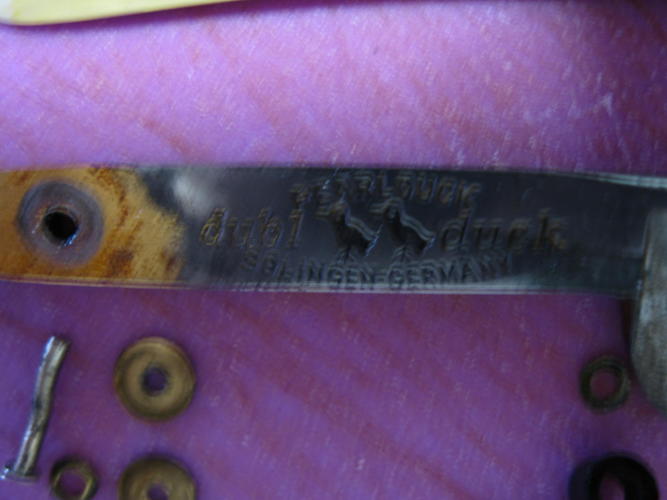
The name only will be used on the front side of the scales - and to match, the ducks will be set the same way on the other side of the scales
At least that's the plan right now.
If it looks like the proverbial crapola, I will have to rethink the whole issue.
The wedge has been made and shaped to approximate size, it is black acrylic with brass lining each side.
Several test fits have been done and so far it looks like it will work out OK
Another update coming when I have more news.RickyB
-
05-18-2014, 11:35 AM #42
can't wait to see how it turns out! don't give up! (BTW i think Dremel should be banned from the SR world
-
05-18-2014, 11:40 AM #43
ALWAYS polish the bolsters before you take them off!
Ed
-
05-20-2014, 09:17 AM #44
@tintin
I'm working on getting it finished this week, certainly not giving up mate.
And yeah the Dremel is out for all close work, only to be used for rough shaping of scales in future.
@Chevhead
I hear you mate, i think I had a major brain fade when polishing the bolsters.
Finished shaping the modified bolsters, cost for replacements sent to Australia (if they can be found) is just too high to justify them.
Test fitted the razor and it seems to close nearly the center of the scales, and wedge only needs final shaping and polishing now.
Pics coming soon, next on the agenda is sealing and applying clear finish.RickyB
-
06-07-2014, 04:30 AM #45
Finished at last ... after many stops and starts it's done.
Some good things and some not so good.
Pics tell the story - this one was not as great as I would have liked, however it is a nice shaver.
RickyB
-
06-07-2014, 11:05 AM #46
Hey, good job. think of all the things you've learned through this process. you're on your way to becoming a pro.
-
06-07-2014, 07:16 PM #47
What did you use to glue the bolsters to the wood?
Joe
-
06-08-2014, 07:21 AM #48
@tintin
Thank you for your kind words and the support mate. I have learned so many lessons doing this restore and had such great help from a number of members here. It is quite humbling to know so much support exists here when so many other places outside of SRP have little or no support to offer anyone. I reckon I have about another 10 -20 years working with razors and learning new skills before I could consider being close to the level of a pro.
@carrolljc
I used a basic superglue (aka CA glue) to set the bolsters on the scales. The biggest drawback with it is you have about 5 seconds to set them in the right place before the glue sets too hard to work with any more. This is a fiddly part of the process if the bolsters are not an absolutely perfect match on the scales - and mine were not that good
Despite all the setbacks and mistakes made during this restore, I am always encouraged great things can be achieved thanks to the kindness shown in this community.
Thank you to all the members here who supported me in so many different ways through this drawn out process. I treasure your thoughts and insight in all the work I do.RickyB
-
06-08-2014, 11:57 AM #49
Looks pretty good bro...
Ed