
Results 1 to 10 of 49
 38Likes
 LinkBack URL
 About LinkBacks
Hybrid View
-
01-13-2014, 10:14 AM #1Senior Member


- Join Date
- May 2011
- Location
- Ipswich, Australia
- Posts
- 481
Thanked: 64
It's been a while since my last post here
Work on the restore has gone slowly - work is very busy right now with lots of extra hours to be done.
Not much time for working on highly favored hobbies ... that's life gents.
Since my last post the sanding work has moved to 1000 grit wet/dry, using WD40 from 600 grit level onwards.
I have noticed there will be more reshaping of the edge profile to be done before honing can commence.
There seems to be a bit of a hump shape towards the toe end of the edge that will have to be sorted out.
Here are some pics to show progress so far. Not sure how clear they will be a couple seem a bit blurred.
400 grit finished
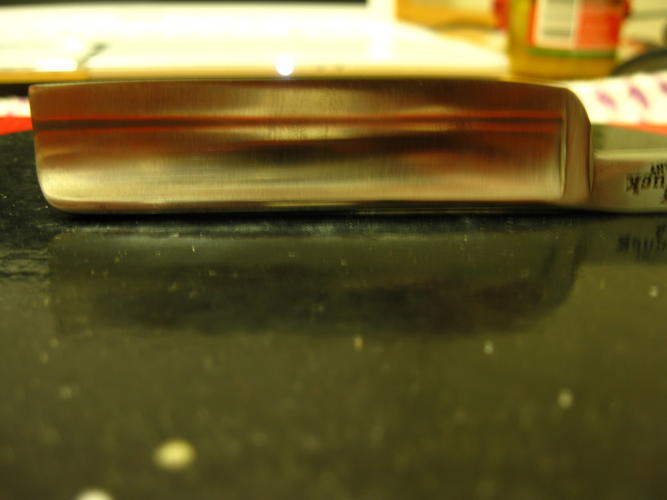
800 grit finished

1000 grit
 RickyB
-
01-13-2014, 10:24 AM #2
It's looking good bro!
Can't wait to see it DONE!
-
01-13-2014, 10:37 AM #3Senior Member
- Join Date
- May 2011
- Location
- Ipswich, Australia
- Posts
- 481
Thanked: 64
Thanks Ed. Originally Posted by Chevhead

I am making sure to take the time to get the small things right on this restore
Really don't want to make a mess of such a nice blade.
I will be checking on getting the gold wash redone when the blade is finally ready.
Have fun broChevhead likes this.RickyB
-
01-18-2014, 08:39 AM #4Senior Member
- Join Date
- May 2011
- Location
- Ipswich, Australia
- Posts
- 481
Thanked: 64
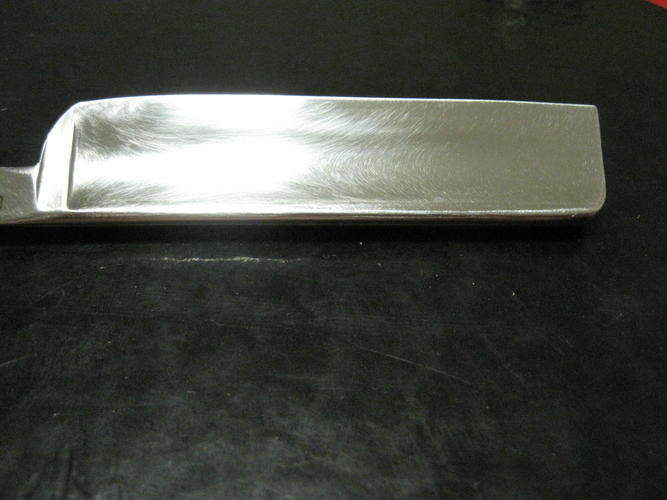
Had some more time to work on this yesterday and today.
After using micrmesh starting at 1500 and working up to 12000 I saw some light swirl marks on the blade, almost certainly lower grit sanding marks.
I was about to start again with sanding from 600 grit, but thought to try working the scratches out on the small buffing wheel on my drill. After some reading back here on the forum I decided to work with a generic metal cleaning compound on applied to the buff wheel. This was part of a 3 pad and compound set I got from a local hardware store last year.
After 4 applications the scratches were much less noticeable (and I was so focused on it I forgot to take some photos) so i moved to a light polish compound and worked with that for nearly an hour. I can tell you it was very tricky keeping tabs on the heat build up on the blade.
At this point the scratching was almost completely gone, but I just wasn't satisfied with the look of the blade.
Still not wanting to start sanding again I decided to try some auto cutting compound (the stuff used on car paint to make it shine like new again). After nearly an hour the blade was looking much better with a nice polish coming through.
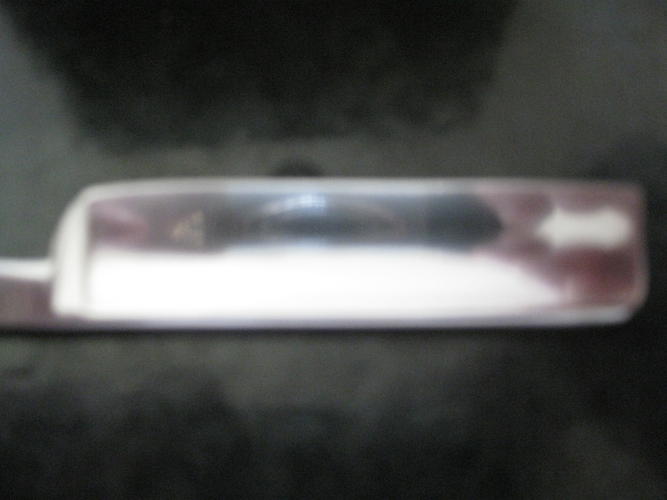
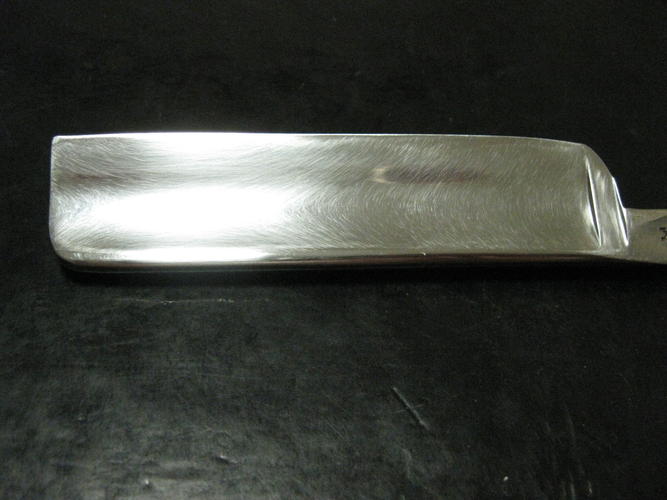
Next move was to do a polish with some Flitz. About 30 minutes later, the blade looked quite good.
This time I took some pics to share.RickyB
-
01-18-2014, 10:51 AM #5
That is looking AWESOME!

-
The Following User Says Thank You to Chevhead For This Useful Post:
RickyBeeroun222 (01-19-2014)
-
01-19-2014, 03:18 AM #6Senior Member
- Join Date
- May 2011
- Location
- Ipswich, Australia
- Posts
- 481
Thanked: 64
Ed, Thanks for the compliment mate. It is coming together slowly but surely.
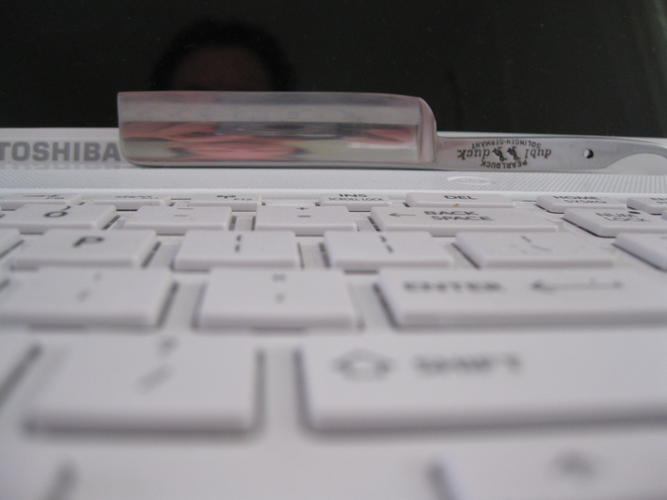
Started work on the scales trying to straighten the slight warp in them.
After several tries with the hair dryer no real change was seen. Here is the process i tried.
The scales were heated up on high setting with the hair dryer held about 1&1/2 inches from scales. I'm not sure how long to apply the heat and don't want to destroy them. When I felt they were ready (quite warm to the touch) placed them on a piece of 2 x 1" pine and then sat my DMT 325 plate on top of them to provide weight - scales loked flat on the piece of pine. After about 30 mins cooling off time, I checked how things were going. Tried varying the heat times but no real change happened. Tried flipping the scales other way up and tried several more times. Still no real change.
Next effort was try hot water - boiled water on stove top and let cool about 20 seconds. Dunk one scale -the one with the warp - in the hot water for about 30 seconds and lift out with tongs and set up same as before - scale flat on wood weighted down with the DMT plate. After 3 attempts and extending the times in hot water by another 10 seconds each time it looked better - but still had a bow in it.
Worked with other scale and got a small improvement with just a small bow in it now.
Then had to clean up the water scale deposits that formed from the dunks in hot tap water - noticed what could be a sign of trouble with one of the scales.
It looks like there are 3 small cracks in the pivot end of the front scale starting at the pivot pin hole. Could the hot water have caused this problem? Can it be overcome with a thin thrust washer glued in there (I would do it both sides for consistent looks) to strengthen the whole pivot pin area?
I'm very interested to hear what other restorers may recommend in this situation.
Thanks in advance for any advise and tips given - pics attached below.
First pic shows the pivot pin area
Next 2 show the bow in the scalesRickyB
-
01-19-2014, 03:30 AM #7
I don't know how much straighter you want them bro... They look pretty darn straight to me!
I am thinking maybe the wood as a backer had too much "give" to it?
I straightened mine with a HEAT GUN.
Held the scale in my hand and heated it just enough so as not to burn my hand then I layed them on the table of my bench scroll saw and pressed down with my fingers.
It was COLD out so the metal was quite cold also. It only took about 5 minutes for each scale to get straight...or as straight as I liked them.
As for the pivot area, I might try putting some Super Glue there to fill in the cracks and then sanding it down flat. You have thrust washers going there anyways so I do believe that it "should" provide enough stability for this. Maybe gluing the washers there could work also? dexter90723 likes this.
Ed
-
The Following User Says Thank You to Chevhead For This Useful Post:
RickyBeeroun222 (01-19-2014)
-
01-19-2014, 03:37 AM #8Senior Member


- Join Date
- Nov 2012
- Location
- Across the street from Mickey Mouse in Calif.
- Posts
- 5,320
Thanked: 1185
Those scales are layered. The white (inside) is almost all the scale with the pearl looking part a layer covering it. I would fill the cracks with Ca glue or a good epoxy and not sweat it. If your trying to get bends out and not twists try to use over bend method. In other words put some tape on the scales (not a lot) so that the part that is staying bent (won't straighten) will bend a little farther when you straighten between boards. You just want to do it enough to take out the memory.
Chevhead likes this.Good judgment comes from experience, and experience....well that comes from poor judgment.
-
The Following User Says Thank You to 10Pups For This Useful Post:
RickyBeeroun222 (01-19-2014)


 Reply With Quote

