-
2 Attachment(s)
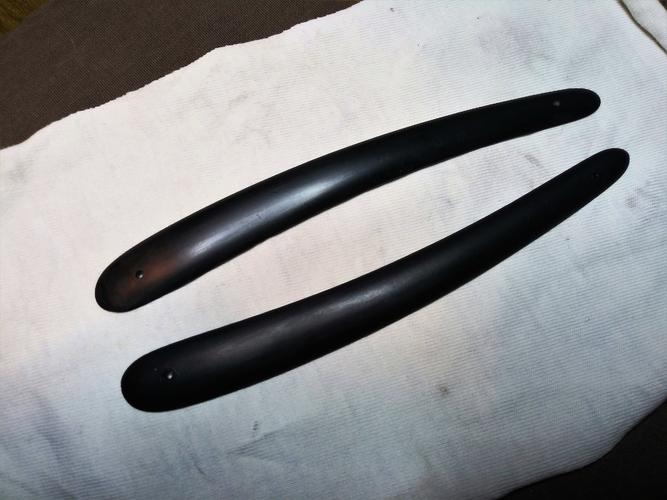
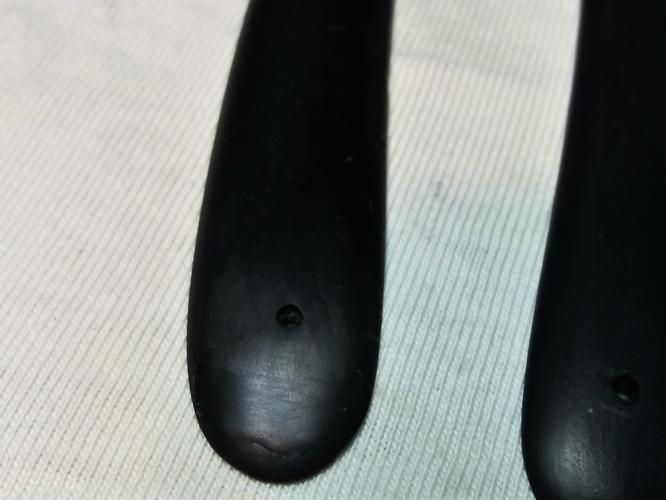
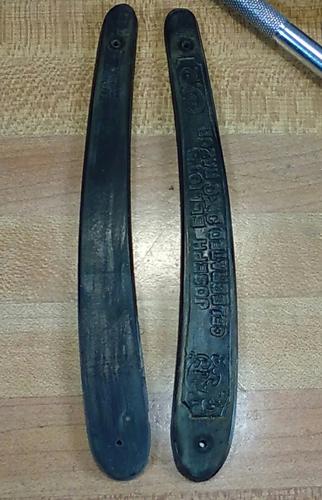
Here are the scales after the dye. I guess I should have sanded a little better. I couldn't feel it but you can see it. Going to try a full coat of CA just for the results of the experimentAttachment 302609Attachment 302610.
My understanding is that CA doesn't dye. So if you're going to dye horn scales, CA is not the answer. But a coating of CA on top of epoxy is needed because of epoxy not being able to be polished.
Just jumping in because Mike isn't here at the moment.
-
1 Attachment(s)
I gotta clear that up a bit.
It's not the depth alone, is the depth relative to the knot size.
The knot is a big one, so it supports itself quite well, it's got some good stiffness. Has some scritch and softness which I like.
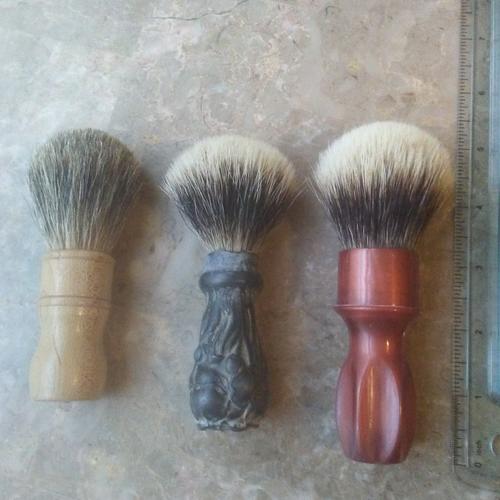
Here is a pic with the my other two brushes.
B52 brush on the left and right, with a restore of mine in the middle.
Anyway, I bring it up because it's the same design he's making now.. Excellent work.
Attachment 302611
-
4 Attachment(s)
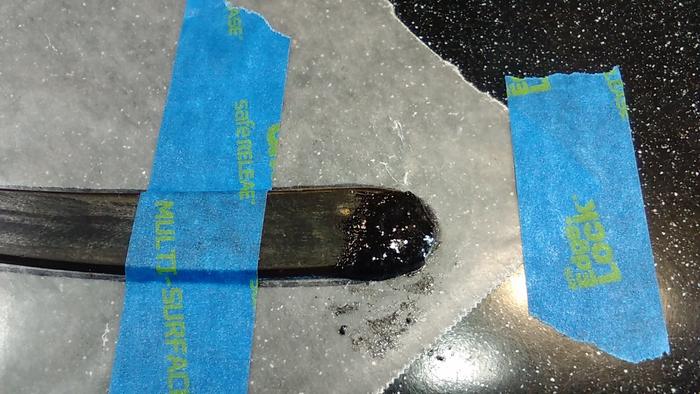
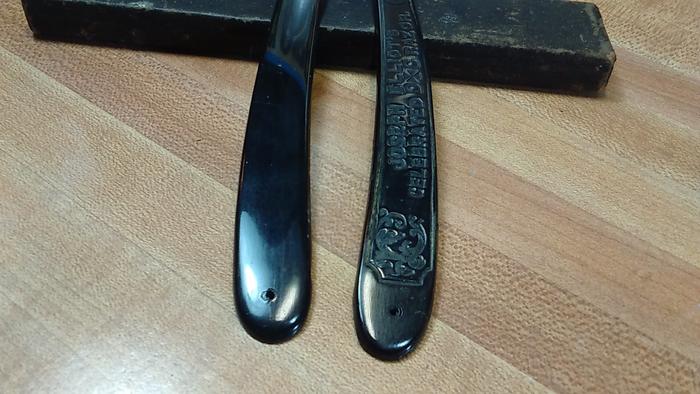
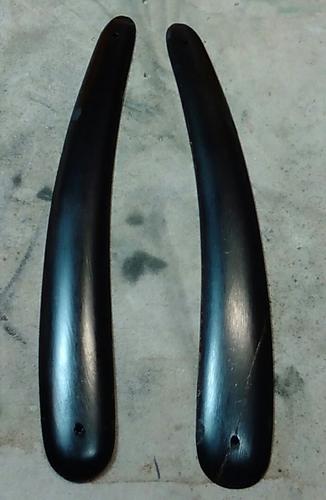
Your right on the money, Jerry. The only difference is doing spot repairs, then you'll have to slightly dish out the epoxy repair. That way it can be sanded flat without going thru to the epoxy, and the edges will blend in with the scales. ( invisible repair )
Attachment 302612
Attachment 302613
Attachment 302614
Or pull um from dye, a Lt. steel wool in, and leave as is.
Attachment 302615
-
The Horn scales are soaking up CA. This might not have been a good idea but you never know until you try. I will keep at it and hope they don't soak up too much and become brittle. I got other scales to repair so I'm taking this all in and learning as I go.
-
2 Attachment(s)
The CA should get to a stop point and start to build up Jerry. Might take a few coats but it’ll happen.
Mike, thanks for the memories of that brush on the left. Those maple babies I made with Lee valley knots that in hind sight were set to high. Some of the first brushes I ever made and still showed it in the proportions.
Glad you like that cast original. The molds for those are still tucked away for special occasions.
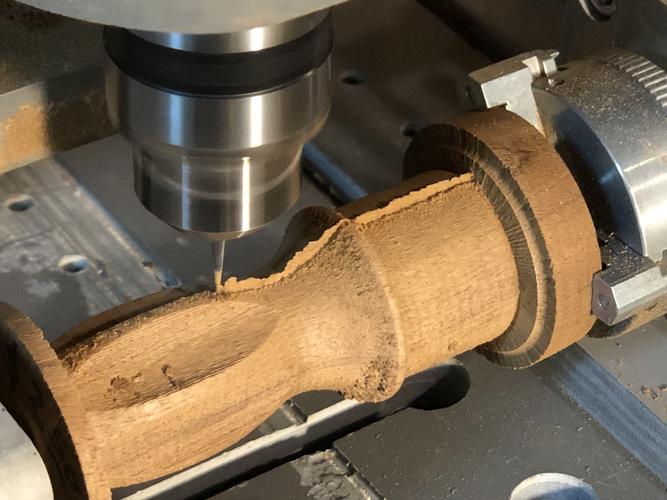
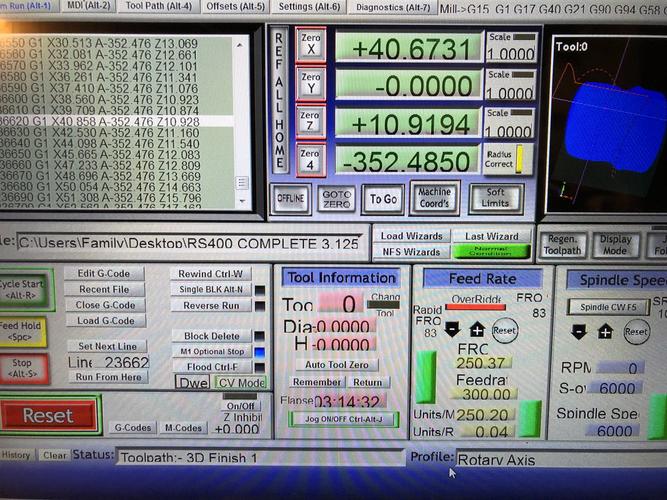
I knew my math was correct on this new project on the last turn.
Attachment 302622
When it trims off like candy you are at your correct zero reference.
Yup, pretty pleased with the first auto turn results.
Now to remove the tab ends and bore it out.
Total time to turn the finish passes was about 3 hours 20 minutes. Middle of the screen shot below.
So all in with roughing maybe 6 hours per Brush
Attachment 302623
Cheers gents..
-
Boy! That's going to make for a spendy brush if a guy has to pay for your time. Ha.
-
3 Attachment(s)
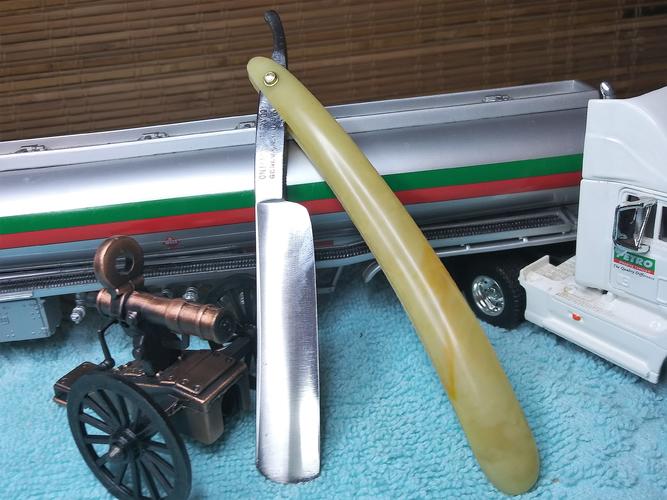
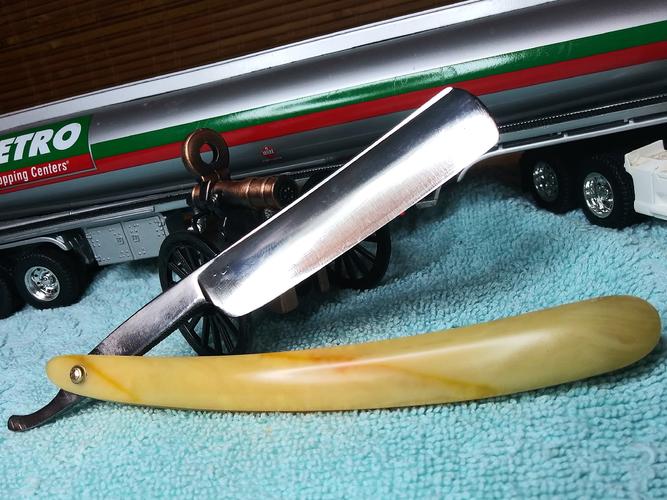
I got bored watching the CA dry, so I cleaned up this set of plastic scales and put them on this Ontario Cutlery Co Razor. Geneva, NY. It still has a little pitting but cleaned up nicely. There was a good side chip in the edge up by the toe and the heal was a little pointy. After correcting I think its turned out a nice shape. Still a bit of hone wear on it but I think I can live with it. 11/16 full hollow. The Wedge end is the same material as the scales and glued. So I just sanded then down and made the wedge look like a one piece scales set.
Another American to add to the list!
Attachment 302625Attachment 302626Attachment 302627
-
Dig them scales, Jerry. Look like marble.
-
Plastic, but I had no idea what to call them. Yellow! That's about all I could come up with. I just got the bevel set. The toe was a bugger. Had to get another glass of Tea and have a break. Back at it in a few to finish it up. Hard Steel from what I can tell. It's taking a little extra to get an edge. Just a little.
Seems to me about all the NY steel is extra hard. Love them.
-
Just good ol fashion, American quality. Probably ground by a defected German. :rofl2: