Vey umm, impressive Zach!
Get it!,,
Good luck with the process man.
Printable View
Vey umm, impressive Zach!
Get it!,,
Good luck with the process man.
After literal months of failure, I've finally nailed it down. It's just slow!Quote:
Originally Posted by MikeB52
For the set of scales I'm making (which is for a restoration), I'm not doing anything to speed up the process because the one time I tried that it made horn that was as fragile as blown glass. I know it will return to it's original state, it just takes about 2 weeks.
Here's the pile of failed molds:
Attachment 333872
These are 3d printed in heat resistant resin. If (when?) I start doing this for 'real', I'll get some dedicated super-high temperature resin and cast molds of my 3d printed mold so I've got something that survives the process better, though with a lot of trial and error I've gotten that working pretty well.
Here's one that illustrated to me the importance of the metal shell I'd been using to hold the molds:
Attachment 333873
When clamped up with c-clamps on it's own, the resin deformed pretty badly at just below it's rated temperature. But this resin wasn't designed for heat and pressure.
I appreciate your tenacity in problem solving.
In this case, it was a supreme degree of annoyance. The initial tests worked really well... Then for months, everything I did failed. And not just failed, but did nothing. I had to know why.Quote:
Originally Posted by RezDog
Consider a nesting frame and hydraulic bottle Jack as you dial in your process. Even pressure in a nested mold has always been one of the keys to my own molding experiments as things want to self level all by themselves, despite my fully explaining to the material what I expect from it!
:)
Cool project and awesome applications for its successful outcome man.
What I ended up settling on was a 2 piece resin mold that self registers and a metal frame that I apply the pressure to.Quote:
Originally Posted by MikeB52
I thought a 1/8" thick steel plate framed with 1/4" hot rolled angle bar would be sturdy enough, but that ended up flexing enough to make irregular impressions. I 'solved' that by just using a bucket of c-clamps which did work, but as I think about turning this whole thing into a regular production, I think I'll make a dedicated press. Possibly even build a heater into it with a thermocouple and PID or something.
But to do any of that I'll need to find someone near me with a mill. I ultimately hope to have a workshop big enough for one, but that is not now.
However I have successfully sourced a casting epoxy thermally stable up to 600F and 10,000psi. That should make better, more durable molds!
A little sneak preview now that I'm to the point where I can do a test fit.
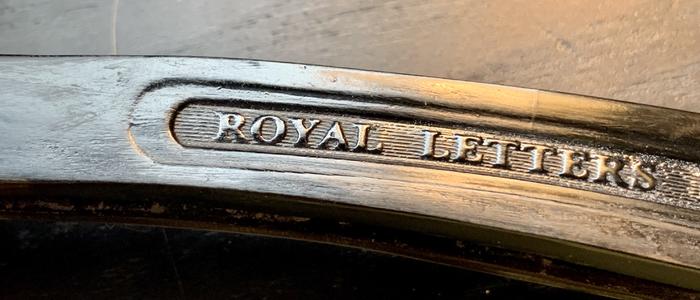
I had some problems in the dyeing process for a complicated sequence of reasons, but the owner of this old Greaves Patent Protector doesn't want the blade restored, so the imperfections in the scales just make them look legit old. He had only the blade and all I had was Lummus' ancient, black & white picture of one side of the complete razor to go on. I fabricated the latch and pressed the scales with a custom mold. An incredible amount of failure went into this, but I am really happy.
Again, this is just a test fit. I haven't drilled the hole to attach the latch arm and it all needs cleaning and there's still trimming to do for the wedge (and the scales a bit, too).
Attachment 334475
Attachment 334476
Attachment 334478
And here it is next to a Greaves with completely original pressed scales from about the same timeframe.
Attachment 334477
Zak, what’s the purpose of that latch? I can’t glom onto a reason why they would go to a significant amount of fabrication expense.
Cheers,
Steve
It lets you latch the razor into an open position so it can't easily close. It was a whole micro-genre of fidgety, gimmicky mechanisms designed to hold the razor in 'the shaving posture', none of which were particularly helpful, but I guess were good marketing.Quote:
Originally Posted by Steve56
To date, the only models of this Greaves one that I've seen intact are actually older ones (made closer to that 1799 date of the original patent). It's part of why I was excited to restore this one to its original functionality. It might be a silly gimmick, but it's the silly gimmick that Greaves was selling on purpose!
Thank you sir!