
Results 11 to 20 of 34
 81Likes
 LinkBack URL
 About LinkBacks
-
07-07-2014, 02:18 AM #11Senior Member


- Join Date
- Jun 2013
- Location
- Gladstone QLD AUSTRALIA
- Posts
- 3,245
Thanked: 804
bit of an update on the progress of this one
so I decided to redo the Rune inlay cut outs etc as I didn't like the lettering as it was so I started again
also added some Paua dots, I used a similar process to do these but with a different Ø3mm milling type bit to the recesses
Rune inlays were glued with CA & sanded back flush with Paua shell inlays dots added & glued ready for sanding again
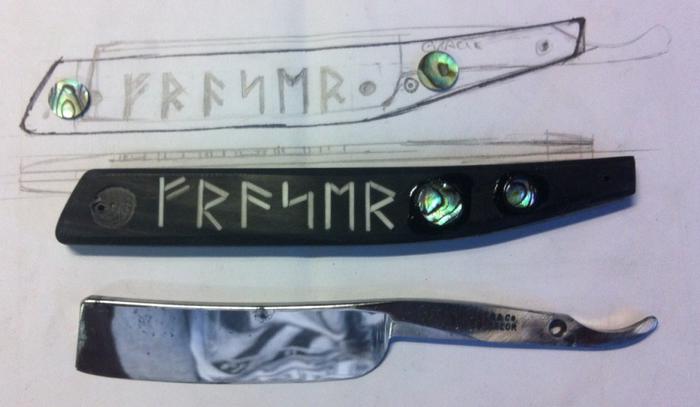
also decided to use a John Holler "Celebrated" 6/8" square point wedge I was waiting on for this project
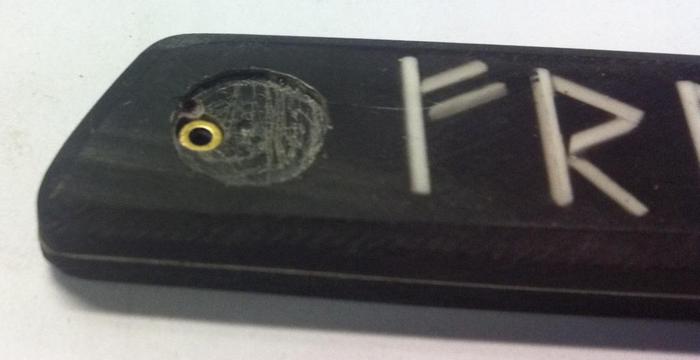
below is the pinning recess for the wedge pin under the inlay dot with a washer in place
pre assembly of bone wedge with Bass liners wedge
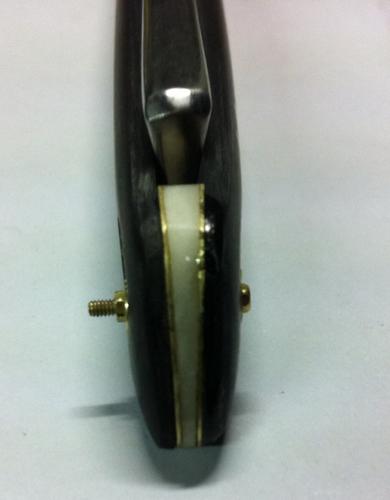
Pre assembly

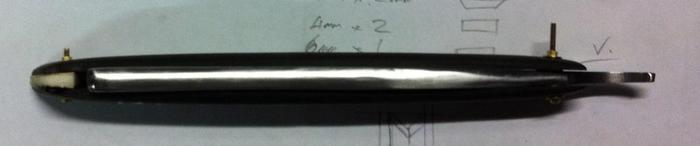
pinning in the wedge recess before glueing the Paua inlay dots to wedge end (looks rather ordinary, but no one ever see it again hopefully)
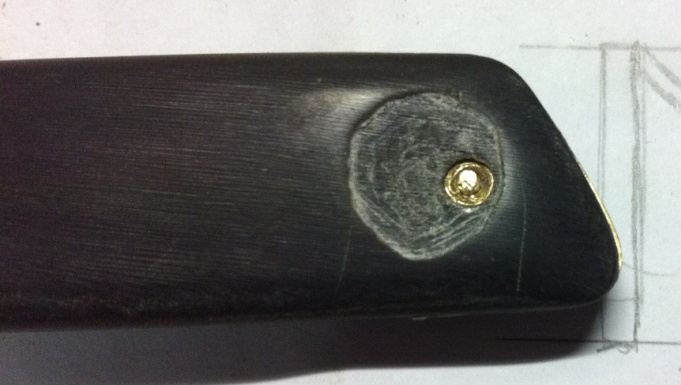
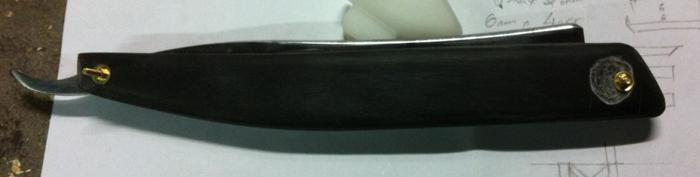
the wedge end inlays are now drying ready for final sanding & clean up of scales
hope you can follow by rantings LOLSaved,
to shave another day.
-
07-07-2014, 02:26 AM #12Senior Member

- Join Date
- May 2014
- Location
- southern California
- Posts
- 412
Thanked: 38
Holy cow that's awesome Originally Posted by Substance
 Substance likes this.
-
07-07-2014, 02:31 AM #13Senior Member
- Join Date
- Jun 2013
- Location
- Gladstone QLD AUSTRALIA
- Posts
- 3,245
Thanked: 804
So while the glues are drying etc, I have started the work on the blade
1st off redrilled the pivot hole with a small rotary grinding bit
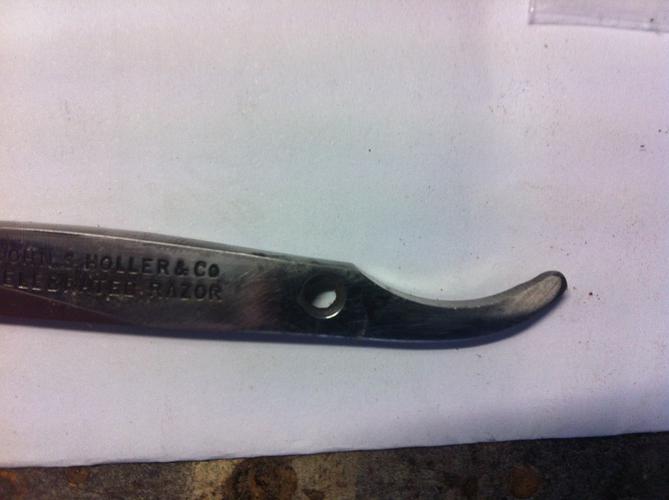
Resized the hole using 2 brass tube sizes to fit the 1/16" brass pin
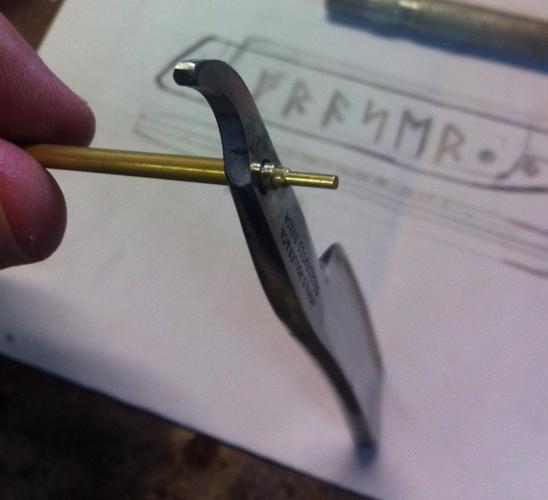
I also use a large centre punch to flare the tube ends so they are fixed into the blade before I sand it all flush
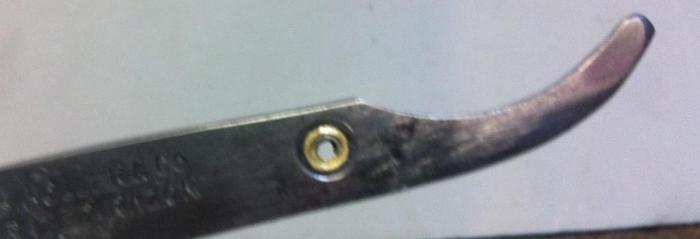
now due to a couple of blemishes on the blade that I have to sand,
I am going to try a matt/satin finish so have starting sanding the blade back to 600 W&D using WD40
and will prgress up from there back to 2000 with the WD40 & see how it comes out
keep yas all posted on thisSaved,
to shave another day.
-
-
07-07-2014, 02:32 AM #14Senior Member
- Join Date
- May 2014
- Location
- southern California
- Posts
- 412
Thanked: 38
Can you show the rotary tool you used to re cut the pivot hole? Originally Posted by Substance
Geezer likes this.
-
07-07-2014, 02:44 AM #15Senior Member
- Join Date
- Jun 2013
- Location
- Gladstone QLD AUSTRALIA
- Posts
- 3,245
Thanked: 804
it was a small greenish blue dremel cone shaped item, it went from about 3mm to 5mm over a 10mm long cone then the normal dremel shaft.
it came in a dremel engraving kit, but I unfortunatley broke it getting a bit keen as I did final sizing it grabbed & broke the tip off
I used it from each side a bit at a time using the dremel drill press set up.Geezer likes this.Saved,
to shave another day.
-
-
07-07-2014, 02:45 AM #16Senior Member
- Join Date
- May 2014
- Location
- southern California
- Posts
- 412
Thanked: 38
Ohhh gotcha. I have the same kit I think. Never thought about it. Good idea. Originally Posted by Substance
-
07-07-2014, 02:48 AM #17Senior Member
- Join Date
- Jun 2013
- Location
- Gladstone QLD AUSTRALIA
- Posts
- 3,245
Thanked: 804
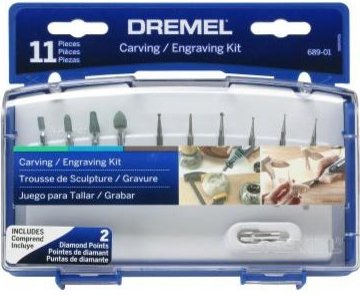
the 3rd bit from the left it was from this kitsharptonn likes this.Saved,
to shave another day.
-
07-08-2014, 09:31 AM #18Senior Member

- Join Date
- Dec 2012
- Location
- Perth, West Australia
- Posts
- 1,431
Thanked: 497
Thank you for this Substance, I'm pinching this for my "Tips and Tricks" folder Originally Posted by Substance
 Substance likes this.http://straightrazorplace.com/workshop/18504-welcome-workshop-how-do-i-where-do-i-what-do-i-answers-here.html
-
07-08-2014, 06:08 PM #19Senior Member

- Join Date
- Jun 2014
- Location
- Eads, TN
- Posts
- 1,042
Thanked: 161
Fantastic work. You have more patience than I do that's for sure. Can't wait to see the finished product.
Substance likes this.
-
07-09-2014, 04:19 AM #20Senior Member
- Join Date
- Jul 2013
- Location
- Dacusville,SC
- Posts
- 290
Thanked: 44
X1. Beautiful work, but no patience here Originally Posted by guitstik
Substance likes this.Amateurs built the ark. Professionals built the Titanic!


 Reply With Quote