Results 1 to 10 of 19
-
08-10-2014, 04:34 AM #1
 Back with three very different custom bone scales...
Work has been keeping me away from my most enjoyable hobby for some time, but I'm back again with a few restorations to share. A couple of these were floating around the forums in varying states of completion but thought it was time to share them in full here.
1. Bruno blade with stained bone scales.
The blade, courtesy of SRP legend Bruno:
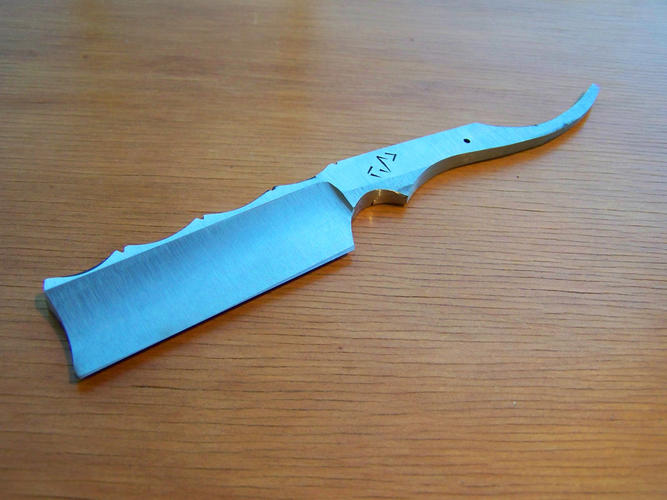
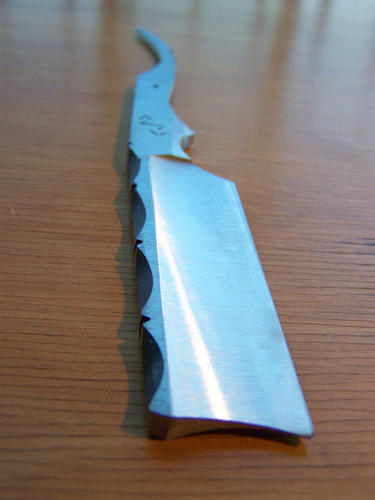
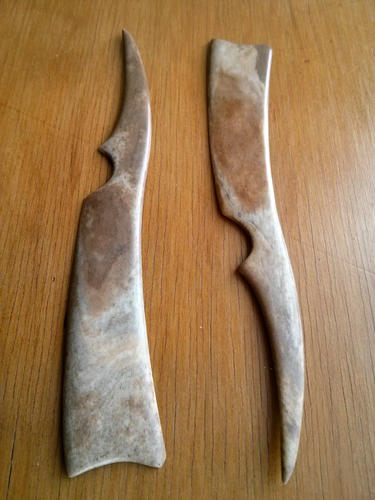
The sun bleached bone, taken from raw:
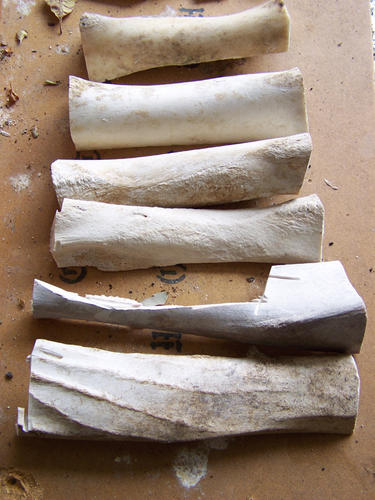
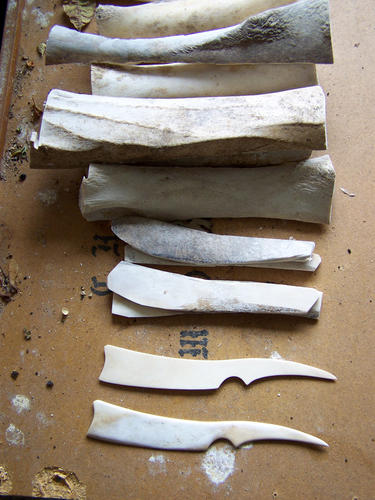
Staining the bone and pinning the front end with stained horn wedge, lined with copper:
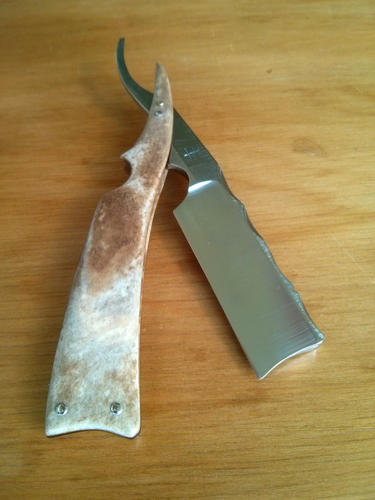
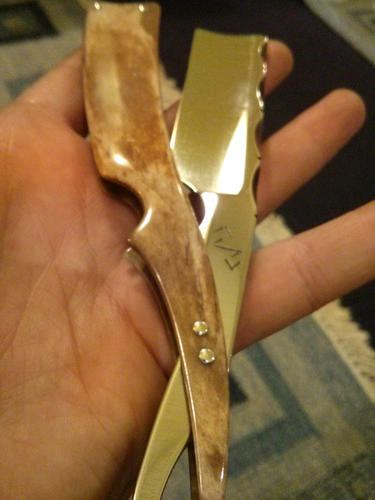
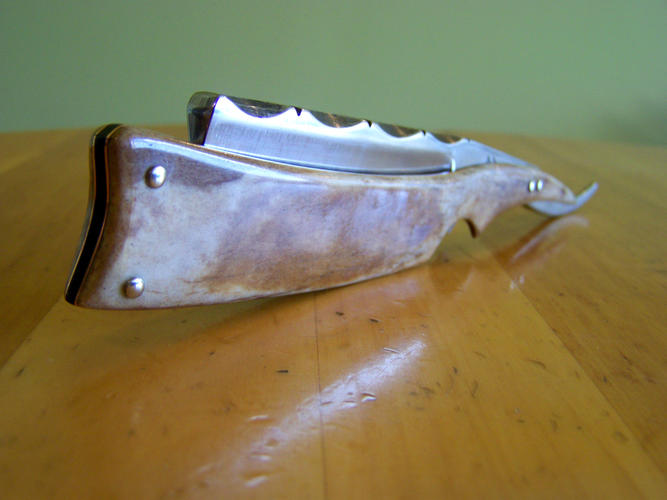
Finishing up polishing the blade and pinning (two rear pins - one purely for looks and one for function):
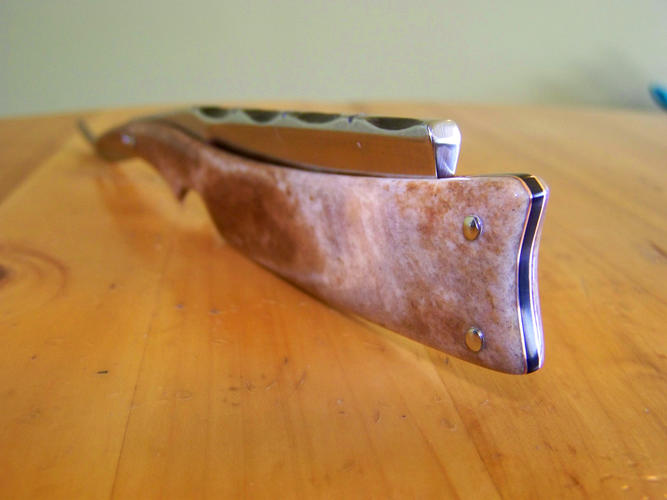
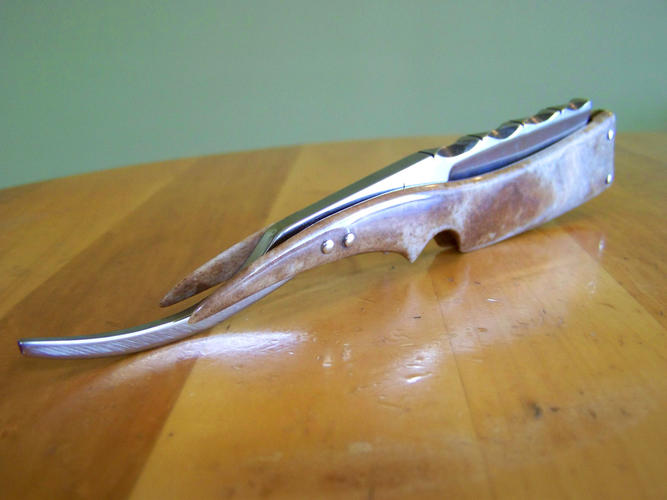
2. Bengall 4-5/8 blade with carved bone scales.
The very sad looking little blade as I received it:
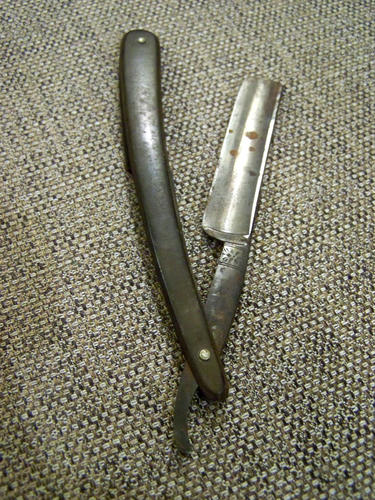
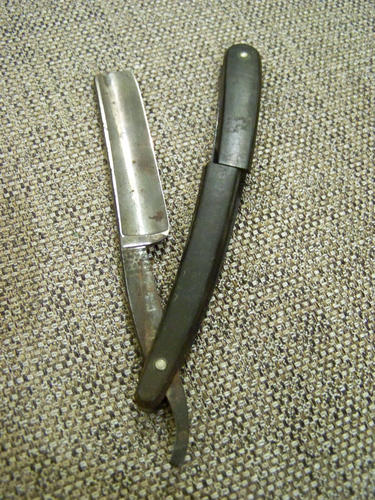
Drawing the bone scale shape (taken from the same raw pieces shown above) and beginning carving:
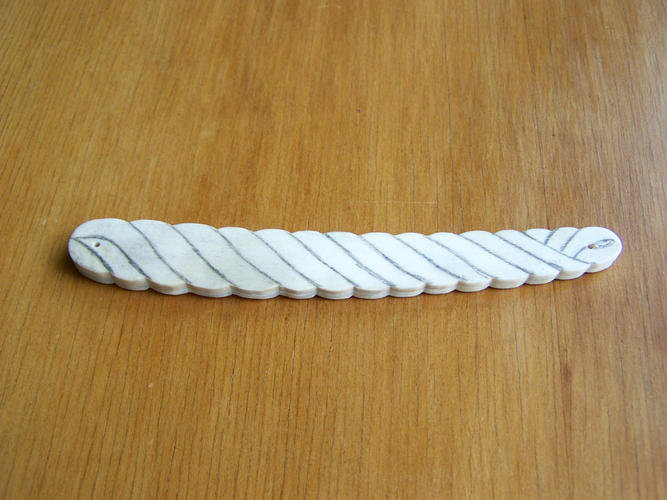
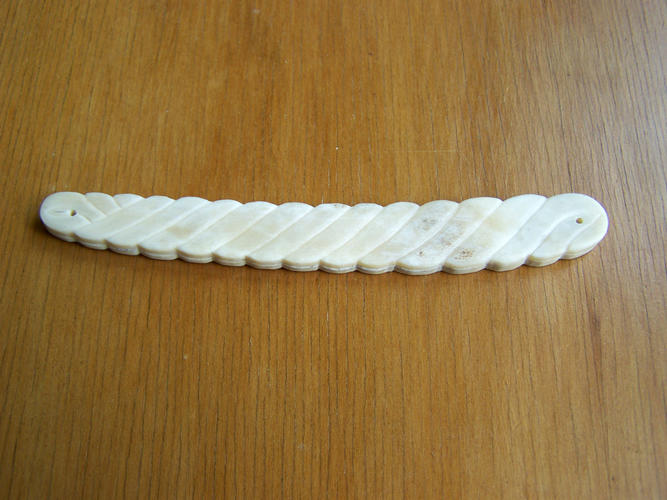
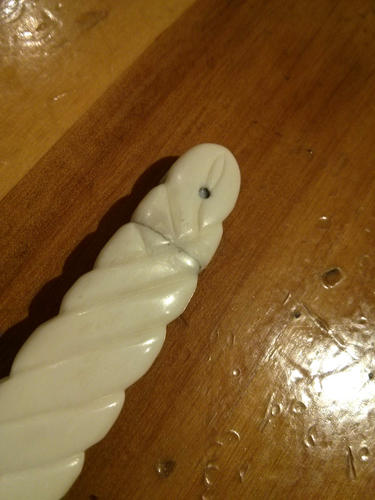
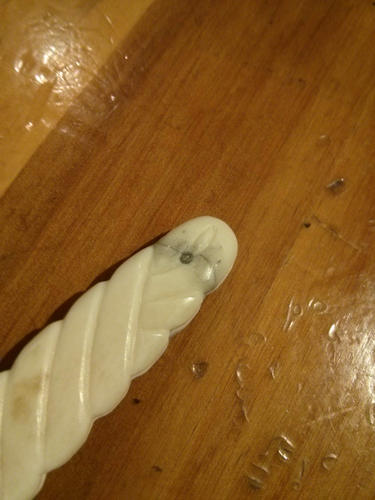
Unfortunately, disaster struck when trying to pin the back end (struck the bone on a strange angle and snapped both sides)... I tried superglue in a moment of desperation, but knew deep down that it would never hold. It was heartbreaking, having spent hours on the shaping... But after some silent weeping, I decided to round off the broken end and shorten the bengall blade to fit accordingly:
-
08-10-2014, 04:38 AM #2

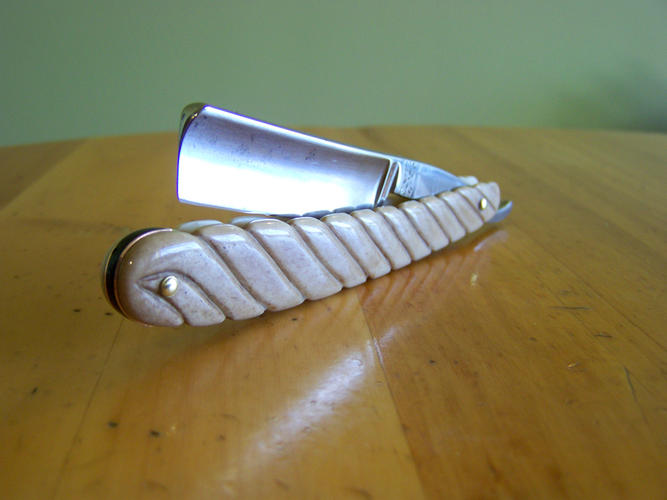
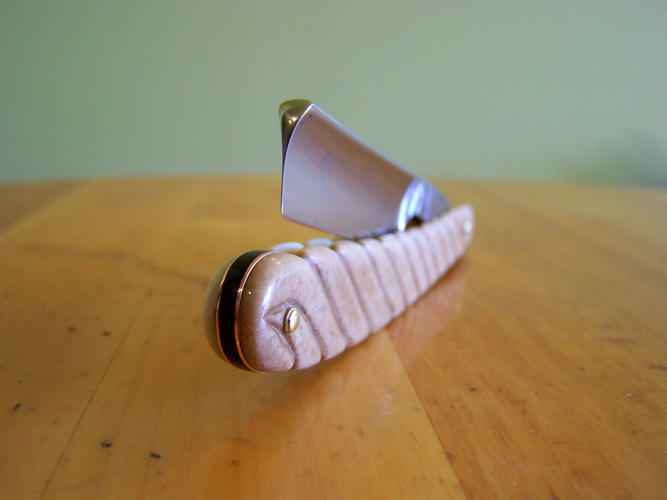
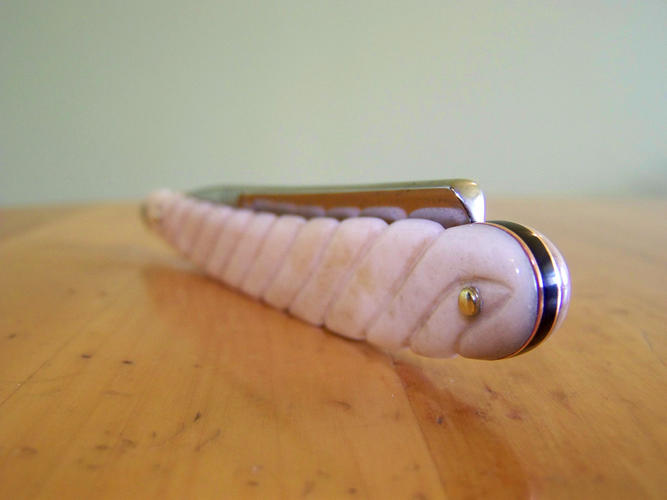
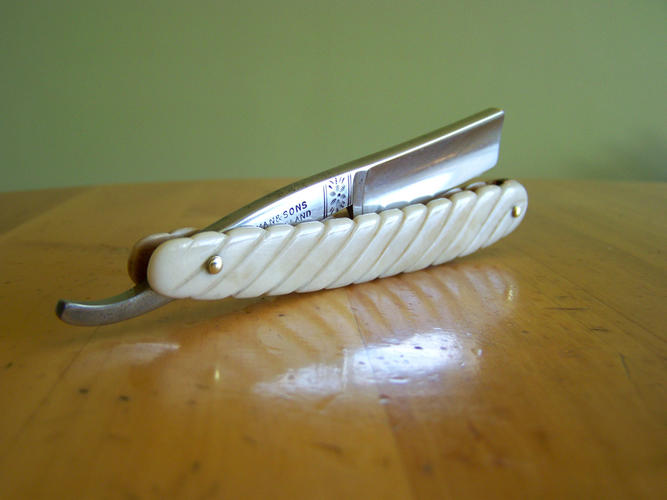
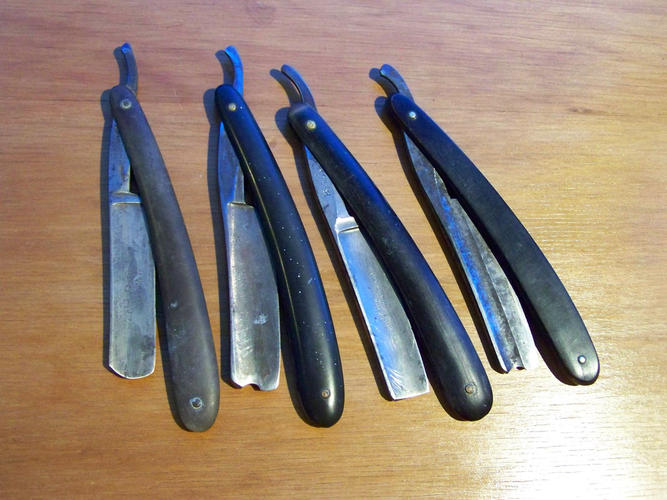
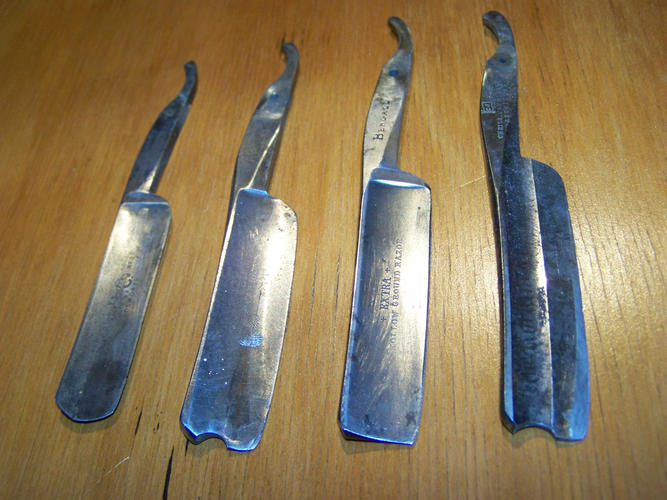
3. Wade & Butcher with custom bone scales
The blade as it came to me - looks like someone has been using it to scrape paint :-(
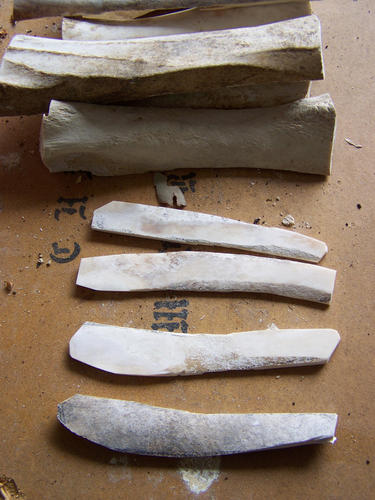
Bone scale shaping and finishing up with stained horn wedge lined with copper.
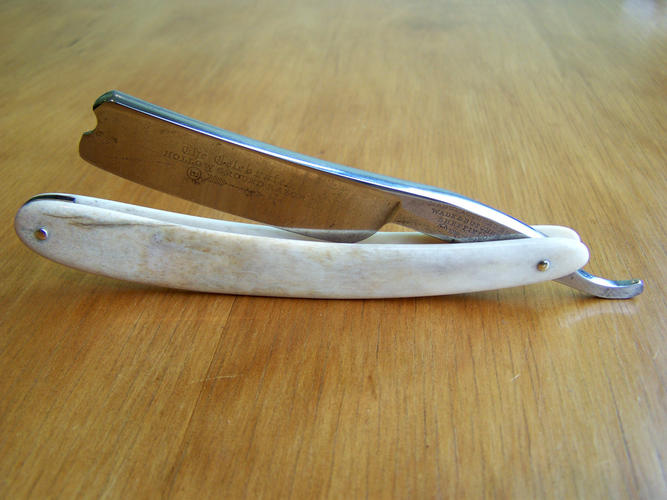
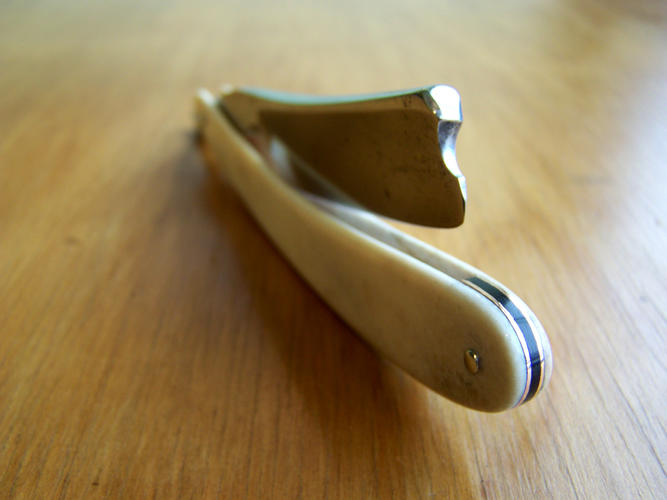
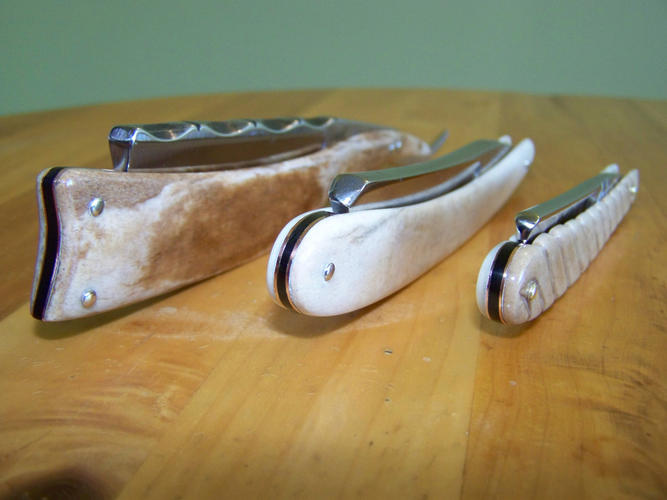
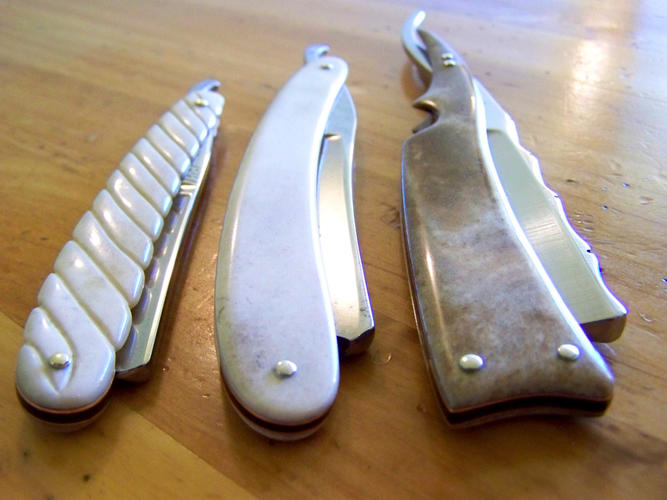
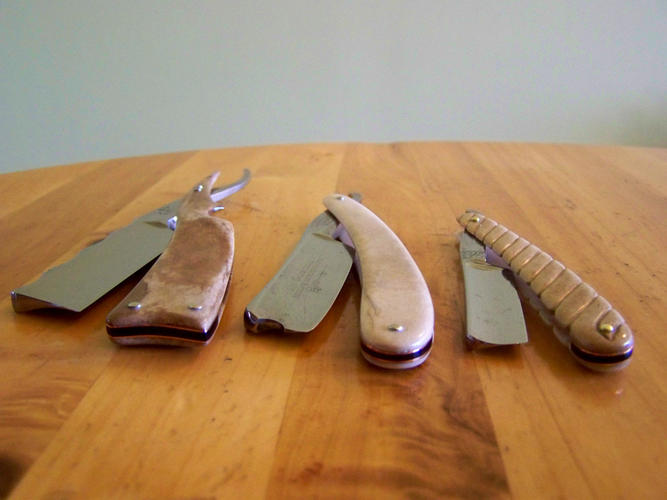
My ''trilogy'' of bone scales with stained horn and copper lined wedge:
-
08-10-2014, 08:20 AM #3Senior Member


- Join Date
- Jan 2011
- Location
- Roseville,Kali
- Posts
- 10,432
Thanked: 2027
Very nice work
 CAUTION
Dangerous within 1 Mile
-
08-10-2014, 09:30 AM #4

A nice trio you have made yourself there Suavio
Saved,
to shave another day.
-
08-11-2014, 01:21 AM #5Senior Member

- Join Date
- Jul 2014
- Location
- Pennsylvania
- Posts
- 100
Thanked: 36
Fantastic work, good job.
-
08-11-2014, 02:20 AM #6

I especially like the scales for your Bruno, but they all look awesome. Good job.
Fairy tales are more than true; not because they tell us that dragons exist, but because they tell us that dragons can be beaten.
-
08-11-2014, 03:33 AM #7Senior Member

- Join Date
- Apr 2014
- Location
- Minnesota
- Posts
- 240
Thanked: 18
Very very impressive. Tell us more about working bone. Do you have to dry it or do anything special before hand ? How about dying it , what do you use to dye it ? How about shaping it , any special tips after breaking the one ? And do you have to seal it at all ? Thanks for showing us your tremendous work!!!!!
-
The Following User Says Thank You to nodakjohns For This Useful Post:
Suavio (08-11-2014)
-
08-11-2014, 04:42 AM #8

All I can say is WOW!!!
We have no control of what other people do or say to us, but we have control to how we REACT !! GOD BLESS
-
The Following User Says Thank You to Walterbowens For This Useful Post:
Suavio (08-11-2014)
-
08-11-2014, 06:09 AM #9

All awesome work.
Mastering implies there is nothing more for you to learn of something... I prefer proficient enough to not totally screw it up.
-
08-11-2014, 08:13 AM #10

Thank you for all the positive comments everyone, really appreciate the feedback

I do dry the bone - once it's completely clean I leave it to bleach in the sun for about a month. I don't like to use any chemicals like bleach because they tend to make the bone more brittle. I then leave it to dry indoors for a bit longer. I then draw and cut the very rough shape using an angle grinder (I don't have that many tools). I then tape or clamp both pieces of bone together and do most of my shaping on my trusty belt sander. Following that, I use a hand file and sandpaper starting at 180 and going up to 1000 grit.
For the intricate carving I used the dremmel to start with, working the grooves into the bone. Once it started to take shape I switched to hand file and sanding. The biggest tip I have is to go slowly, drill the holes last, and be very careful with the pinning! The break was completely my fault, caused by a careless pin.
As for the stain - I did some experimenting with various tannins and dyes, including acorn, walnut, coffee, tea, rust/iron based stains, etc. I've also tried fluorides and bleaches to get a whiter white, but far prefer sun bleaching. Nothing took the bone nearly as dark as I first wanted it, even after repeated dyeing, but over time I've come to really like the natural look I've achieved. This is done using a natural walnut stain that comes in crystal form to dissolve in water. I leave the bone to soak for around 24hrs and then repeat if necessary.
Lastly, after a final sand at 1200 grit I use a polishing compound (the same autosol or mothers I use on the blades) and polish the bone up to a glossy finish. Repeat that a couple of times and what's left is a wonderful smooth sheen that also protects the bone.
Hope that helps!
-
The Following 2 Users Say Thank You to Suavio For This Useful Post:
Euclid440 (10-15-2014), nodakjohns (08-11-2014)


 41Likes
 LinkBack URL
 About LinkBacks


 Reply With Quote

