
Results 11 to 20 of 44
 41Likes
Thread: T. Hessenbruch
 LinkBack URL
 About LinkBacks
-
01-09-2016, 04:35 PM #11Senior Member


- Join Date
- Mar 2015
- Location
- Akron, Ohio
- Posts
- 12,107
Thanked: 4313 You learn alot by hand...
 Originally Posted by MW76

But the dremmel makes it sooooo
much easier. It is paritive to beware of tool rotation.
Tools "ALWAYS"!! rotate off the edge of the blade, watch you dont get it hot, especially when buffing and polishing.
Always wear eye protection.
And you dont have to press hard.
Sanding is done by hand.
Dont use the dremmel to sand.
Wet/dry paper from 80-2500,
Can be obtained from Auto Zone,
000-0000 steel wool and WD-40 from hardware stores.
Dremmels are great tools, but read as much info or videos as you can on their use for razor restoring, before you dive in. Its impairitive that you do. You can destroy a blade in the blink of an eye .
Ask questions as they arise. Someone will answer
Respectfully
Mikeultrasoundguy2003 likes this.Mike
-
01-09-2016, 05:23 PM #12Matt

- Join Date
- Dec 2015
- Location
- Albany, NY
- Posts
- 971
Thanked: 260
Dude... good stuff. Originally Posted by outback
Ill be sure to be safe and take it slow with the Dremmel. God knows i love a good instructional video. Ill find what i can.
Was that a typo or did you really mean 80 grit sandpaper? I can imagining going all the way down to 80 would take a very long time to bring back up to polish.
Ill keep sanding by hand. I spent about 3 hours this morning starting on 800 and slowly making my way back up to 2500. Im on 1500 now.
I cant get the smallest of the black spots to disappear with 800 but i decided for a first try id like to polish it back up and see if i can make it shine again.
Thanks for the help.
-
01-09-2016, 06:16 PM #13Matt
- Join Date
- Dec 2015
- Location
- Albany, NY
- Posts
- 971
Thanked: 260
... aaaaand i just found this.
Hand sanding a blade - Straight Razor Place Library
All questions answered.
-
01-09-2016, 06:36 PM #14Senior Member
- Join Date
- Mar 2015
- Location
- Akron, Ohio
- Posts
- 12,107
Thanked: 4313
It said 80. But that is for the most severe restore jobs, with deeeeep pitting. Somtimes its just best to remove most of the pitting and leaving the deepest ones. Originally Posted by MW76
Heres what I mean.
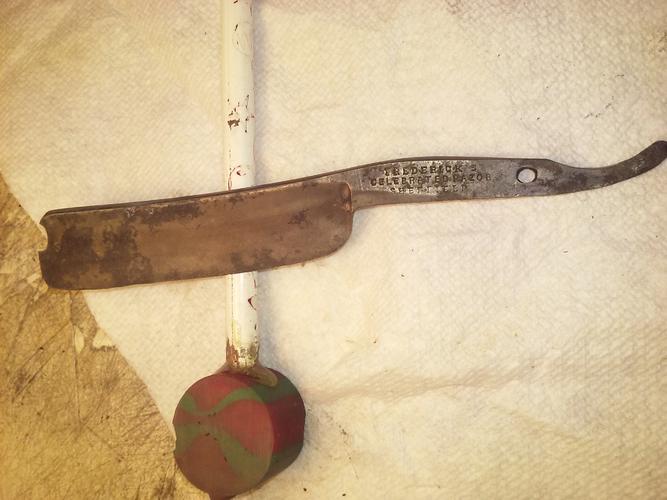
These are before pics at 80 grt.
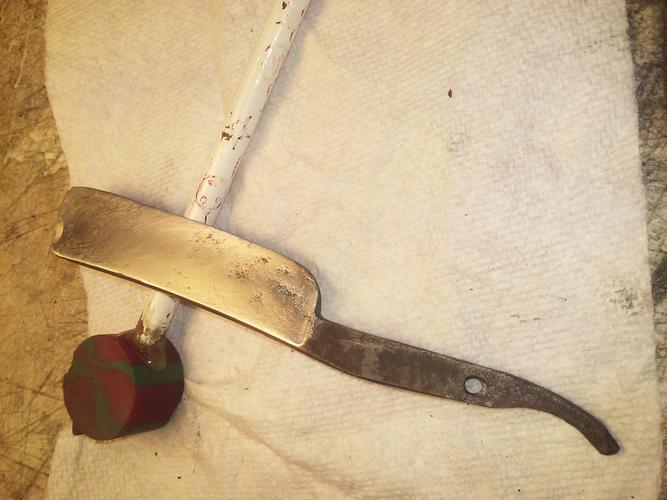
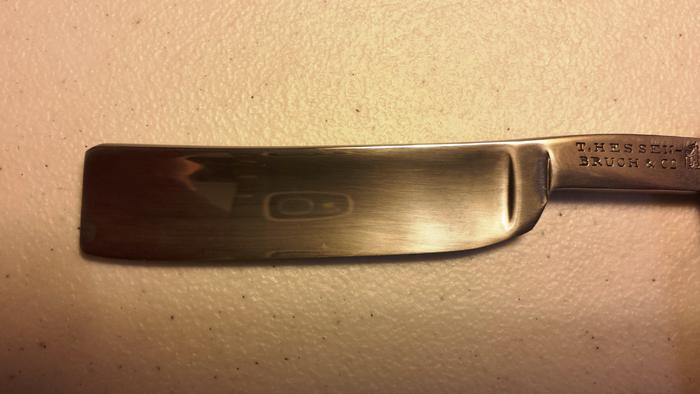
These are after I finished.
Notice, there are still some pits in the blade, but I have a clean edge at the bevel.
-
01-09-2016, 08:01 PM #15Matt
- Join Date
- Dec 2015
- Location
- Albany, NY
- Posts
- 971
Thanked: 260
Ok. Those look really nice but i see what you mean about deep pitting. The pitting on these is minimal. Ill keep going lower on the grits until i start to remove it.
I was gonna call it and polish it back up..
..but anything worth doin' is worth doin' right.outback likes this.
-
01-10-2016, 02:23 AM #16Senior Member
- Join Date
- Mar 2015
- Location
- Akron, Ohio
- Posts
- 12,107
Thanked: 4313
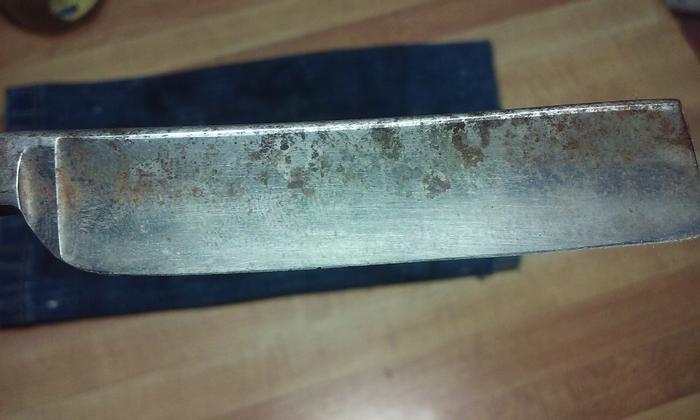
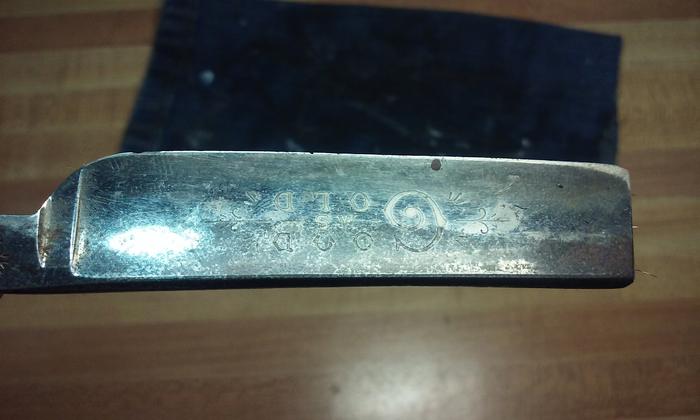
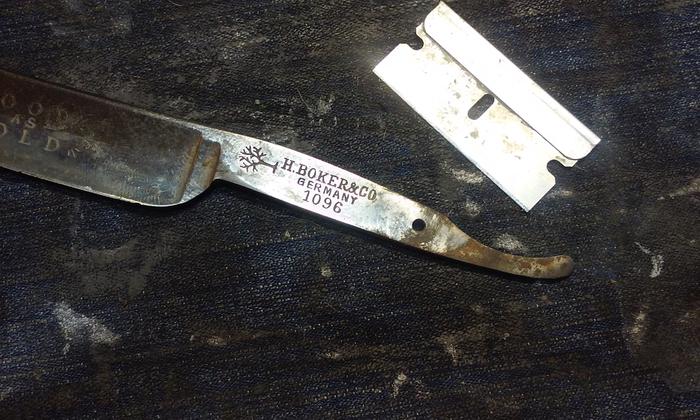
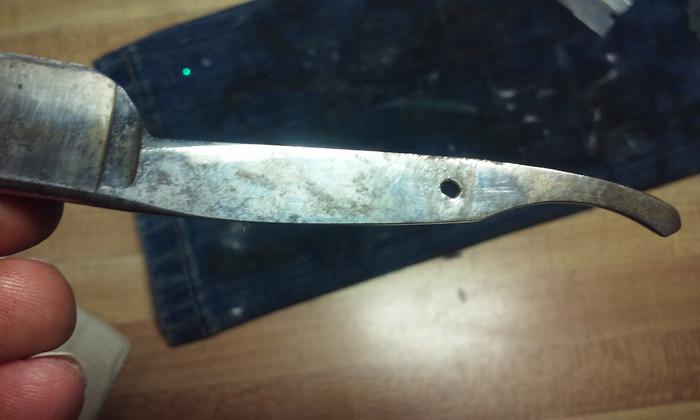
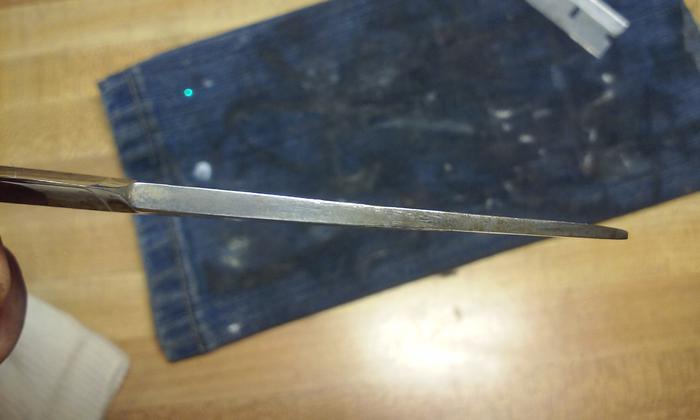
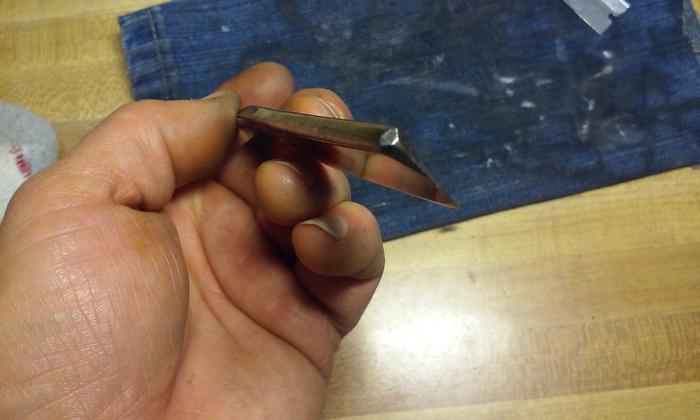
Here's a Boker 1096 I'm about to start on. I'll start by cutting as much rust off with a SE razor blade, then the wire wheel in the dremmel. From there I'll decide whether to sand or not.
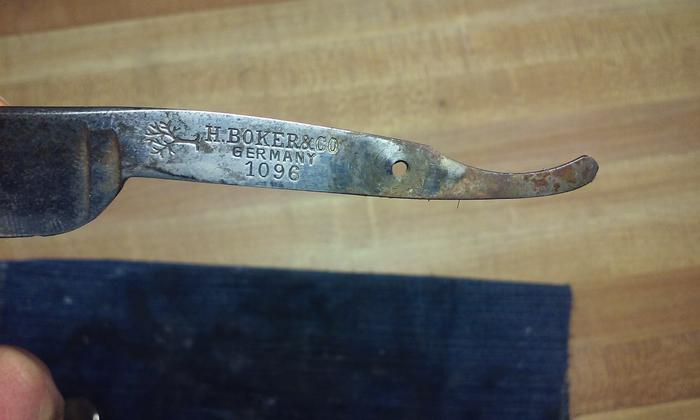
 ScottGoodman and MW76 like this.Mike
-
01-10-2016, 02:47 AM #17Matt
- Join Date
- Dec 2015
- Location
- Albany, NY
- Posts
- 971
Thanked: 260
That things needs some TLC. Ill have to remember about the SE. I bet that will come in handy..
And i wish i had a wire wheel right now. This took me most of the afternoon.. just one side, up to 2000 grit from 150.
Thanks again for the help.
-
01-10-2016, 03:02 AM #18Senior Member
- Join Date
- Mar 2015
- Location
- Akron, Ohio
- Posts
- 12,107
Thanked: 4313
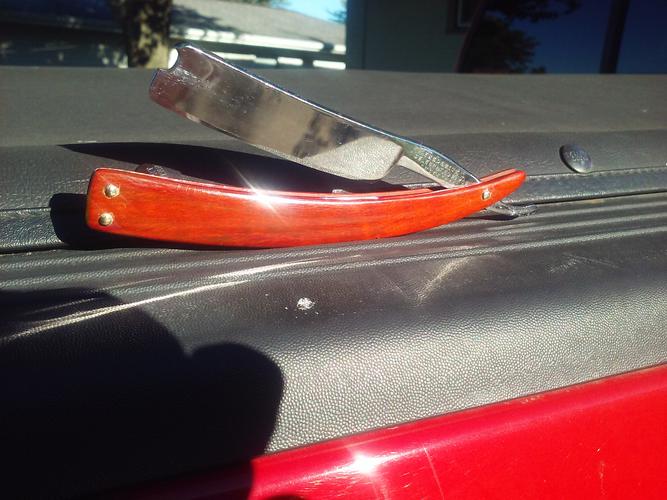
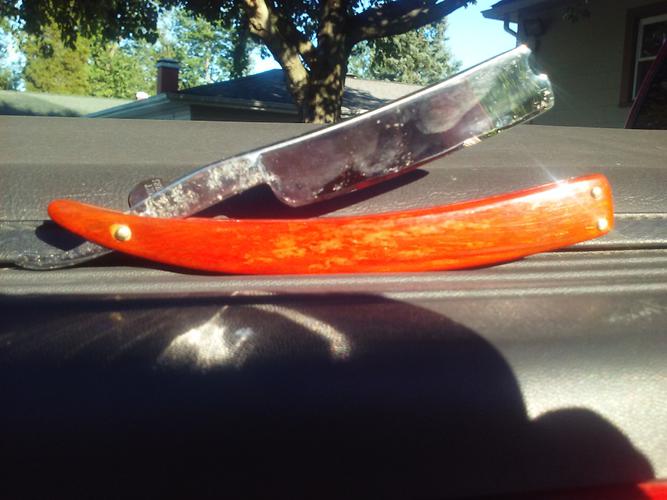
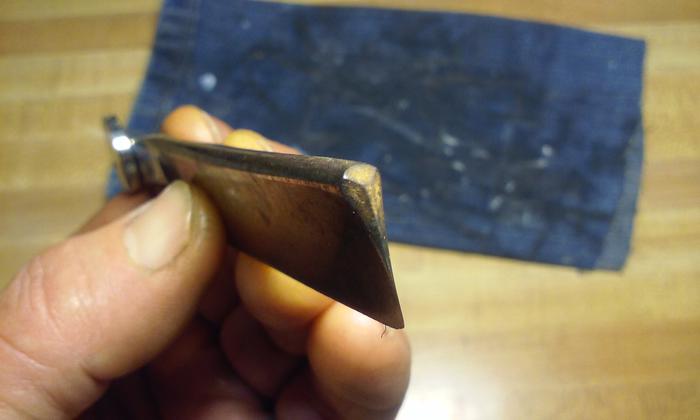
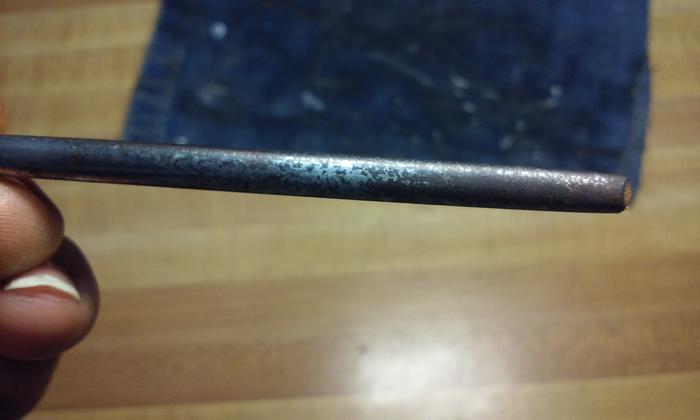
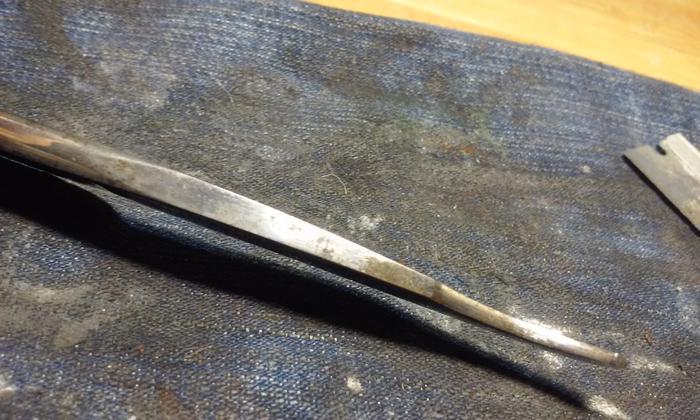
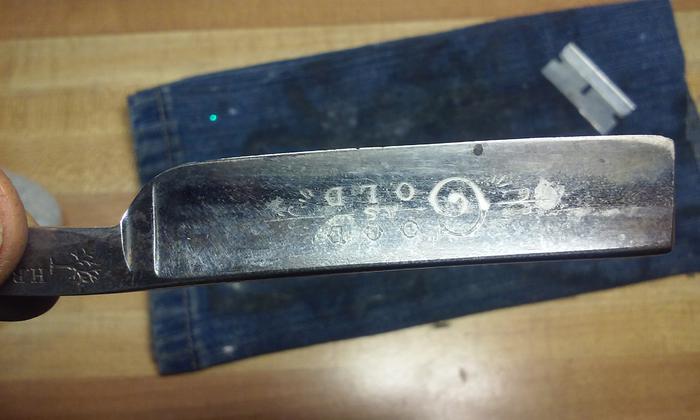
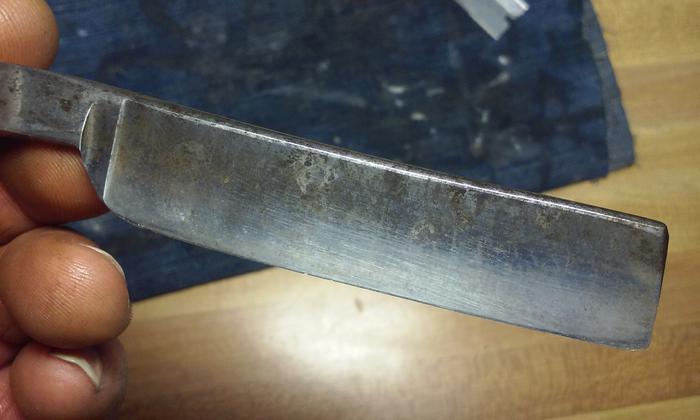
Looking good. But you should sand across the blade (spine to edge) your removing the sharp lines on the stabilizer and thinning the spine. Originally Posted by MW76
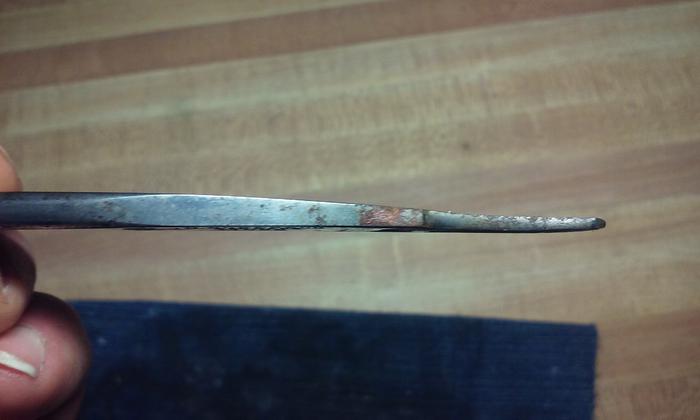
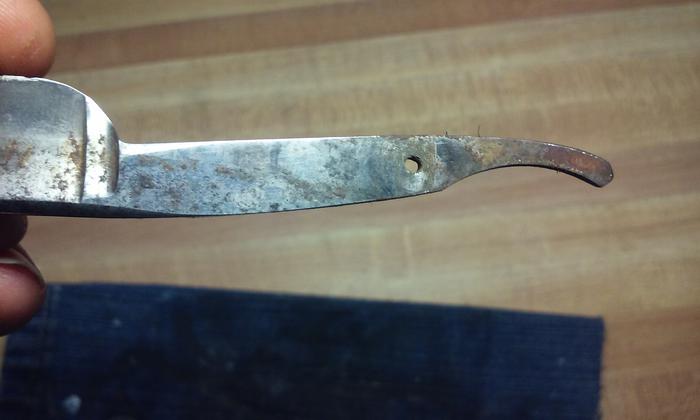
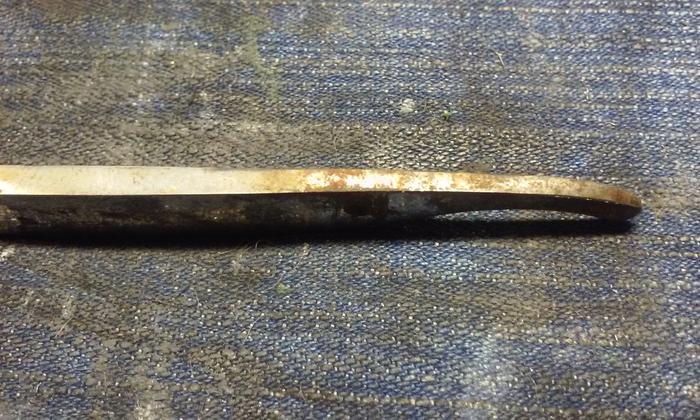
Heres pics after cutting the rust off.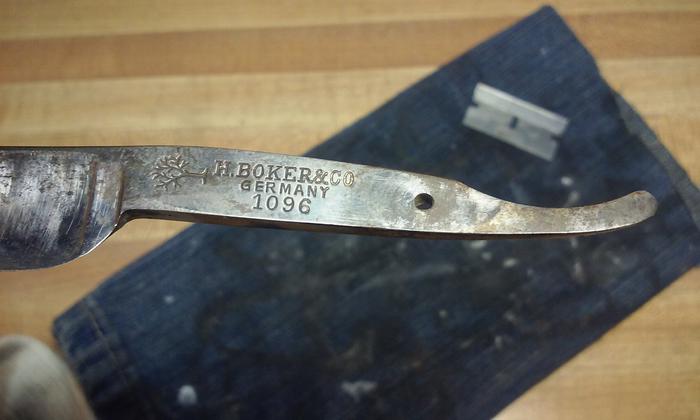

More than happy to help walk ya thru it. Many have done this for me, and may even step in while were at it. To possibly help me as well, as I restore this blade.ScottGoodman likes this.Mike
-
01-10-2016, 03:10 AM #19Senior Member
- Join Date
- Mar 2015
- Location
- Akron, Ohio
- Posts
- 12,107
Thanked: 4313
Lets see where the wire wheel gets us. [emoji6]
-
01-10-2016, 03:30 AM #20Matt
- Join Date
- Dec 2015
- Location
- Albany, NY
- Posts
- 971
Thanked: 260
Much improved already! Originally Posted by outback


 Reply With Quote