
Results 21 to 30 of 44
 41Likes
Thread: T. Hessenbruch
 LinkBack URL
 About LinkBacks
-
01-10-2016, 04:09 AM #21Senior Member


- Join Date
- Mar 2015
- Location
- Akron, Ohio
- Posts
- 12,118
Thanked: 4316
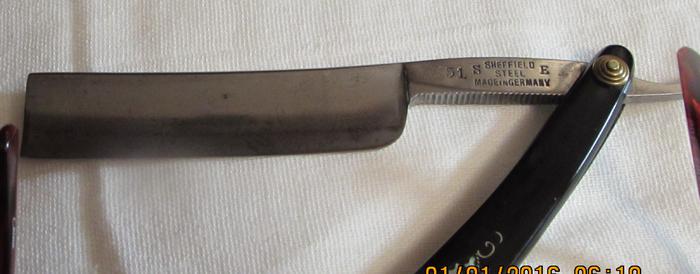
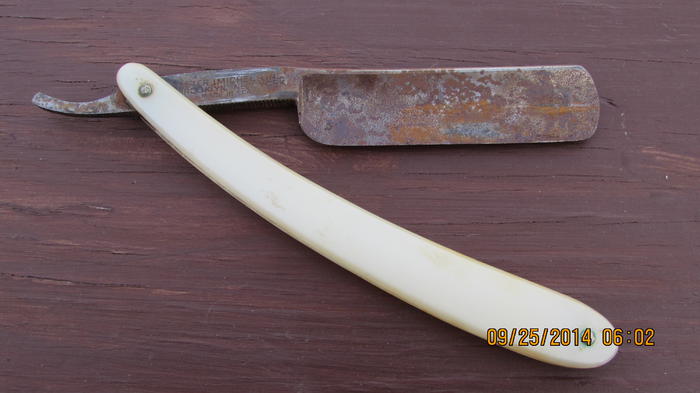
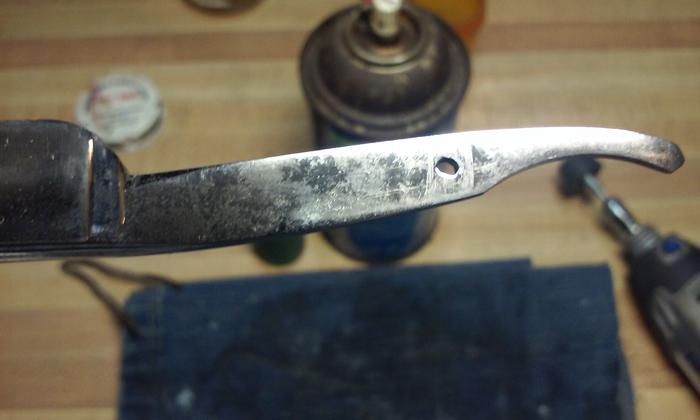
Here's after the wire wheel.
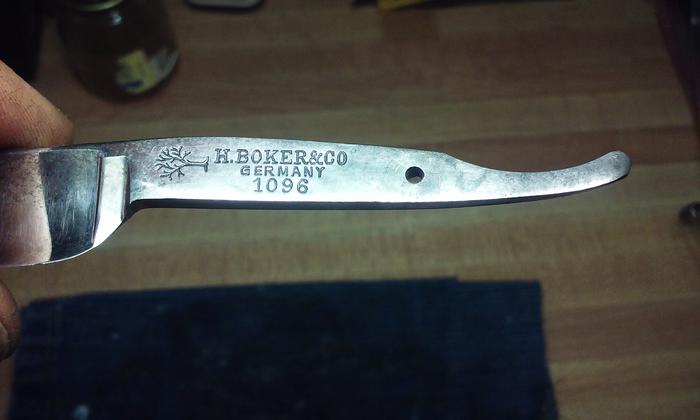

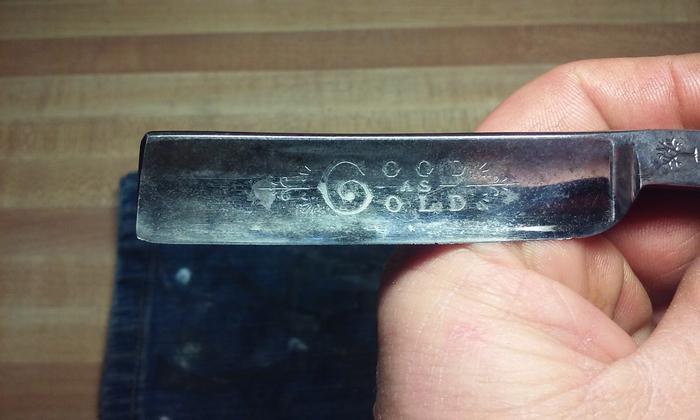
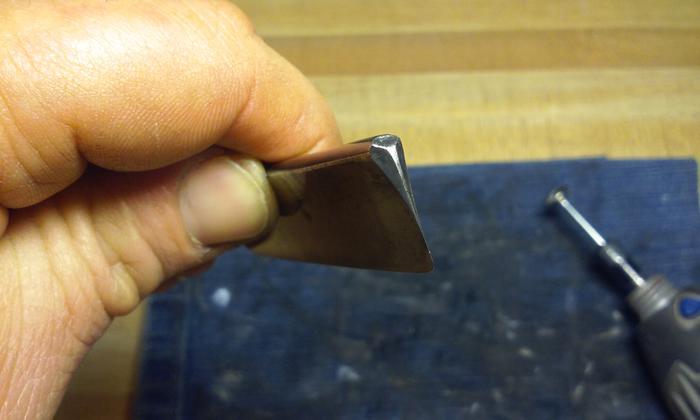
There is some light pitting.
Ive decided to not sand the blade to keep the integrity of the etching.
I will buff it with chromium oxide,
( the green stuff we put on strops)
Wich is approximately 30,000grt.
Then polish it with flitz and maas.
The first, (cr/ox) I will use a felt wheel in the dremmel. The second, ( flitz and maas) I'll use a rag wheel.
-
01-10-2016, 04:38 AM #22Senior Member
- Join Date
- Mar 2015
- Location
- Akron, Ohio
- Posts
- 12,118
Thanked: 4316
I'll finish tomorrow
-
01-10-2016, 05:12 AM #23The First Cut is the Deepest!

- Join Date
- Feb 2010
- Location
- Upper Middle Slobovia NY
- Posts
- 2,737
Thanked: 481
Seriously, DONT use your nice new dremel on your nice already partially hand worked blade. Get some junker blades and practice on them first. You don't want to find out through trial and error how much speed and pressure it takes before a razor "burns"
Learn that on garbage!
I love my bear, and I would be sad to learn of one being "poached"outback likes this.
-
01-10-2016, 10:36 AM #24Matt

- Join Date
- Dec 2015
- Location
- Albany, NY
- Posts
- 971
Thanked: 260
Would that remove the etching? Originally Posted by outback

Duly noted. Right now i'm trying to do everything by hand. Ill have to find some junkers online. Originally Posted by Magpie
-
01-10-2016, 03:15 PM #25Senior Member
- Join Date
- Mar 2015
- Location
- Akron, Ohio
- Posts
- 12,118
Thanked: 4316
Probably not all of it. But yes, it would ruin it for sure. Sometimes its better to just clean-up some blades, than to try and make them like new. Thats what I've been trying to get across to you. Originally Posted by MW76
You didn't have to do all of the sanding, that you did to your blade.
You could have easily cut the rust off, and rubbed it with metal polish.
If that didn't work, maybe try steel wool and WD-40,then metal polish. Always try the least invasive ways first. Heavy sanding is usually left for wedge,near wedge and 1/2 hollow blades.
The full and extra hollow blades wont hold up to it,their too thin and have a better chance of being destroyed. I'm no pro at this! But I have restored almost 100 razors last year and ruined a few learning
I cant emphasize how important it is to read and learn as much as possible on restoring these, beforehand. Read others posts on the subject throughout the forum and other forums. Check the WIPs
(Work in progress) like I'm doing with the Boker. There are so many tips and tricks to learn, and I cant remember them all or claim to know all. Ive been with this forum for a year now and joined to learn how to do this, as well as you.Mike
-
01-10-2016, 03:47 PM #26Senior Member

- Join Date
- Mar 2014
- Location
- Romulus, Michigan
- Posts
- 1,352
Thanked: 332
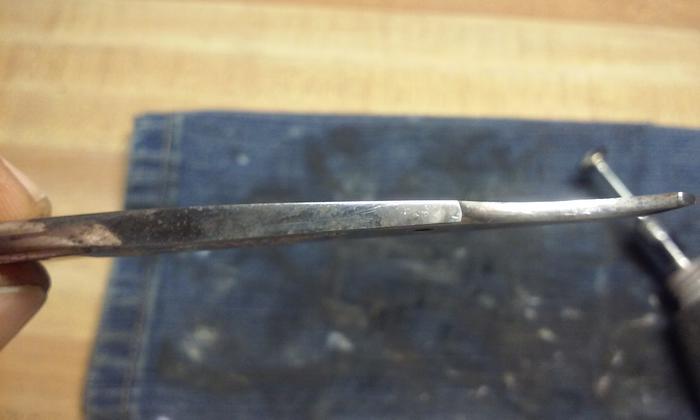
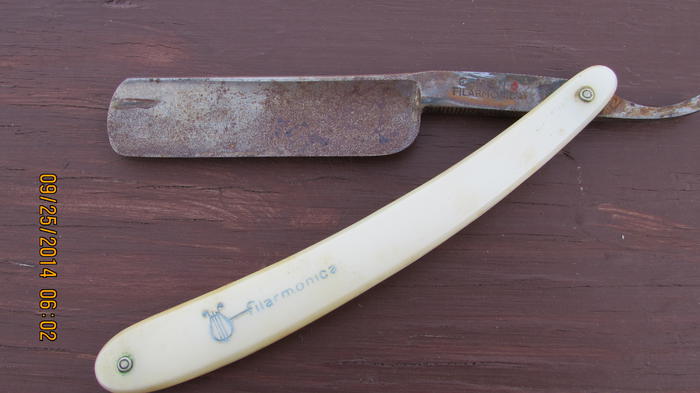
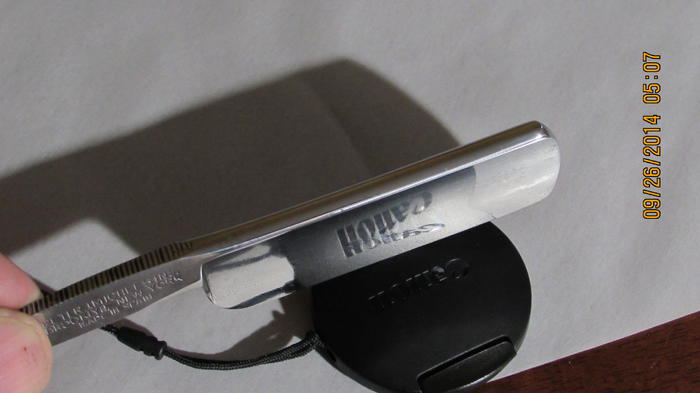
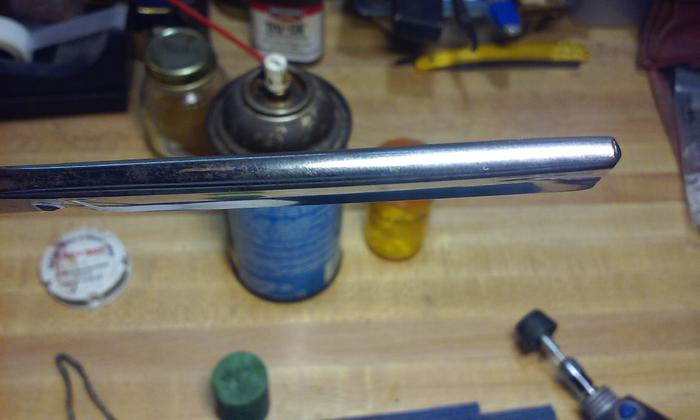
This is what happens if you sand or polish the etch to much.
Like outback said evaluate how deep the etch is and how much damage is present before proceeding . If you feel the etch with your fingernail or a toothpick you can get an idea of how deep it is.
The above example was more is a sticker no depth at all.
That was part of my learning curve.
That is why the other members are helping, well its what we do, but they are reducing the learning curve.MW76 likes this.Your only as good as your last hone job.
-
01-10-2016, 04:03 PM #27Senior Member
- Join Date
- Mar 2014
- Location
- Romulus, Michigan
- Posts
- 1,352
Thanked: 332
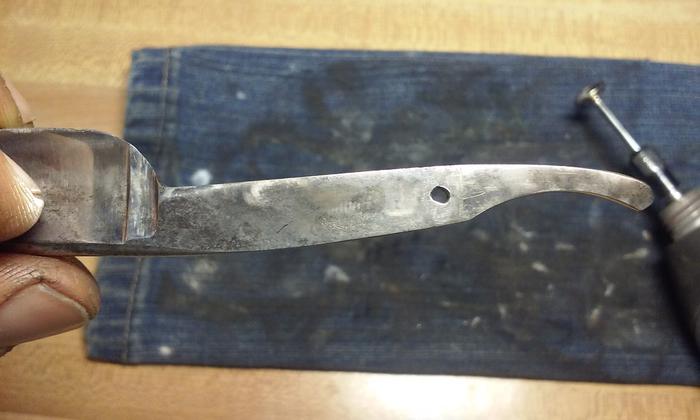
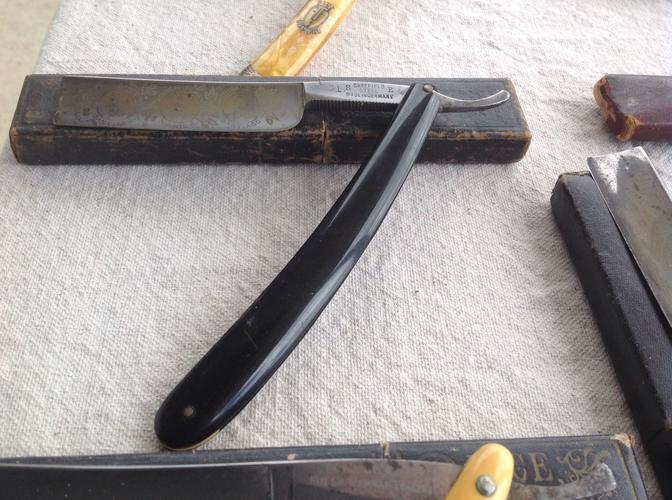
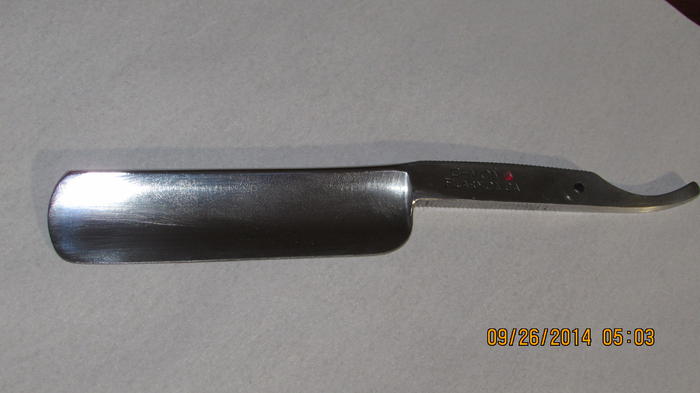
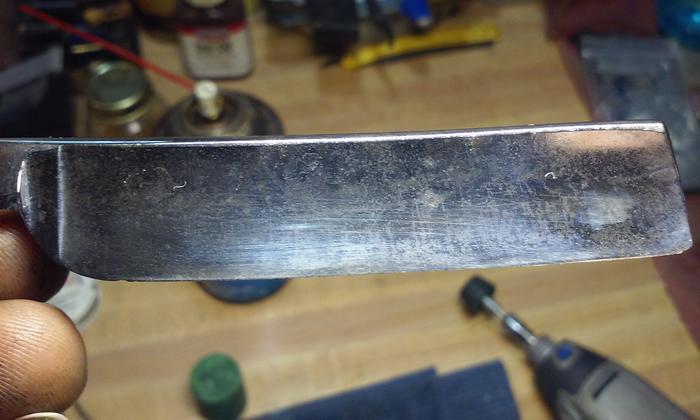
Here is whats possible.
See my lengthwise scratches, BAD. Considered poor workmanship.
See the dates its part of my learning curve.
Shaves so good and I got lazy, This is a razor I need to revisit.
For $50 I couldnt pass on a Philly, Its way out of my league. So I took a shot at cleaning it up.
Notice the color or the rust, and age of the razor, those are tells of how deep the pitting is.
Older razors, blacker,darker rust deeper the damage.
Now back to outbacks class
 MW76 likes this.Your only as good as your last hone job.
-
01-10-2016, 04:19 PM #28Senior Member
- Join Date
- Mar 2015
- Location
- Akron, Ohio
- Posts
- 12,118
Thanked: 4316
Thank you Jonathan, for the help, feel free to chime in anytime, all the more help the better. That goes for all here. Were here to help the man learn and others as well. So if y'all have a comment, by all means..... Say it!! Originally Posted by ultrasoundguy2003
PS. I like the soap Jonathan
Very nice, great smell too.
Thanks
Mikeultrasoundguy2003 likes this.Mike
-
The Following User Says Thank You to outback For This Useful Post:
ultrasoundguy2003 (01-10-2016)
-
01-10-2016, 04:55 PM #29Matt
- Join Date
- Dec 2015
- Location
- Albany, NY
- Posts
- 971
Thanked: 260
Ok i misinterpreted that. I thought the steel wool process was an alternative process to sanding. I didn't pick up that you were telling me not to sand the blade.. my bad. Originally Posted by outback
outback likes this.
-
01-10-2016, 07:29 PM #30Senior Member
- Join Date
- Mar 2015
- Location
- Akron, Ohio
- Posts
- 12,118
Thanked: 4316
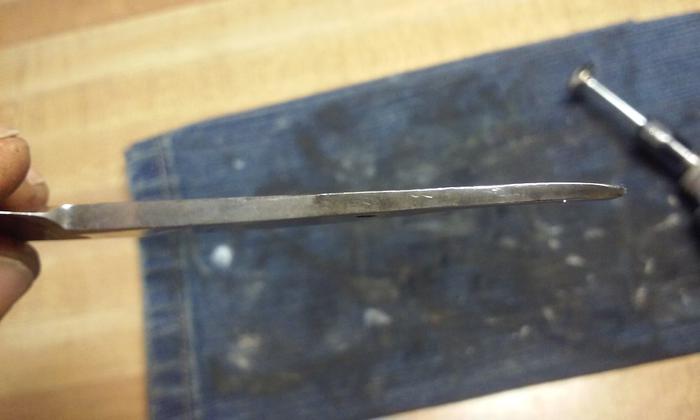
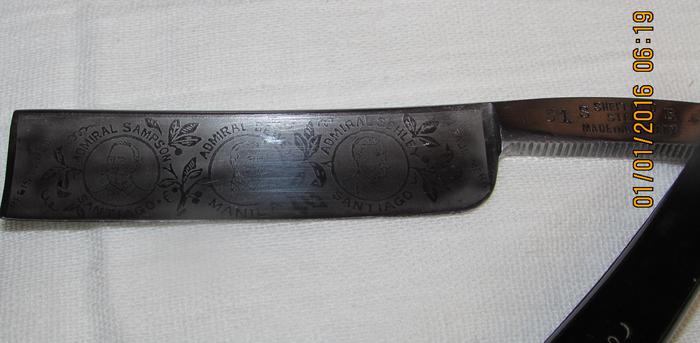
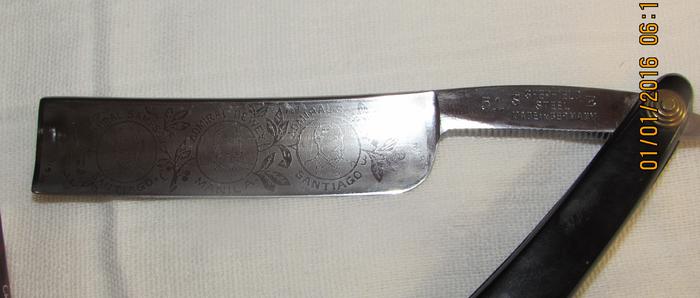
Here are the pics after the cr/ox and felt wheel.

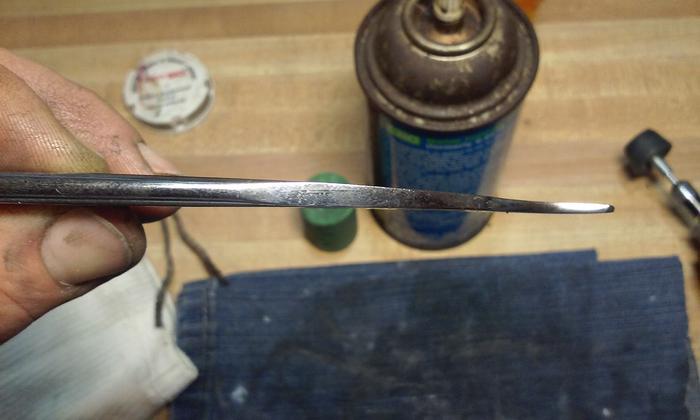
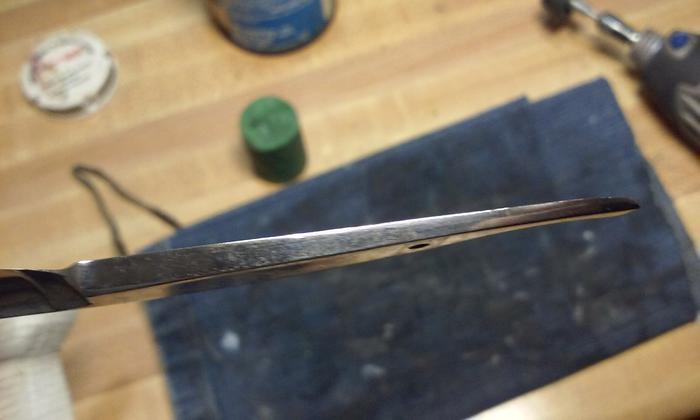


Not a big change, just cleans up the blade more. Im not going for a perfect finish, just want to make it look nice and clean, with that used well kept look. Even though I could go in with 600 grt -2500 grt. and make it better with little damage to the etch, wich is pretty deep.
Just want the ol gal to look good for her age.[emoji6]
So I'll give her a buff job with metal polish, and see how she comes out, before I get it pinned back up.ScottGoodman and MW76 like this.Mike


 Reply With Quote