
Results 11 to 20 of 23
 49Likes
Thread: Help getting that mirror finish
 LinkBack URL
 About LinkBacks
Threaded View
-
04-30-2017, 01:56 PM #1Junior Member

- Join Date
- Mar 2017
- Location
- New Hampshire
- Posts
- 10
Thanked: 0 Help getting that mirror finish
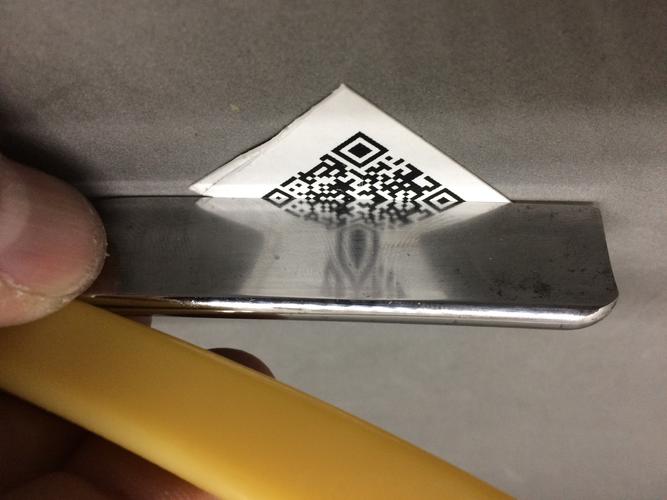
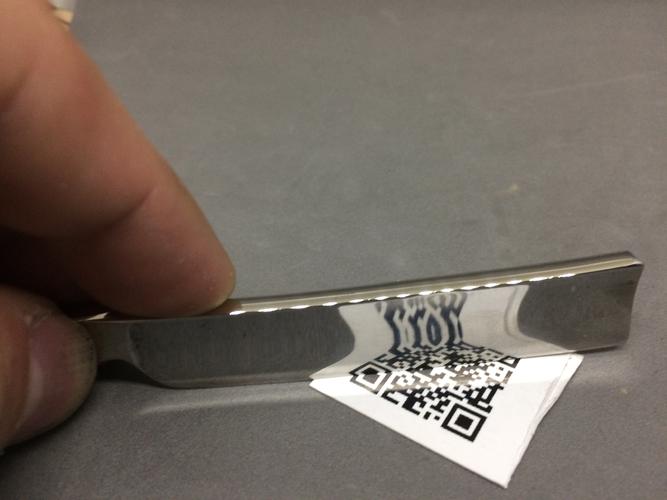
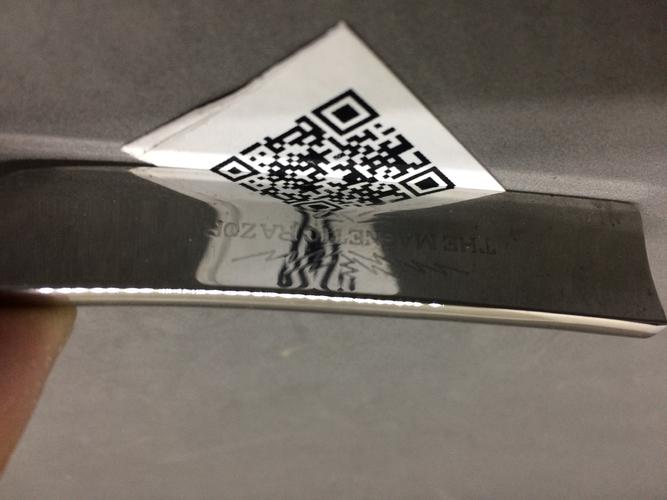
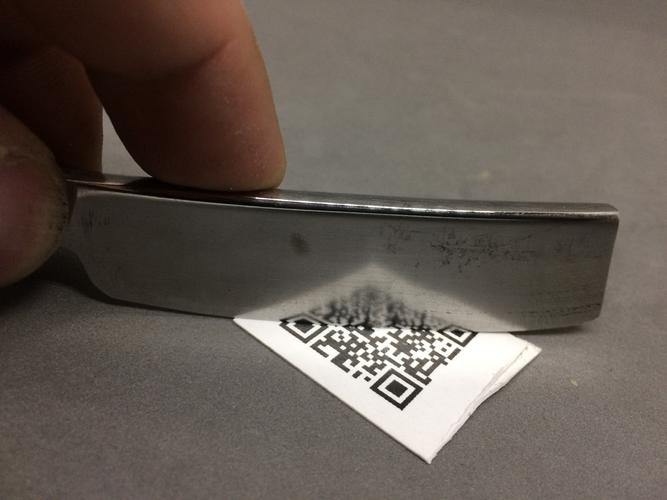
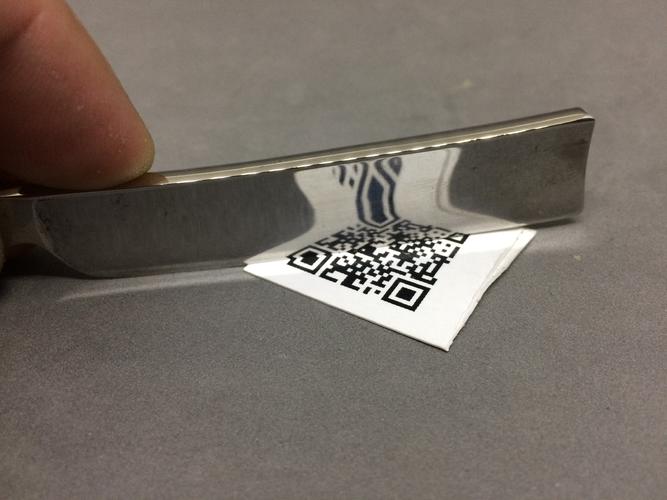
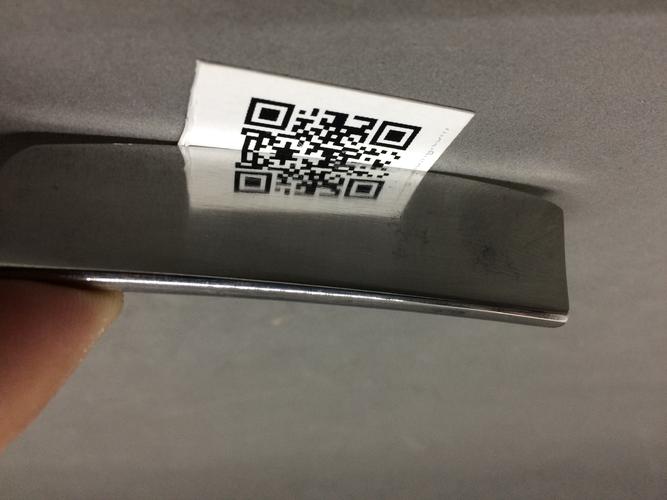
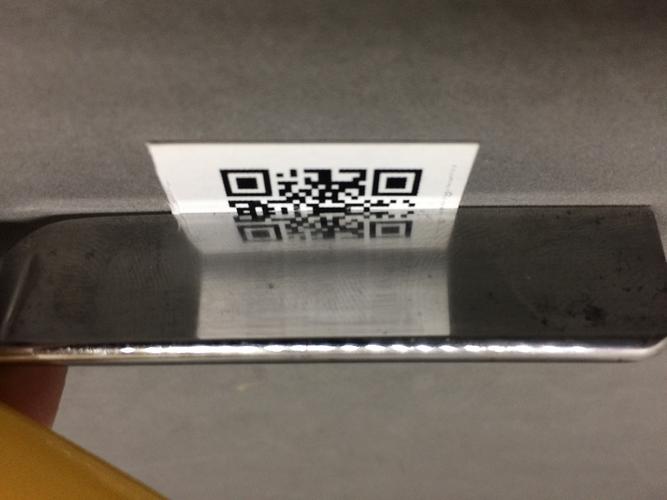
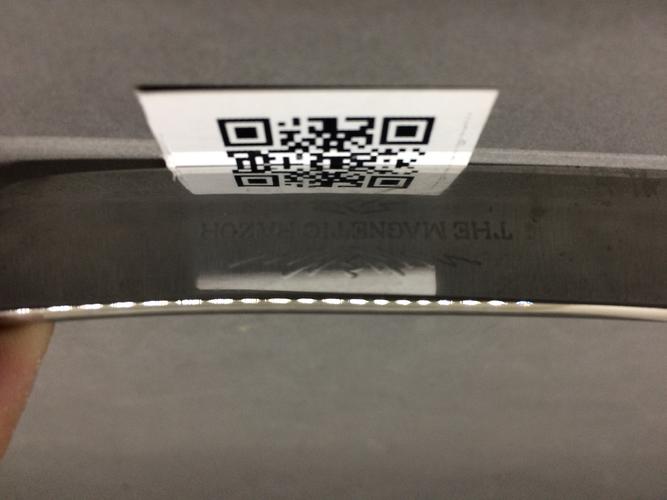
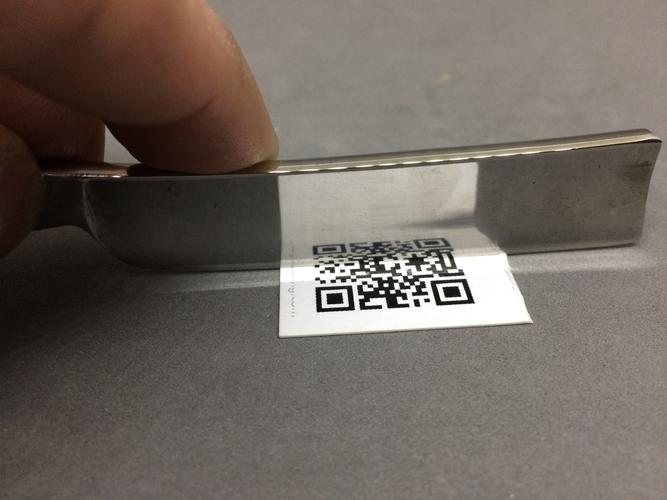
So I'm struggling a bit on getting my blades to a mirror finish.
It just seems like I can always see a scratch in the metal. I've done hand sanding through 600 (usually trying to start on the lowest grit possible) Then wet micro mesh and I've buffed on a Beal Buff system with Tripoli and white dimond compound. I've then hand polished with MAAS metal polish. These are 3 blades I've been working on (the wedge was in the worst shape) I just cant seem to get ALL the scratches from the hand sanding out. (Or am I just being too picky) I've been thinking about a cheap Harbor freight tumbler- Do you guys find that those make a significant difference? I have no idea why some of these are upside down and not sure how to fix.
 Addison likes this.


 Reply With Quote