Results 11 to 18 of 18
-
04-11-2012, 07:08 AM #11Junior Member

- Join Date
- Jul 2011
- Location
- Philly Metro Area
- Posts
- 4
Thanked: 0
I'd completely leave it the way it is. Often the trip to "perfect" ends up being the road to ruin. It looks great.
-
04-15-2012, 07:49 AM #12Junior Member

- Join Date
- Dec 2010
- Posts
- 4
Thanked: 0
Looks great

-
04-15-2012, 09:13 AM #13

I've had success sanding out really deep pits on the face of razors using a piece of dowel wrapped in sandpaper. If you sand lengthwise with a course grit you can bring out good steel relatively quickly. The dowel prevents the paper from going in and out of the pits and ripples. It's easy then to just move up the grits with or without the dowel. It's an awesome razor as is though!!
-
04-15-2012, 11:50 AM #14

I think it looks great as is! Just leave it and enjoy.
-
04-16-2012, 07:44 PM #15

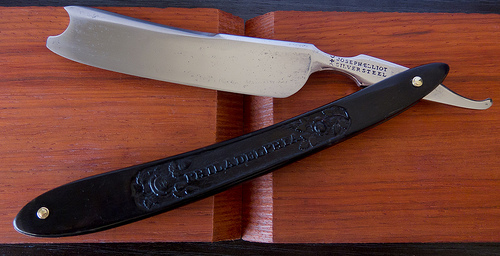
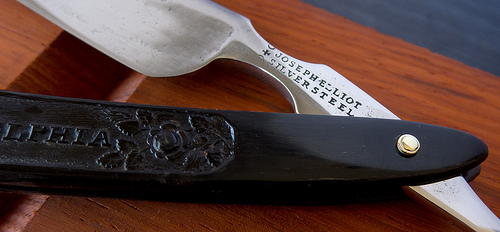
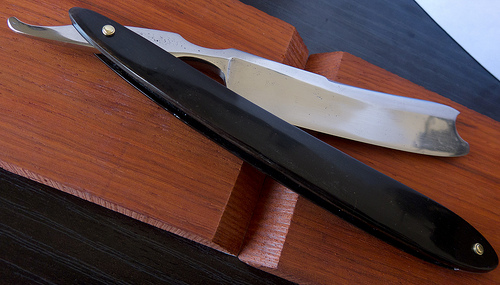
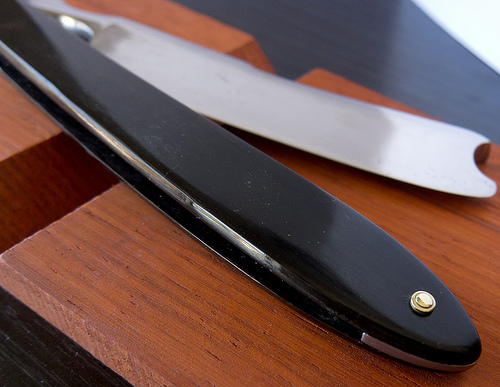
I ended up getting some little hard rubber wedges designed specifically for hand-sanding different shapes of wood. I didn't eliminate the pits on the surface -- partly because I was paranoid about changing the blade profile, some of those pits were DEEP -- but I did make it a whole lot shinier.
I'd done a bunch more work on this one and its cousin, documented over here, but I am apparently constitutionally incapable of leaving well enough alone. I hated the 'brushed' finish on the scales so I took it apart and sanded them some more. Then I figured while I had it all disassembled again I might as well try for a better finish on the blade. Much hand-sanding later, and three days in the vibratory tumbler, and I got this:


-
04-16-2012, 08:09 PM #16

very nice, and much better !
-
04-16-2012, 09:27 PM #17

Now we're talking!

-
04-16-2012, 10:35 PM #18

Well done!
Looks great.


 6Likes
 LinkBack URL
 About LinkBacks


 Reply With Quote

