
Results 1 to 10 of 24
 11Likes
Thread: N Mills Warranted.
 LinkBack URL
 About LinkBacks
Hybrid View
-
01-12-2013, 06:00 AM #1Senior Member


- Join Date
- Nov 2012
- Location
- Across the street from Mickey Mouse in Calif.
- Posts
- 5,320
Thanked: 1184
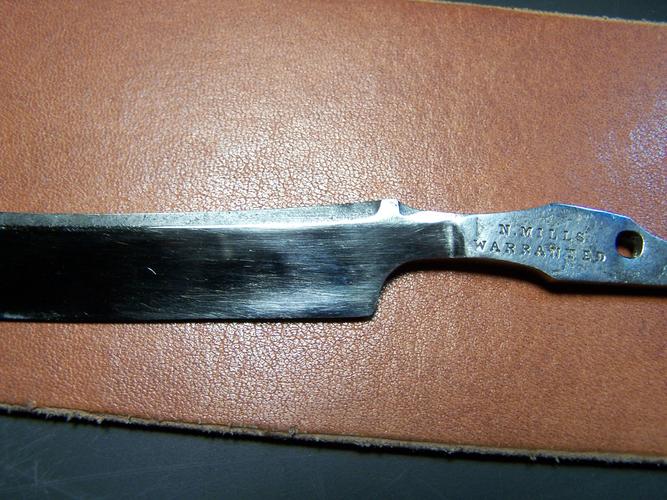
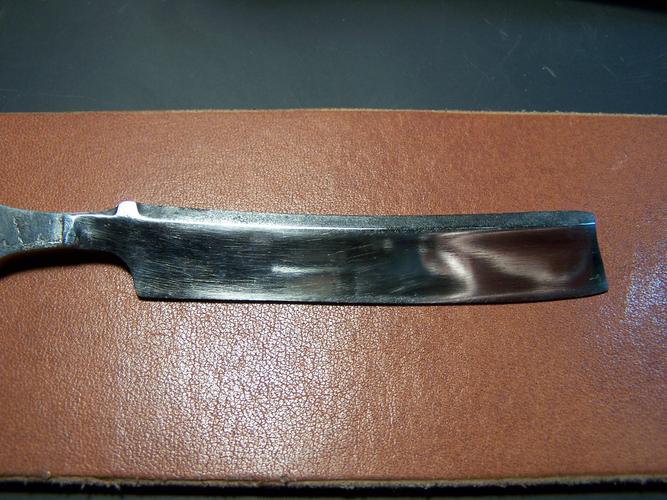
Well I am done sanding. Okay maybe a little more after my eyes clear in the morning but I gave it a little polish and I think I got it. I just picked at it once in awhile but I got tired of it staring at me every time I sat down at the bench so I really went at it tonight. I took some 220 grit and put it paper down on the blade and ran a stick of MDF on it until it took the blade shape. Flipped the paper over and with a little determination pressure it went well. Went over it again with 500 grit and started with some 1000 which I may go over it more with that. Not sure how finished I want it. Mirror might be too much for this razor ? The rest of it is done as far as I am concerned. I like the detail as it is. It looks more like the way it was made as compared to corrosion to me. And look at the size of the pin hole. 1/8' drill bit almost looks like it would go through it and I think it doesn't because the pin was so rusted in. I looked at bone today in the Jantz catalog. I believe that is what was on there. What else did they use at that period? I think it was before the great buffalo hunters time. Antler and I don't know what else? Ivory would be too much and too fancy. I was thinking of putting the old ones back but the crack at the pin bugs me. I am sure you guys could tell me how to get em straightened out and finished but that crack. Well, I got time to decide. It needs a little more finishing and a hone job.
Just a note to all who decide to use a Dremmel on a razor. This was my first and I feel lucky. This blade was a full wedge at one time and it looked like somebody tried to hollow it out with a course sanding wheel for some reason. Maybe to make it easier to hone, who knows. It was extremely messed up. It was way to much work to hand sand for me and that is the only reason I attempted this. I kept the razor on a piece of wood as I used a flap wheel and I always made sure the wheel spin direction was going off the edge and the edge was always laying flat on the the wood. I was also aware at all times which way the blade would go if the wheel did catch and send the blade flying, making sure my fingers and other body parts were not in that path. As for the work...keep the wheel moving and watch carefully what it is doing. Stopping frequently to look close will keep you from sanding away to much in 1 spot or creating more work for yourself fixing ridges and low spots. I used an 80 grit wheel to start and fixed most of the damage that some one else did. When I put on a 150 grit it started to make things look better. Then I noticed deeper scratches started to appear in the blade. I don't know if it was because it was a new wheel or if it was me but at that moment I stopped and started doing it by hand. Yes, it was one heck of a job but my razor is turning out nice and it may have been ruined had I been determined to go on with the Dremmel. My point here is,, there is a time to turn off the power and do it the best way which may not always be the easiest. That is one of the secrets to good craftsmanship.Good judgment comes from experience, and experience....well that comes from poor judgment.
-
01-13-2013, 04:59 PM #2Senior Member
- Join Date
- Nov 2012
- Location
- Across the street from Mickey Mouse in Calif.
- Posts
- 5,320
Thanked: 1184
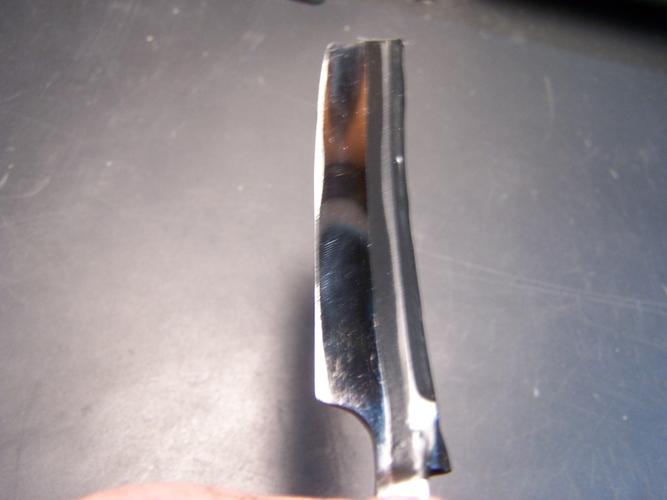
As I let my digits heal from all the hand sanding I put some tape on the spine and went to the 250k stone a few laps and then the 1000k. As I suspected this was NOT going to be a simple job either. In the pics below you can see exactly why. In the beginning I had noticed the spine was thin in the center on the makers mark side. I knew this was going to mean trouble. You can see this as plain as day on the tape and the effect of it on the edge. I am not to crazy about taking the spine down to make it flat and not sure about how to make a honing frame to put over the spine to build the bevel. Shape some sheet metal and tape it on ?It has a weird smile to it. It is straight about half way from the heel to the toe and then it starts to grin. If I had a 3" wide 1000k I was thinking it might bridge between the low spot and straighten the bevel out. The geometry has not manifested into a model in my brain yet, so I guess I will wait and see what you guys think before I move on.
Thank you maddafinga for the eraser idea ! I used a #2 pencil to get in the tight spots and work on some of the smaller depressions. Will use it again to polish out the high part of this bevel once I figure out this little dilemma .
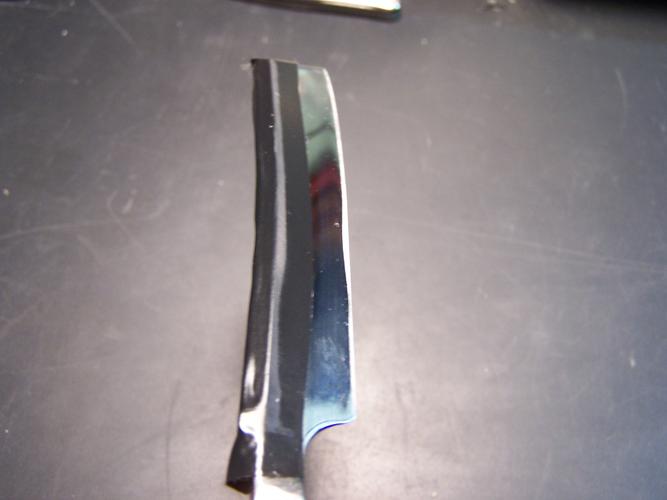
This side is not so bad yet not perfect.
 Good judgment comes from experience, and experience....well that comes from poor judgment.


 Reply With Quote