
Results 21 to 30 of 32
 15Likes
 LinkBack URL
 About LinkBacks
-
03-31-2012, 02:43 AM #21At this point in time...


- Join Date
- Jun 2007
- Location
- North Idaho Redoubt
- Posts
- 27,168
- Blog Entries
- 1
Thanked: 13250
 Originally Posted by Dllandry

This is a flaw, not a design feature the old scales warp, contract and some were just set wrong and the pins are bent.. You can actually use these techniques of pin movment to adjust a razor with a bent tang or spine...
-
The Following User Says Thank You to gssixgun For This Useful Post:
Dllandry (03-31-2012)
-
03-31-2012, 05:12 AM #22This is not my actual head.


- Join Date
- Nov 2009
- Location
- Middle of nowhere, Minnesota
- Posts
- 4,624
- Blog Entries
- 2
Thanked: 1371
The only other thing that I would suggest is to overlay your blade on the model - look how the curves fit the blade.
The curves of the scales should work with the curves of the blade. It shouldn't look like a generic set of scales was slapped on a blade - it should look like the scales were made for the blade that's wearing them.cudarunner likes this.
Strange women lying in ponds distributing swords is no basis for a system of government.
-
04-02-2012, 01:29 PM #23Senior Member

- Join Date
- Jan 2011
- Location
- Virsbo, Sweden
- Posts
- 114
Thanked: 11
So today I started making the scales.
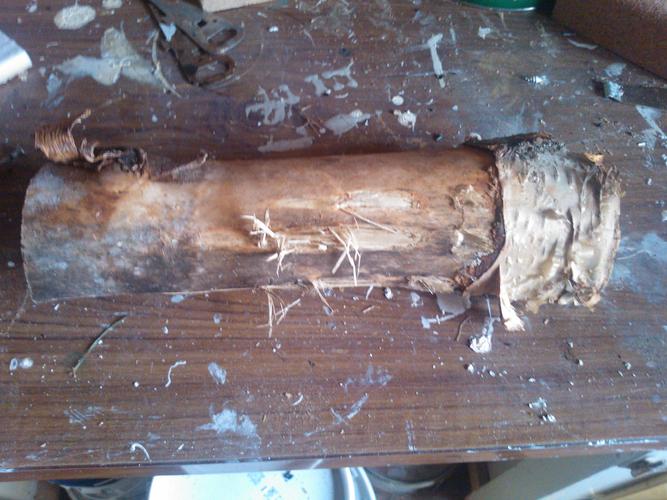
This is the log I started out with.
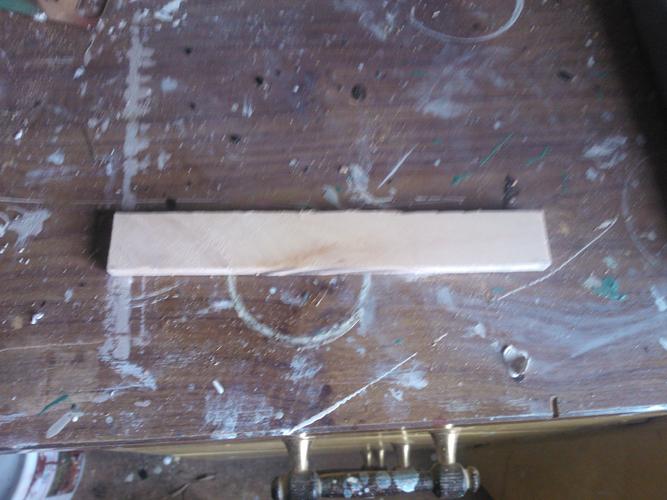
The first blank I made.
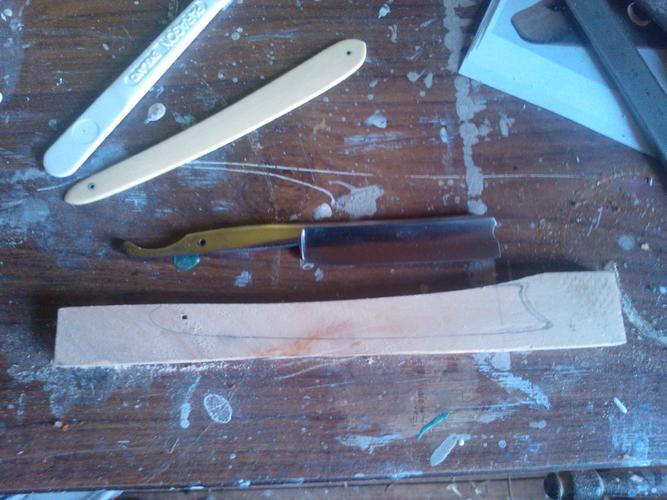
Rough contour made and the blade next to it.
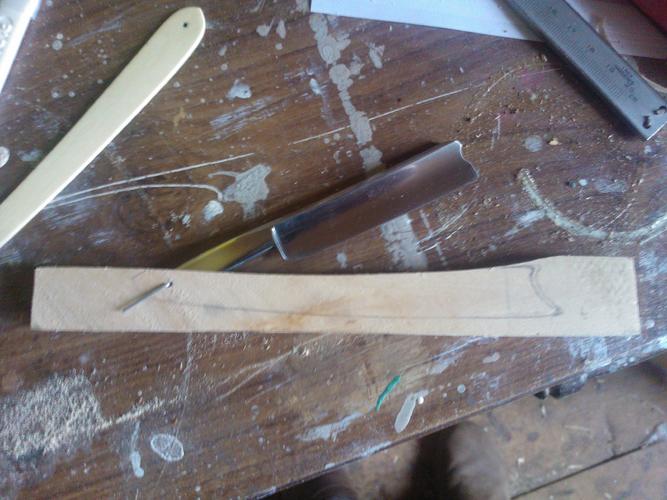
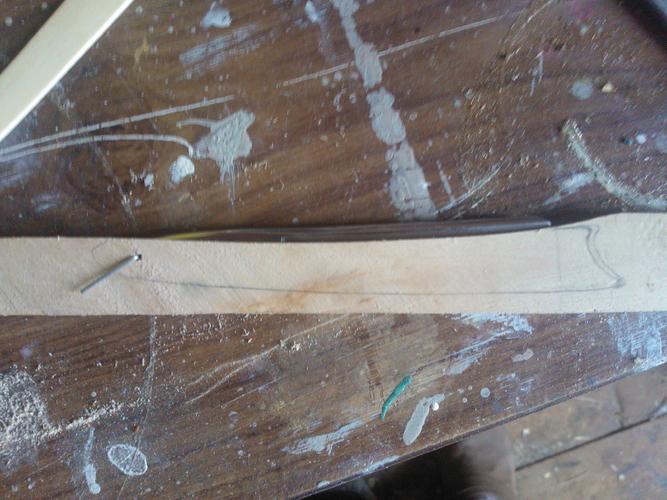
Blade fitted into the scales. This is where I realized I had to start over. The "slot" cut for the razor was to big and to uneven. I had to start over and make the center cut first and then cut the sides to roughly the correct thickness,
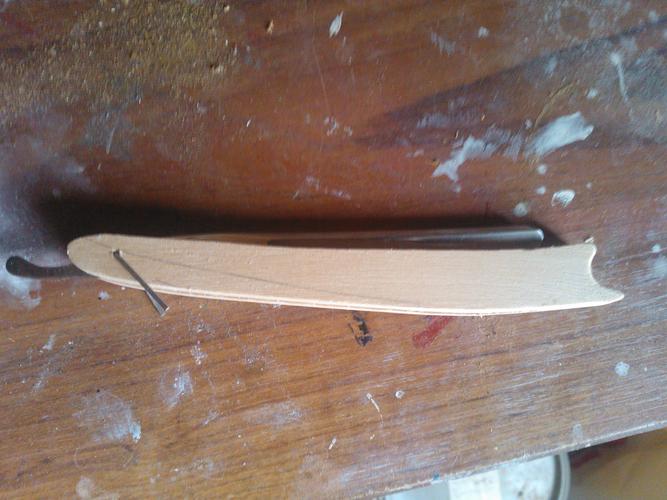
This is how it looks at the moment. The scales are still to thick and the edges need to be smoothed out etc. But at least I think I'm getting there. There is a lot of sanding left to do and I still have to make the "flare" but overall I'm quite happy how it's turned out. I also decided to keep the natural colour of the wood and just use some kind of oil on it.Cove5440 likes this.
-
04-02-2012, 04:47 PM #24Senior Member
- Join Date
- Jan 2011
- Location
- Virsbo, Sweden
- Posts
- 114
Thanked: 11
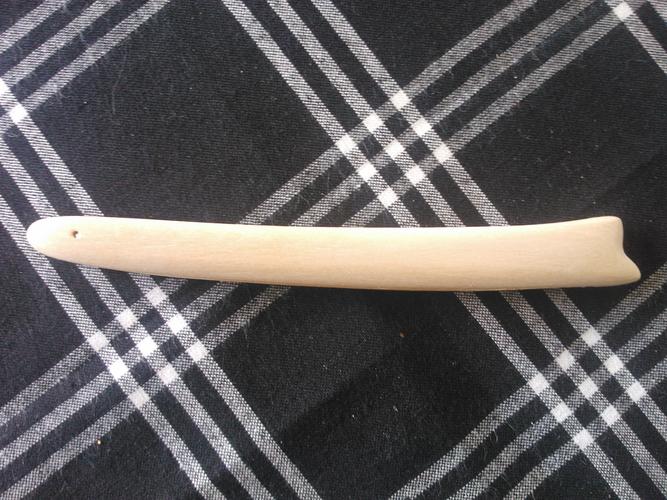
One side roughly sanded down.
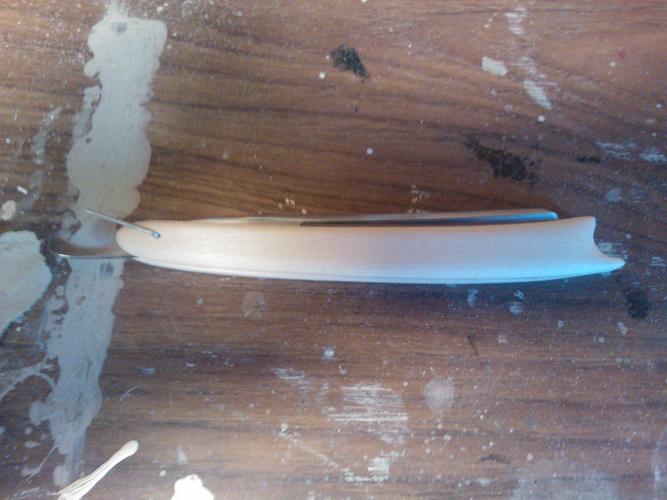
I will probably make some change to the back end. Not quite sure what but at the moment it doesn't look right. Might be better once the other side is sanded down as well.Last edited by PMH; 04-02-2012 at 04:49 PM.
Cove5440 likes this.
-
04-03-2012, 12:43 PM #25Senior Member
- Join Date
- Jan 2011
- Location
- Virsbo, Sweden
- Posts
- 114
Thanked: 11
The scales are more or less done.

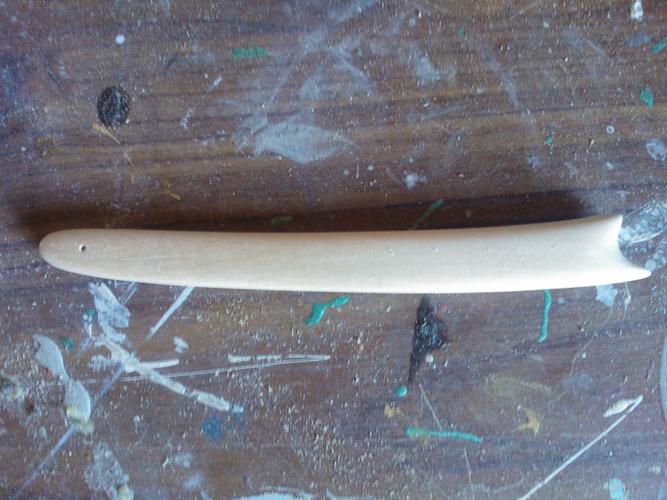
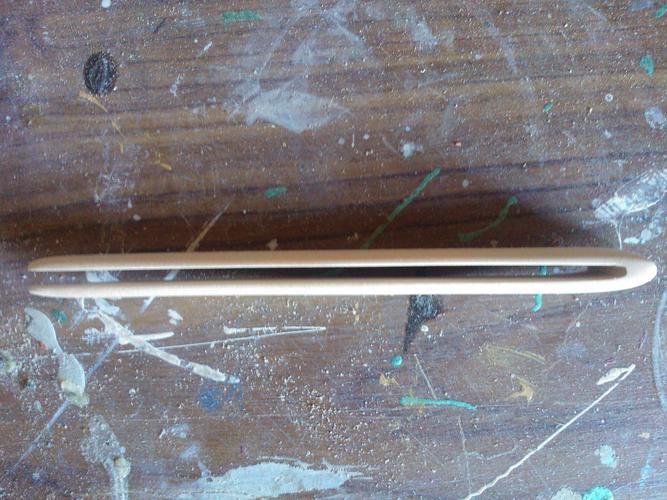
I still need to do some more sanding to even everything out before going over it with a 2k sandpaper, make the flare and then oil it in.
But all in all I'm very happy with the result, I just hope I don't mess it up now.
-
04-03-2012, 03:02 PM #26At this point in time...
- Join Date
- Jun 2007
- Location
- North Idaho Redoubt
- Posts
- 27,168
- Blog Entries
- 1
Thanked: 13250
Can you do a pic from the top down with the razor sitting in there,, You might not need very much flare at all
-
04-03-2012, 05:16 PM #27Senior Member
- Join Date
- Jan 2011
- Location
- Virsbo, Sweden
- Posts
- 114
Thanked: 11
To late, it cracked when I tried to make it. I left to little material from the end to the slot I think.
Well at least I'm one experience richer. I have made a wedge instead and put in there. Gonna be away for about a week now but will update you all once I'm back.
-
04-04-2012, 01:40 AM #28the deepest roots


- Join Date
- Feb 2011
- Location
- Seattle
- Posts
- 1,221
Thanked: 169
aw that's too bad man. did you try forcing the wedge a little too far when flaring the scales?
-
04-04-2012, 05:21 AM #29Senior Member
- Join Date
- Jan 2011
- Location
- Virsbo, Sweden
- Posts
- 114
Thanked: 11
Yes, most likely.
But it is my first time attempting something like this and I went in to it considering it to be a learning/training project.
-
04-04-2012, 06:45 AM #30Senior Member
- Join Date
- Jan 2011
- Location
- Virsbo, Sweden
- Posts
- 114
Thanked: 11
Ok, here are the last pictures for now. I have put the wedge in there and some rough sanding. The shadows on the pictures make it look really uneven but it's not. Both sides are symetrical.
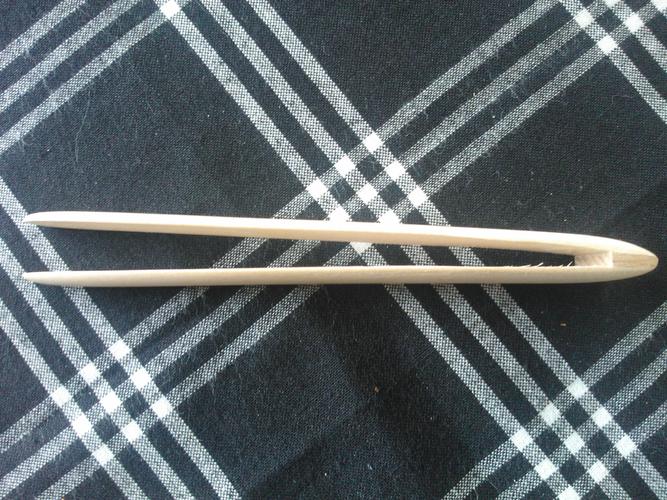
Have a happy and relaxing easter everyone.
gssixgun likes this.


 Reply With Quote