Results 101 to 110 of 126
-
03-22-2016, 01:56 PM #101Senior Member


- Join Date
- Feb 2013
- Location
- Haida Gwaii, British Columbia, Canada
- Posts
- 14,455
Thanked: 4830
I was referring to the length of the bevel. It may take a few strokes to get to the edge but by the time you got their it would be time to move up, and all of the previous stria would be removed. Moving to the 1K and then back to the 2k get you to the same place just a different path. I often try to stay out of things because we can pick many paths to the perfect edge, but cannot follow them all at the same time. If you are going to follow someone it is best for there to be one leader. You two do well together in these threads.
It's not what you know, it's who you take fishing!
-
03-22-2016, 09:35 PM #102

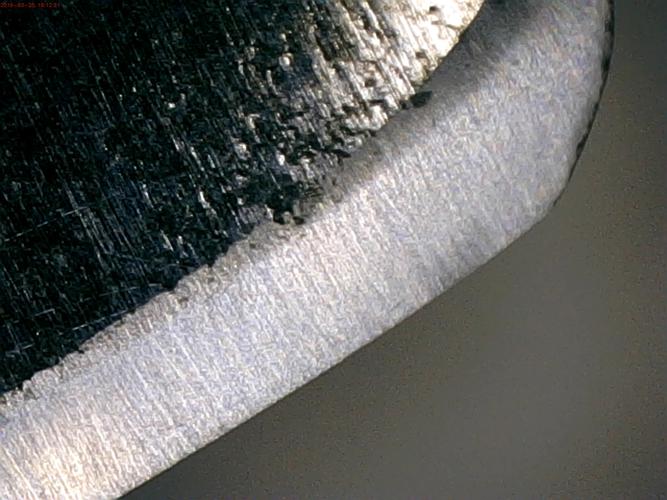
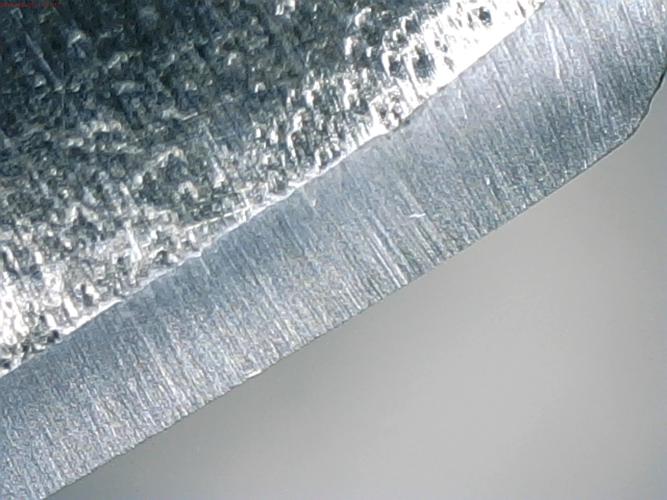
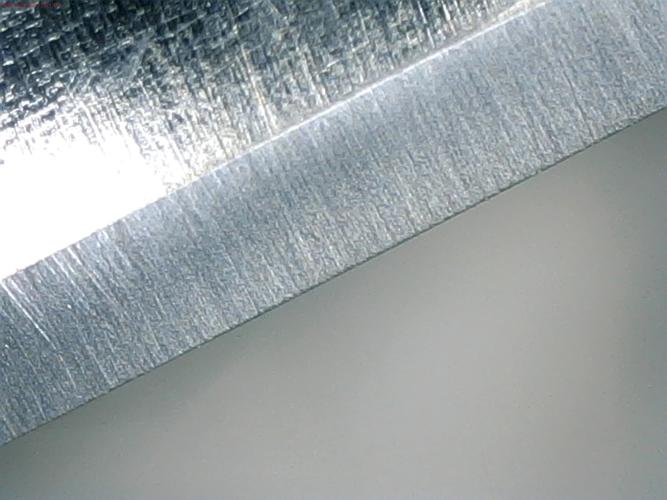
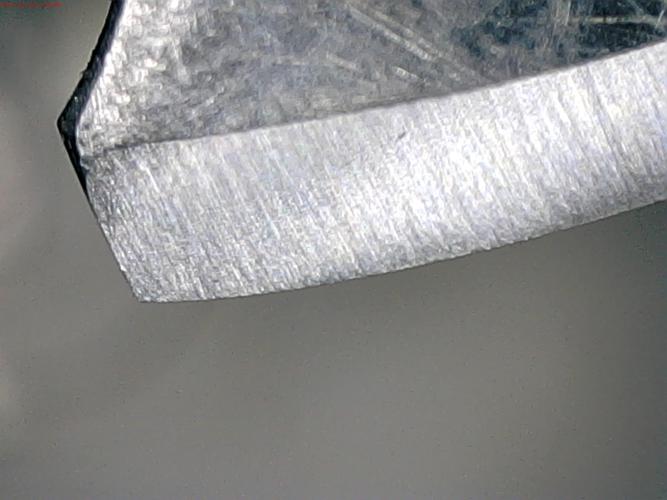
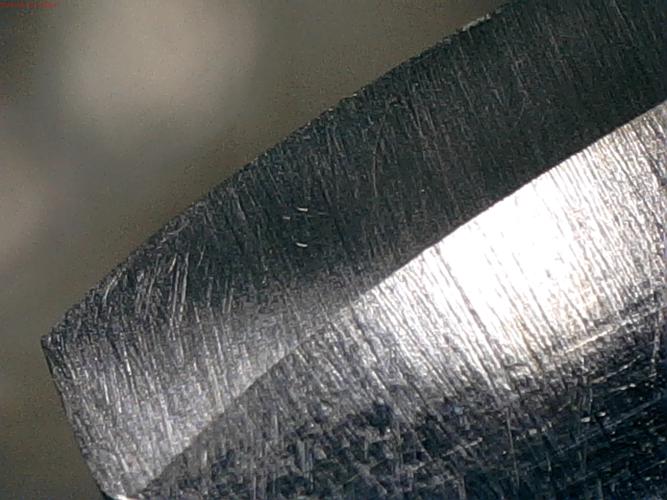
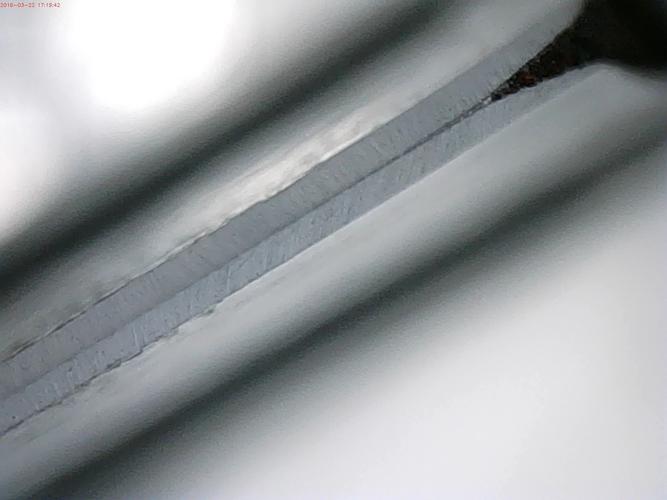
Here we go... dropped down to the 1K Norton, 4 layers of tape. Did straight strokes (sets of 10) on each region of the blade, and continued until visually, I could see the bevel get close to the edge. Did more (single) strokes, and checked the edge with ink, until I got coverage. Did some strokes on the toe, where I lifted the heel, as I went across the stone, to try to match the curve on the toe.
The stria looks pretty good, as does the bevels meeting. I want to do more strokes on the toe, and to try some light pressure strokes. The edge feels knife sharp, but doesn't seem as sharp as other razors I have (then again, they are not near wedges, so I'm not sure).
Here are shots of the blade. Let me know what you think of the edge.
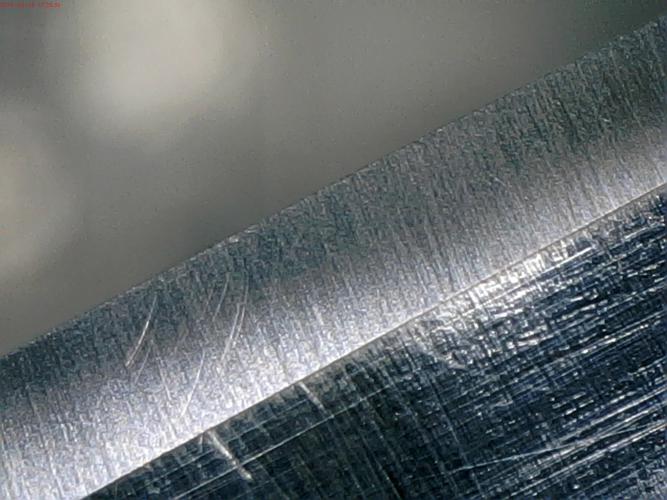
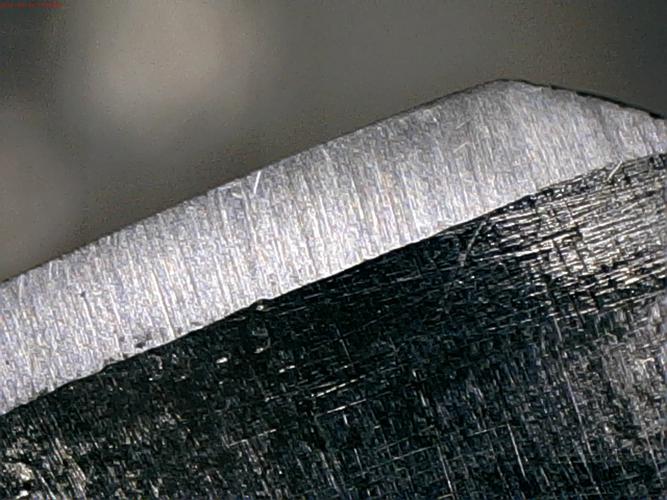
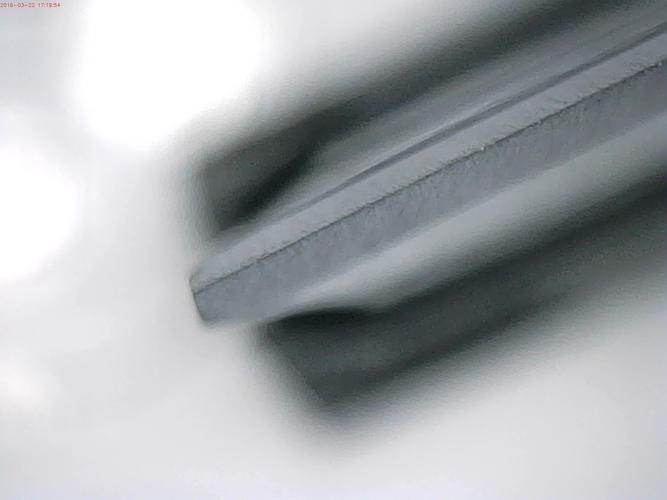
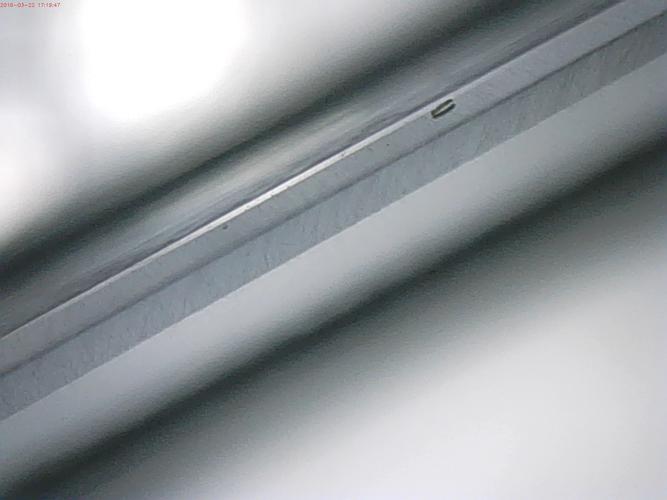
I'll take another stab at it on Thursday (unless I can sneak in some time tomorrow night).
Regards,
PCM
-
03-22-2016, 10:19 PM #103Senior Member


- Join Date
- Apr 2012
- Location
- Diamond Bar, CA
- Posts
- 6,553
Thanked: 3215
So the goal is, to first get a flat even bevel, and an edge, hence the 5 layers of tape to compensate for spine wear. Once you have achieved that then you want to adjust the bevel angle and use as little tape as possible for stability when polishing, by removing tape and re-setting the bevel angle.
You only have to remove the thickness of one layer of tape, to reach the edge, and as Shaun said, only on the back of the bevel to re-shape the bevel and reach the edge. Either the 1 or 2k will do so quickly, as the bevels are already flat.
Once the bevels are flat all you need to do is ink the edge, unless you want to see what the results of what removing tape would do, as said it will go quickly you are re-grinding the bevel angle not polishing the bevel or edge at this point.
Once you have reset the bevel angle, then polish the edge on higher grit stones. This would be a good time to refine the edge at the toe and heel a bit more. I am using a different 2k than the Super Stone, but yours should be just as aggressive. The 2k is almost as fast as a 1k but leaves a much shallower stria pattern and straighter edge
.
I don’t think you will be able to go much lower than 3 or 4 layers of tape, to make up the spine wear.
So either way, re-shape the bevel at 1 or 2k then a bit of refinement on the toe and heel and then move up in grit and see if the edge holds.
As I said earlier stropping on linen or canvas will remove burrs and test the edge. Ink on the edge will show you your progress.
It looks good, just a bit more on the heel and toe on the 2k. Any time you spend perfecting a bevel set, will make your polish much easier. Remember this is not your garden variety honing. You are really reviving a problem edged razor with a good deal of repair honing.
Your polish should go quickly, once the edge is fully set.
-
The Following 2 Users Say Thank You to Euclid440 For This Useful Post:
pcm (03-23-2016), ultrasoundguy2003 (03-22-2016)
-
03-24-2016, 10:38 PM #104

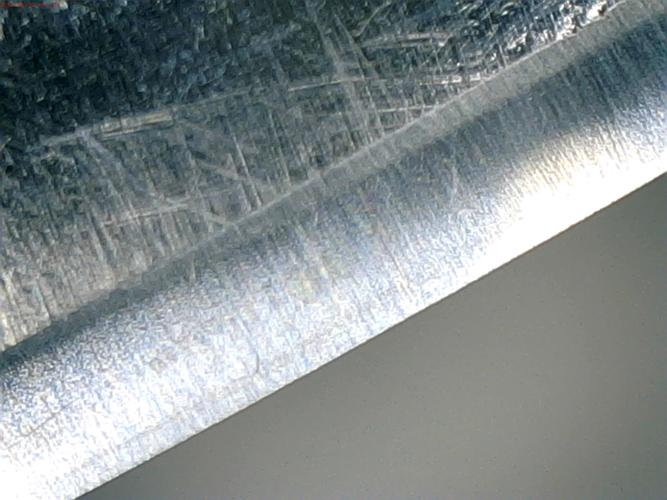
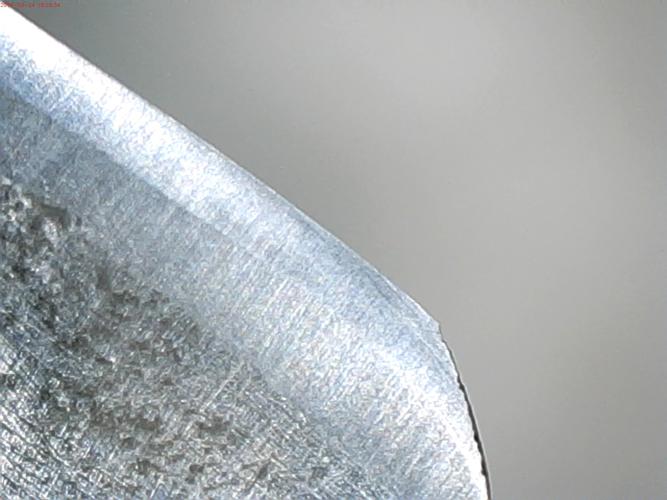
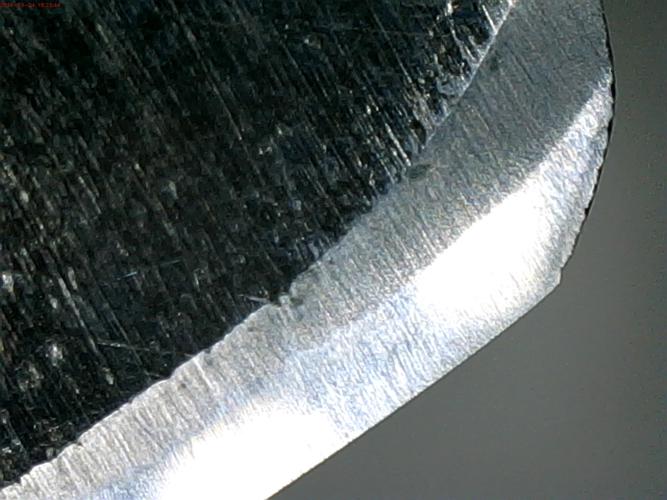
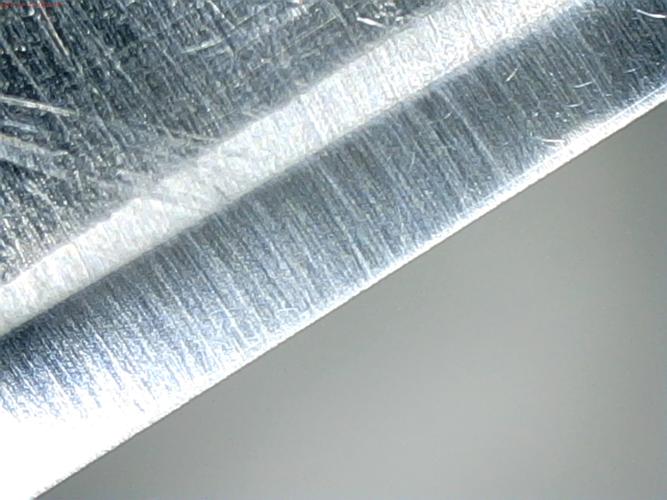
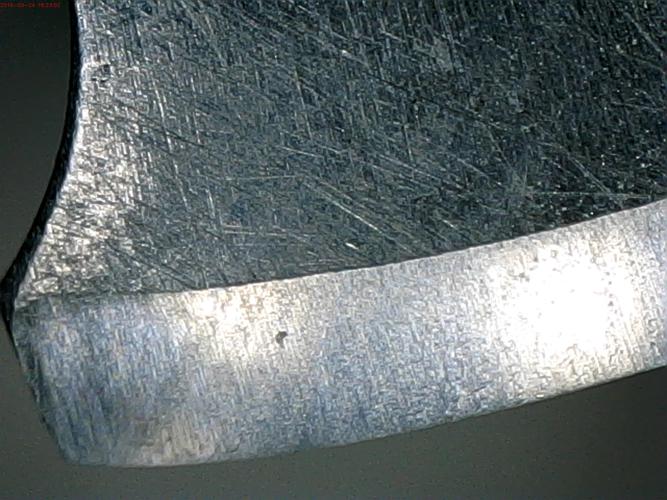
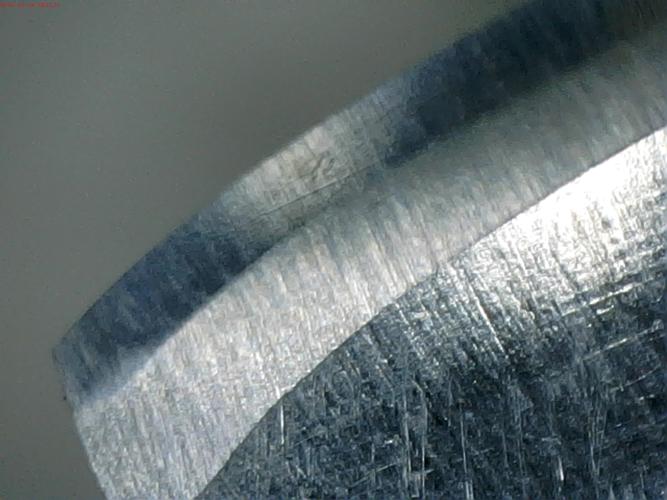
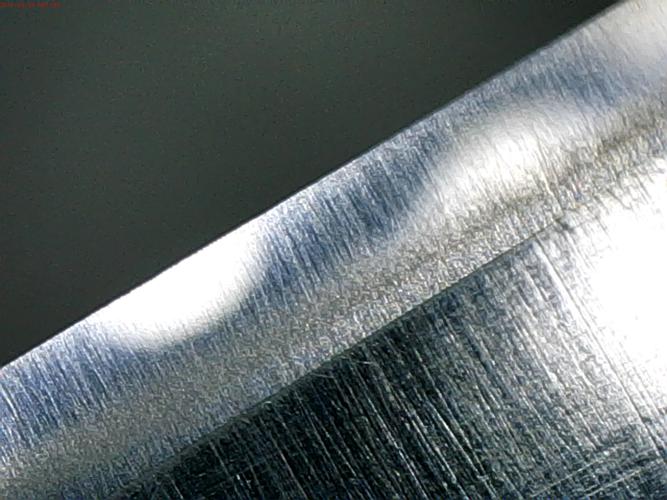
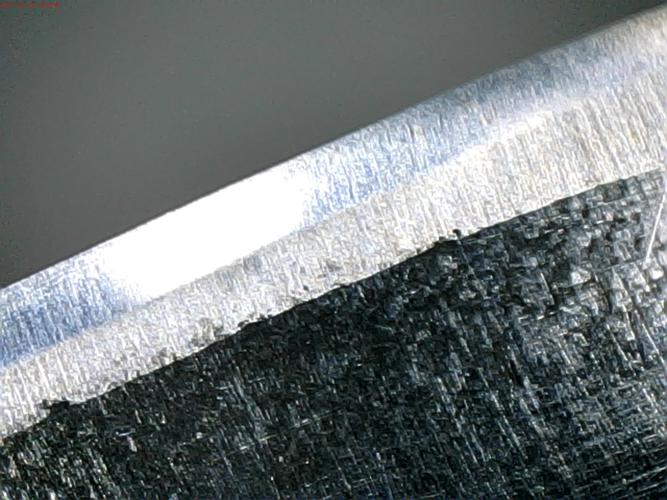
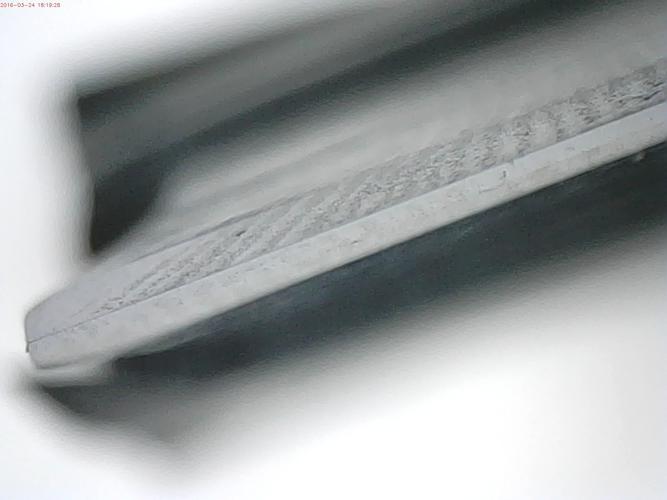
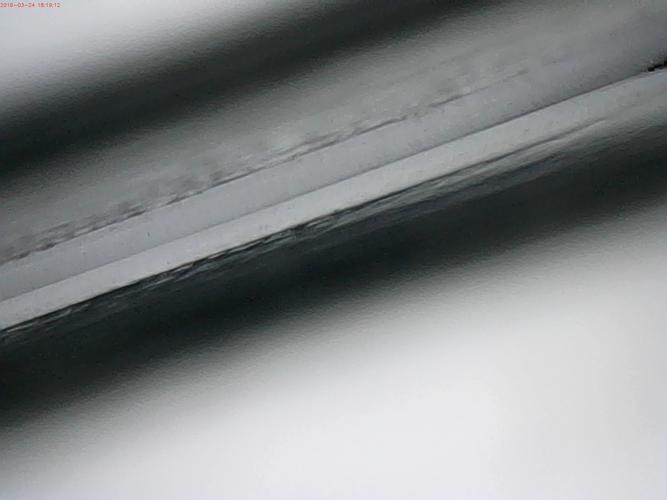
I did some more on the 1K yesterday, and then went to the 2K today, both with 4 layers of tape. The edge seems to be meeting (very end of heel the only exception?). I did see a few things. First, the bevel is honed more on the right side than the left with 2K stria. I realized that the tape on the right is less exposed than on the left - I should have pulled it sooner and re-applied
 . It wasn't centered on the spine well.
Second, I had a few strokes where the toe was raised too much. You can see that on the heel on the left side (if there aren't too many reflections).
Third, inking I see that it does hone to the edge, but I have to do it in 4 strokes on each side. One with the toe lifted a tiny bit (to get the heel), one flat (for the center 2/3s of the blade), one with the heel lifted a little (for the beginning of the curve near the toe), and one with the heel lifted quite a bit (for the very tip of the toe).
Here are the shots...

 Regards,
PCM
-
03-25-2016, 03:58 AM #105Senior Member


- Join Date
- Apr 2012
- Location
- Diamond Bar, CA
- Posts
- 6,553
Thanked: 3215
Looking much better, at the edge and bevel.
Ready for some 4k time…
-
The Following User Says Thank You to Euclid440 For This Useful Post:
pcm (03-25-2016)
-
03-25-2016, 11:15 PM #106
-
03-25-2016, 11:20 PM #107

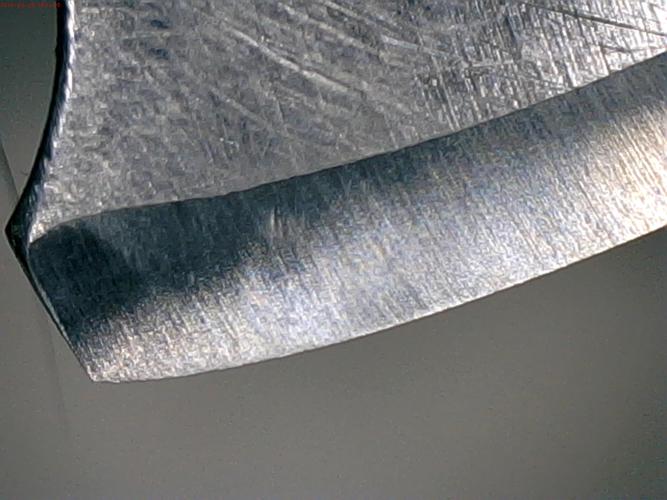
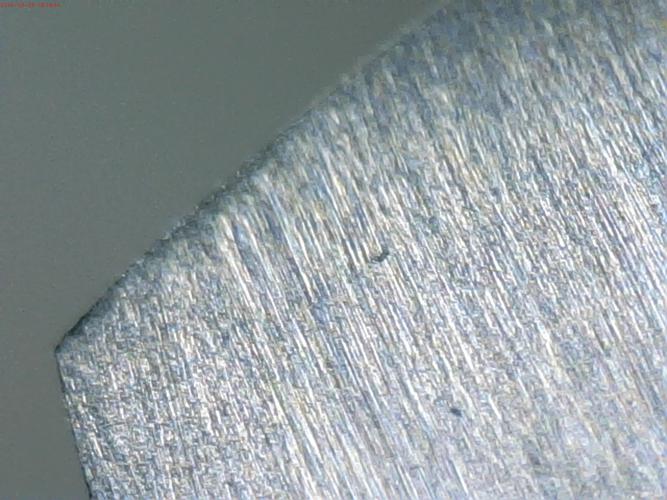
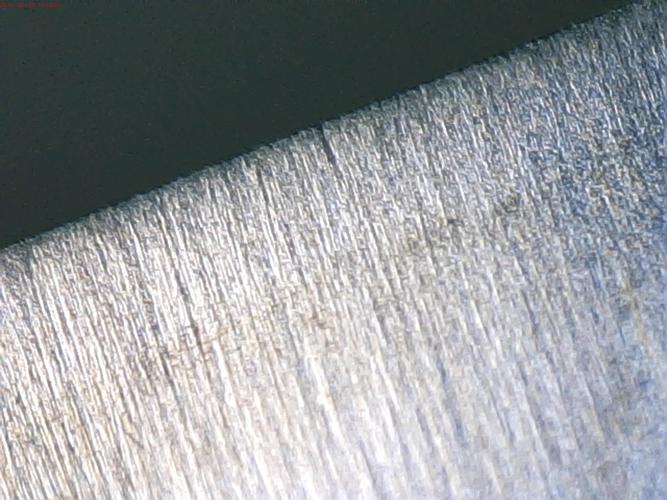
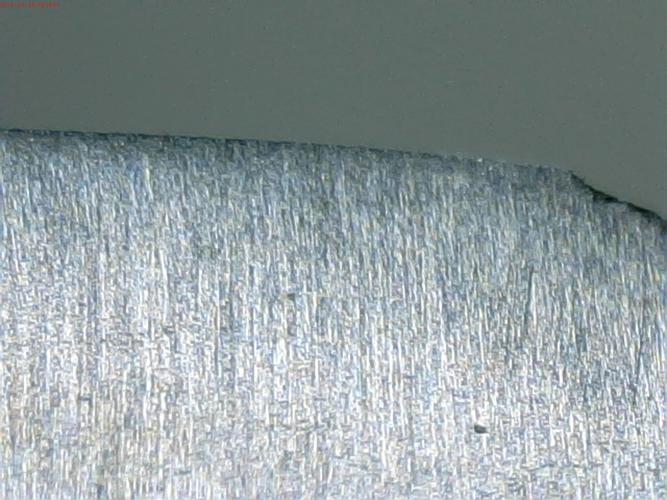
Left side only, highest magnification toe, mid, heel...
 Regards,
PCM
-
03-26-2016, 01:09 AM #108Senior Member


- Join Date
- Apr 2012
- Location
- Diamond Bar, CA
- Posts
- 6,553
Thanked: 3215
The toe and the heel could use a little more work, especially the toe. Then move to the 8k. The edge will begin to get straighter with the 8K.
The time spent on the 4k will make your 8k polishing easier and in the case of the toe, stronger.
The 4k is where you begin your polish of the bevel and straighten the edge.
-
03-26-2016, 01:42 PM #109

For grins, I decided to try to test shave the 4K as-is, to see how the blade is coming along. I did 10 strokes on webbed strop with Cr-Ox, 50 on cloth, and 100 on leather, before shaving. Well...
It is barely cutting hairs at all. Did a pass WTG and it wasn't taking much hair off at all. Briefly tried XTG and there was lots of pulling. Concerned, as I thought the 4K and up were working more on comfort of the shave than on sharpness, right?
So, now I'm wondering (again), if I have a good bevel set. Could it be that the angle on the edge is too large? Could it be that I'm not adjusting my shaving technique for a near wedge (after using full/half/quarter hollows all the time)? I did play with a larger and shallower angle, but it still didn't seem to cut well. I didn't opt to apply more pressure with this blade.
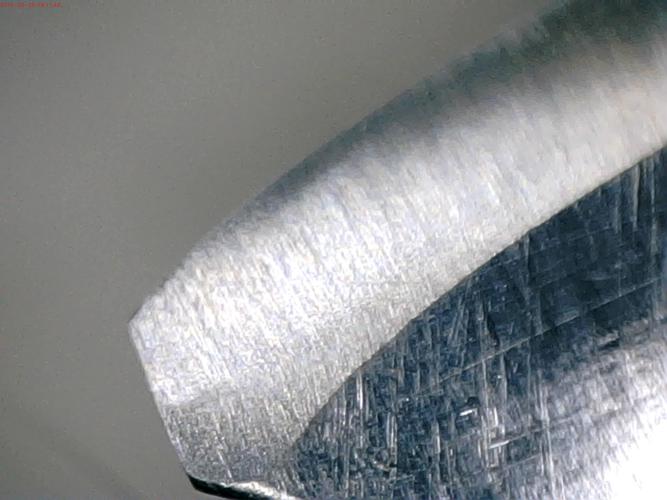
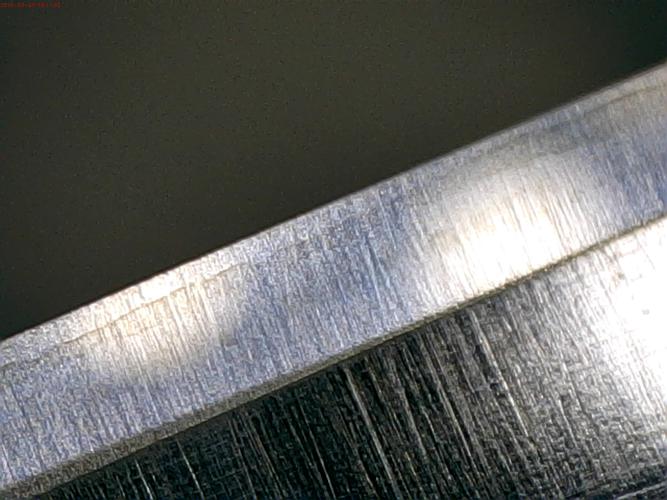
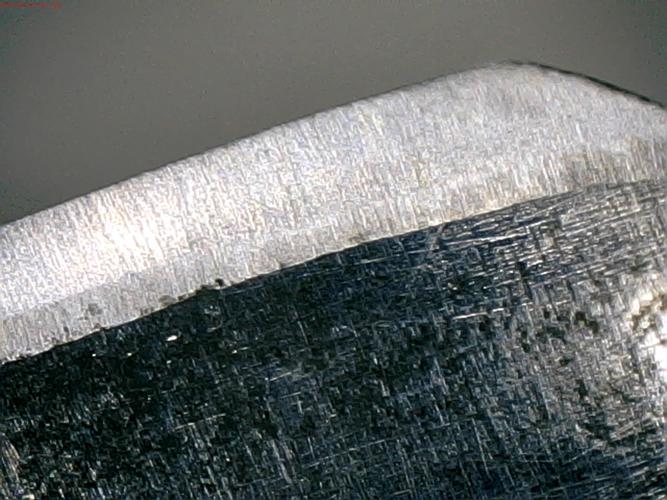
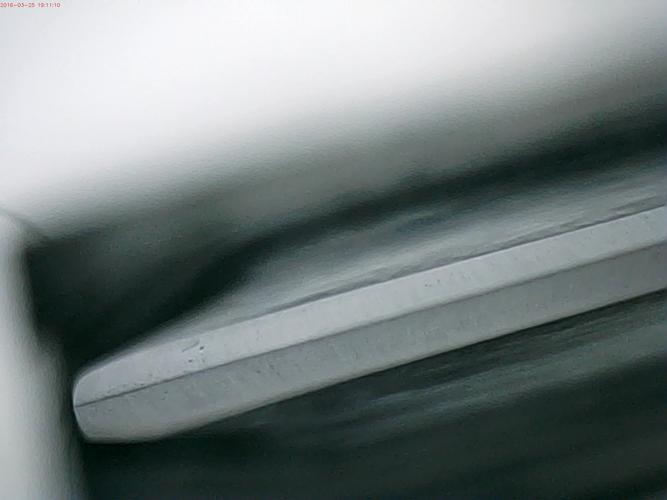
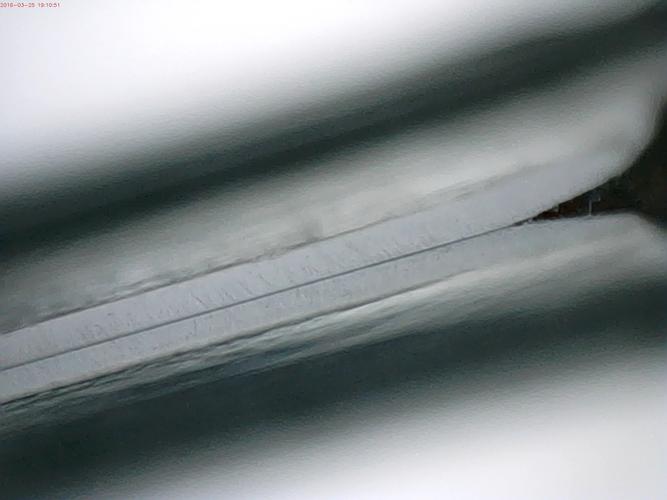
One thing that has been nagging me is the look of the edge head on. With other razors the edge comes to a point that is a thin line. With this bladee, there is a small dark line at the point. Here is a shot of my JA Henckels, which I've got about 30 shaves on (and used this morning to finish up). It shaves pretty good still, and I stropped on cloth (50) and leather (100), before taking these shots (high and low magnification):

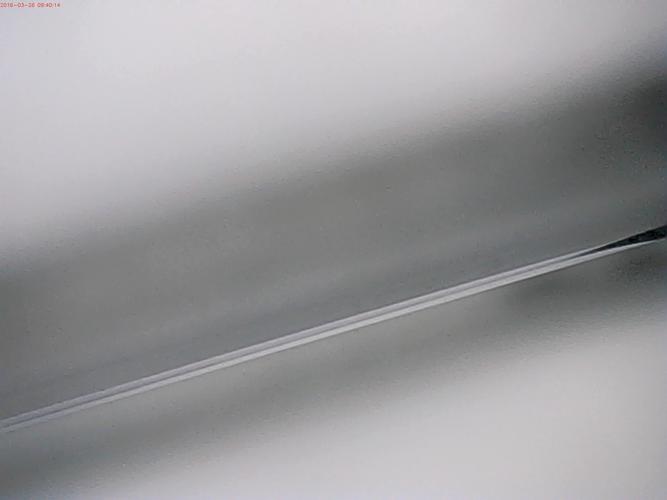


I did the same 50/100 stropping on the Saunders, and here are the shots (high and low magnification):
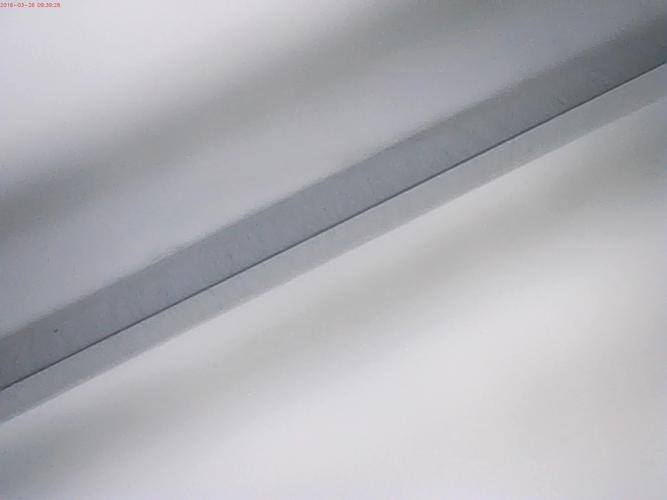
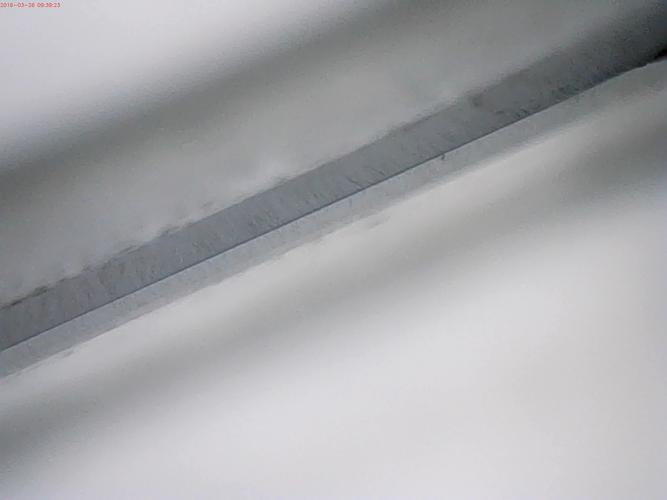
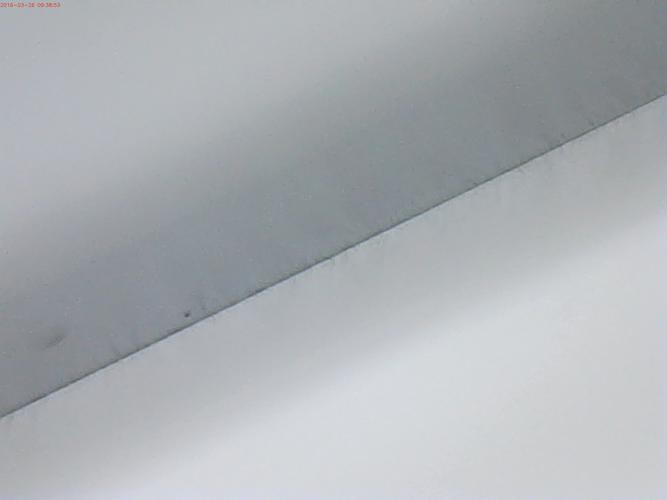
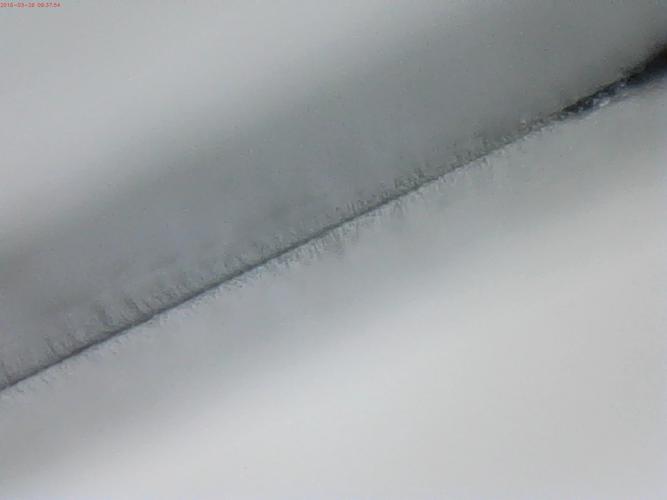
Note: The same magnification was used for both blades.Regards,
PCM
-
03-26-2016, 08:57 PM #110Senior Member


- Join Date
- Apr 2012
- Location
- Diamond Bar, CA
- Posts
- 6,553
Thanked: 3215
You are comparing a problem blade of questionable steel, with a finished blade that has been finished honed and stropped 30 times, maybe, 50 laps – 1500 laps total of polish.
The heel still looks problematic, could be crumbling after stropping or just needed more honing at 4k.
The edge will not get straight until after the 8k. Do some more work on the heel with the 4k and see if it comes together better. The steel looks like it is crumbling, and it has always not looks as strong as the middle. Some more of the edge may have to come off to get to good steel.
Stropping on linen, canvas, or nylon while honing, will stress the edge. If it going to fail, it may show here. As you begin to polish the bevel, imperfections will show up and you will have to decide if you need to drop down in grit to repair damage or stay on the stone you are at and do more laps.
All that you see now are normal on a problem blade and edge. Do some more laps on the 4k and re-set the edge on the 4k, if it crumbles again, try jointing the edge and re-setting.
-
The Following User Says Thank You to Euclid440 For This Useful Post:
pcm (03-26-2016)


 117Likes
 LinkBack URL
 About LinkBacks


 Reply With Quote