
Results 1 to 10 of 220
 110Likes
 LinkBack URL
 About LinkBacks
Hybrid View
-
09-11-2013, 12:46 AM #1

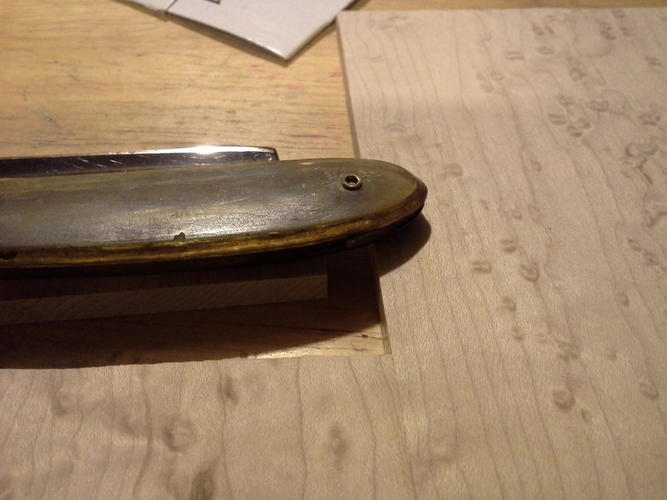
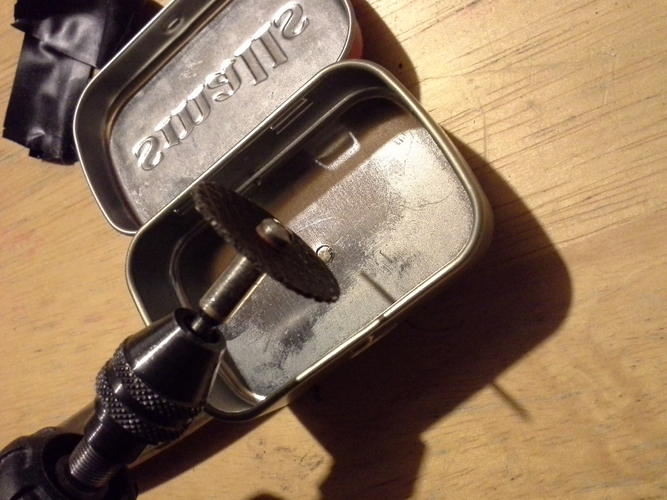 use a cutting wheel
-
The Following 2 Users Say Thank You to souschefdude For This Useful Post:
carrolljc (07-03-2014), Sandycrack (09-11-2013)
-
09-11-2013, 12:54 AM #2
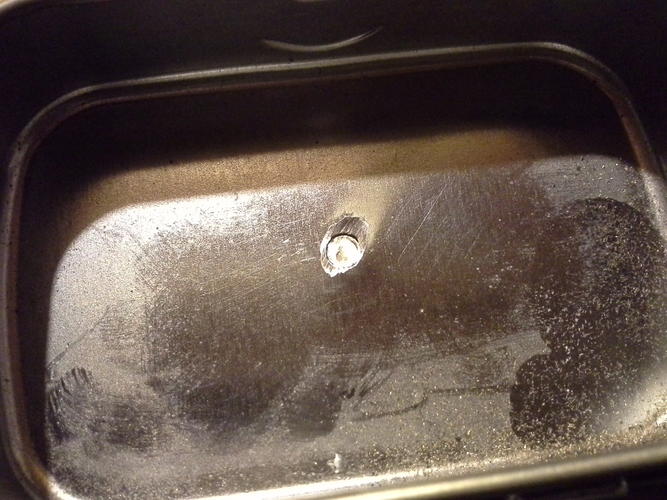
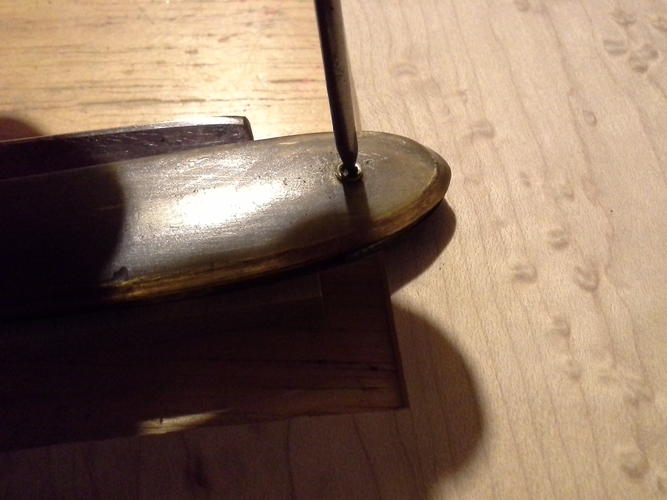
 now use the wire cutter to remove what remains of the washer, or tap on the pin with a sharp nail, or go just a little further with the cutting wheel.
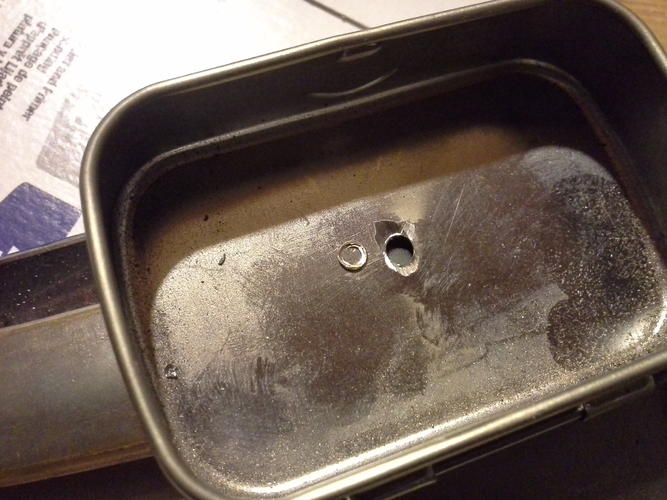 wyobarbershop and Spendiggity like this.
-
09-11-2013, 12:59 AM #3Senior Member

- Join Date
- Aug 2013
- Location
- bakersfield ca
- Posts
- 160
Thanked: 0
Looks good so far man!

-
09-11-2013, 01:02 AM #4
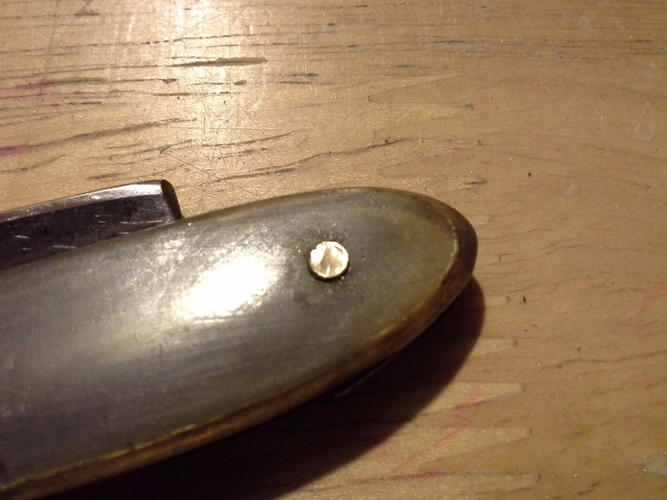
 now support the scales over a gap, and tap out with a nail.
  slide a blade behind the scale and use to lever the scale off the pin. Go easy, grasshopper.
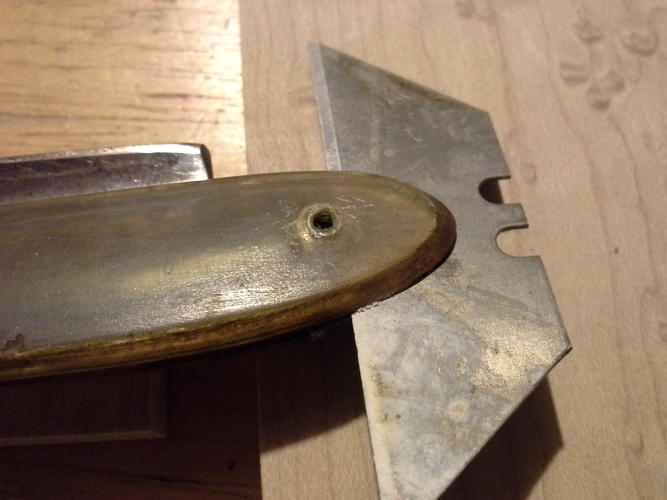 Chevhead likes this.
-
09-11-2013, 01:10 AM #5
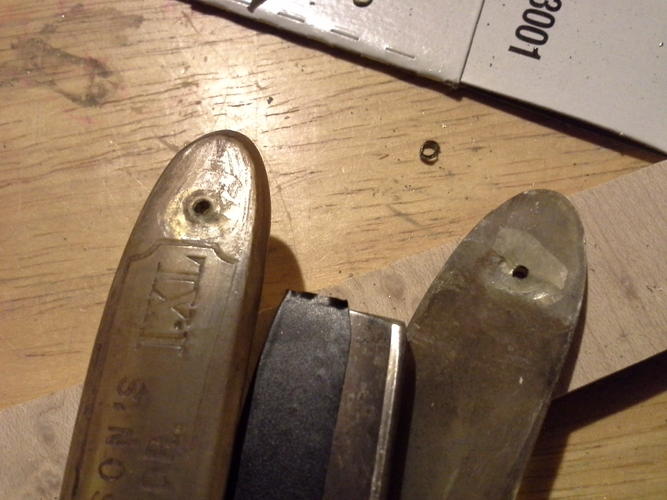
After some twisting tugging and tapping, here you go
And I forgot to mention, always tape up the cutting end while handling for assembly/ disassembly.
Anyway it was a long 13 hr day at work. More of this another day.
-
09-11-2013, 06:51 PM #6Senior Member
- Join Date
- Jun 2013
- Location
- London Ontario Canada
- Posts
- 112
Thanked: 10
I'm looking forward to following progress. Looks great so far!
-
09-11-2013, 09:04 PM #7Senior Member

- Join Date
- Jul 2013
- Location
- Ischia, Naples, Italy
- Posts
- 1,960
Thanked: 132
Very nice.
I'd like to read more about this "tutorial".Where there is a great desire there can be no great difficulty - Niccolò Machiavelli & Me
Greeting from Ischia. Pierpaolo @ ischiapp.blogspot.com
-
09-11-2013, 11:41 PM #8
Unfortunately I wont be updating tonight, long day at work and came home to all hell broken loose. Lets just say when building a fence for dogs, consider the size of the dog breaking INTO the yard, not just breaking out.
pfries likes this.
-
09-13-2013, 05:05 PM #9At this point in time...


- Join Date
- Jun 2007
- Location
- North Idaho Redoubt
- Posts
- 27,203
- Blog Entries
- 1
Thanked: 13250
 Originally Posted by souschefdude

A couple of Hints:
Home Depot
get a set of steel drift (punch) pins to carefully tap out the pins, honestly it is WAY safer
Dasco Pro Small Pin Punch Set (3-Piece)-34 at The Home Depot
I pretty much use the 1/16 almost 99% of the time but the price difference for the 3 pin set vs just one punch was minimal
For really stubborn rusted pins I use Kroil to loosen it all up
Harbor Freight I buy several of these every time they go on sale for $1.99 they last me about 6-8 months each, I polish the bottoms up a bit better before use
Search results for: 'flush cutters'
There are of course many others like these available but honestly I have tried using the "Better" read more expensive ones, but they last no longer and work no better
Using these two tools and patience I can pop safely over 90% of all the pins that come across the bench, for the other 10% I do much like you have outlined here but with small a Hand FileLast edited by gssixgun; 09-13-2013 at 05:09 PM.
souschefdude and WW243 like this.
-
The Following User Says Thank You to gssixgun For This Useful Post:
souschefdude (09-23-2013)
-
09-15-2013, 01:39 AM #10
Hi Glen.
For us neo's I have found that filing the one side of the pin and washer off completely works best for me . That is especially true on really dry scales that I wish to save. I use a small 6" "smooth" file.
I then very carefully drive the pin out with a straight pin punch. I do that while the scale and washer are supported on the back side. There mush be a same size hole in the support for the pin to go into on the back side.
I have not had good luck with the Flush cutters, even the good ones. They are great for saving one scale that has lost its mate along the way.
~RichardBe yourself; everyone else is already taken.
- Oscar Wilde


 Reply With Quote


