
Results 11 to 20 of 220
 110Likes
 LinkBack URL
 About LinkBacks
-
09-11-2013, 12:54 AM #11

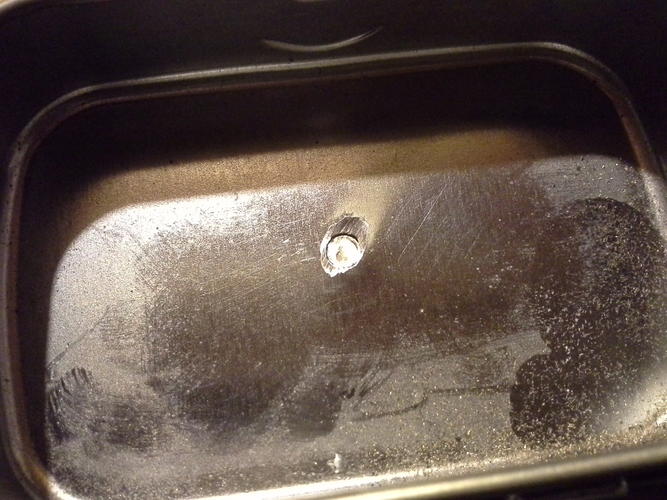
 now use the wire cutter to remove what remains of the washer, or tap on the pin with a sharp nail, or go just a little further with the cutting wheel.
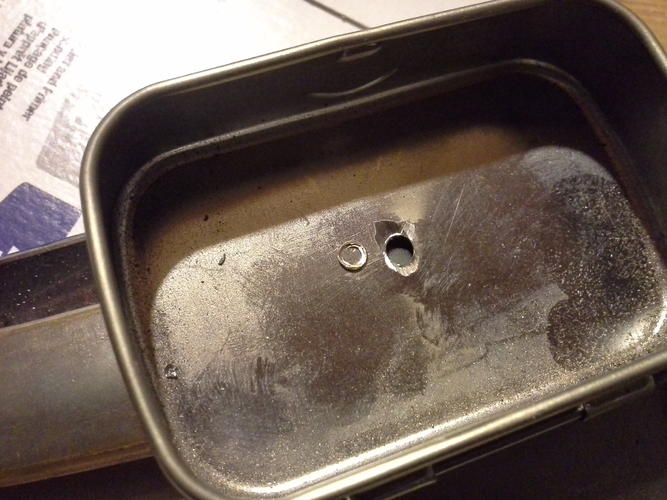 wyobarbershop and Spendiggity like this.
-
09-11-2013, 12:59 AM #12Senior Member

- Join Date
- Aug 2013
- Location
- bakersfield ca
- Posts
- 160
Thanked: 0
Looks good so far man!

-
09-11-2013, 01:02 AM #13
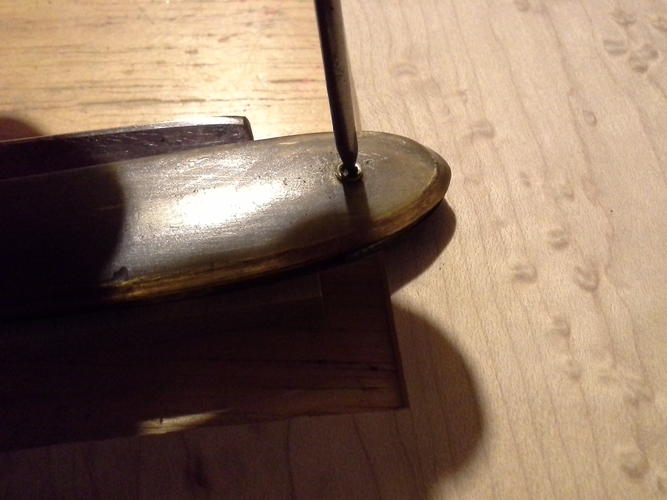
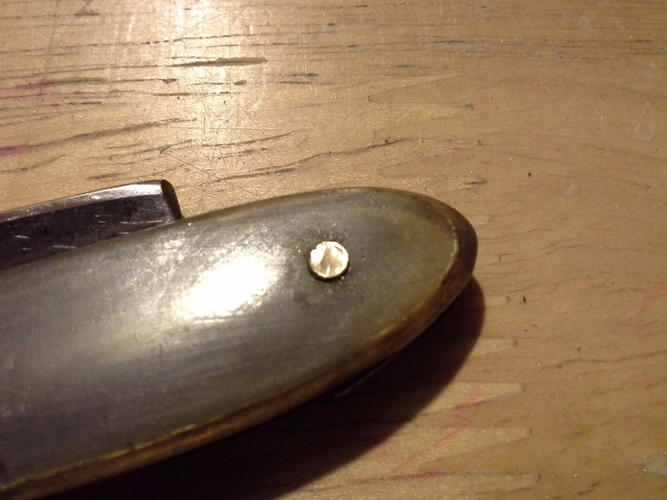
 now support the scales over a gap, and tap out with a nail.
 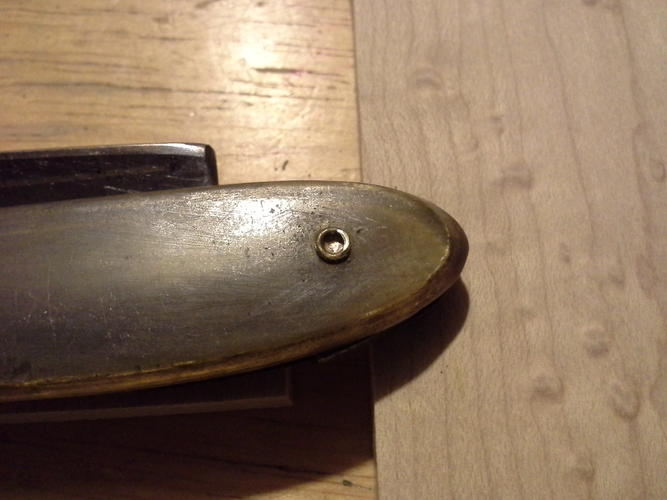 slide a blade behind the scale and use to lever the scale off the pin. Go easy, grasshopper.
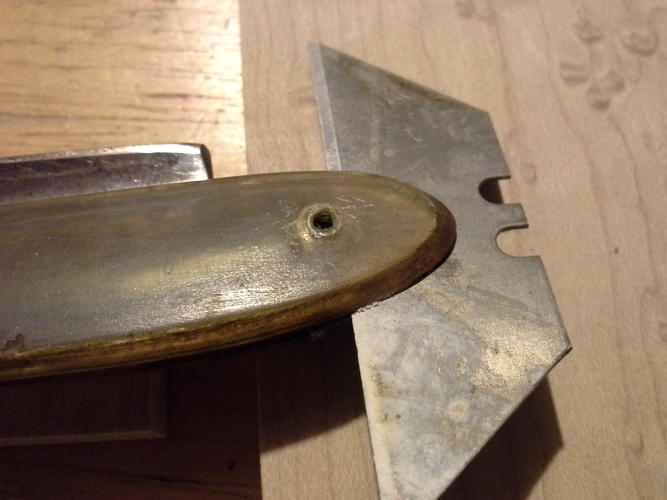 Chevhead likes this.
-
09-11-2013, 01:10 AM #14
After some twisting tugging and tapping, here you go
And I forgot to mention, always tape up the cutting end while handling for assembly/ disassembly.
Anyway it was a long 13 hr day at work. More of this another day.
-
09-11-2013, 06:51 PM #15Senior Member
- Join Date
- Jun 2013
- Location
- London Ontario Canada
- Posts
- 112
Thanked: 10
I'm looking forward to following progress. Looks great so far!
-
09-11-2013, 09:04 PM #16Senior Member

- Join Date
- Jul 2013
- Location
- Ischia, Naples, Italy
- Posts
- 1,960
Thanked: 132
Very nice.
I'd like to read more about this "tutorial".Where there is a great desire there can be no great difficulty - Niccolò Machiavelli & Me
Greeting from Ischia. Pierpaolo @ ischiapp.blogspot.com
-
09-11-2013, 11:41 PM #17
Unfortunately I wont be updating tonight, long day at work and came home to all hell broken loose. Lets just say when building a fence for dogs, consider the size of the dog breaking INTO the yard, not just breaking out.
pfries likes this.
-
09-11-2013, 11:54 PM #18Senior Member


- Join Date
- Nov 2012
- Location
- Across the street from Mickey Mouse in Calif.
- Posts
- 5,320
Thanked: 1185
2 words to solve all fence and dog problems........Hot Wire. :<0) I had German Shorthairs and it was the only way to keep a dog that could scale an 8' block wall in. Sorry for the thread interrupt. carry on..................
You have some good tips here ! I suspect others use some of them or variations ( I Do ) and they are not always mentioned in tutorials and or threads.Good judgment comes from experience, and experience....well that comes from poor judgment.
-
09-12-2013, 12:13 AM #19
I am sure others have different methods, and I'd like to see critiques. I certainly am no expert.
As far as hotwire, never heard of it, can you pm me the info.
-
09-12-2013, 08:19 PM #20
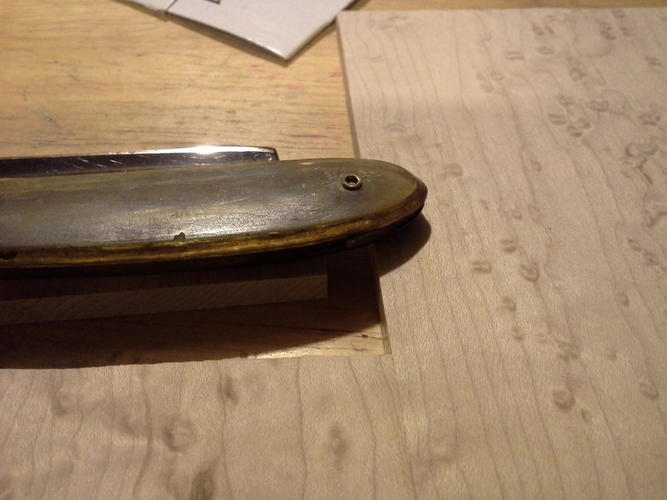
So here is the scale depinned.
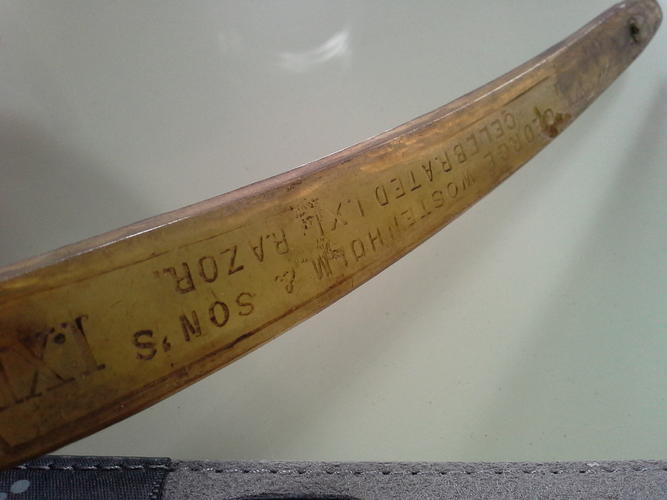
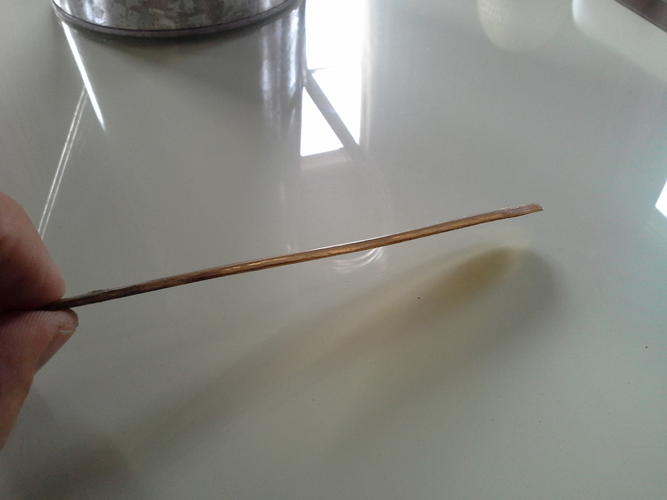
Warpage is minimal.
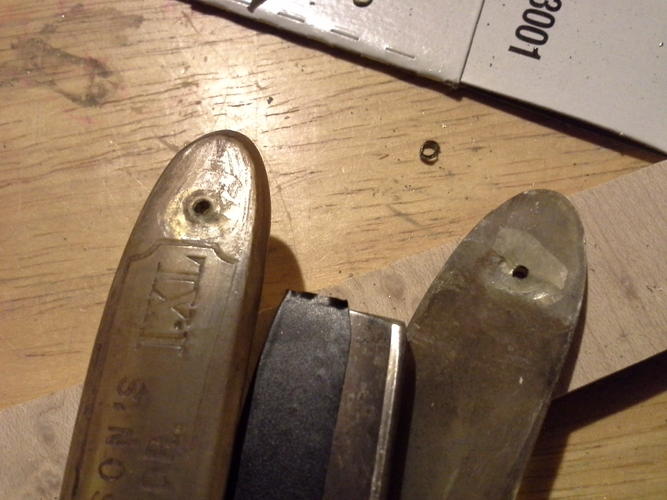
I have never attempted to straighten a horn, but I knew I had spares to try out on first. Little did I know that I have a near identical match, from a razor I rescaled awhile back. This also had an engraved scale that was pretty beat up.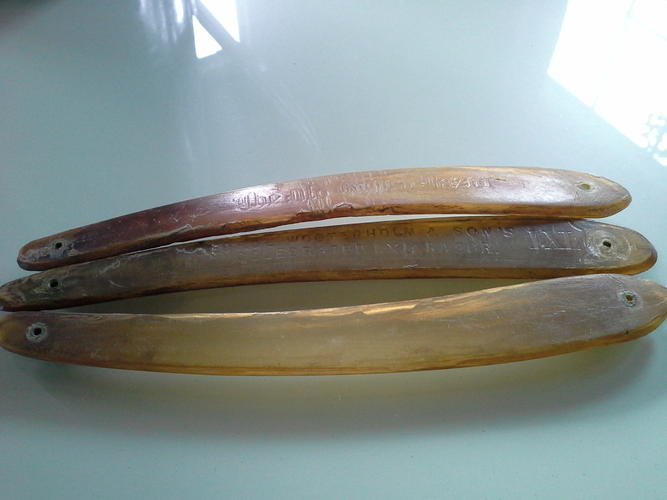


 Reply With Quote