
Results 1 to 10 of 220
 110Likes
 LinkBack URL
 About LinkBacks
-
09-09-2013, 11:43 PM #1
 Step by step restore of a Wostenholm for a member
I volunteered to help out a member here who wanted an old razor restored. He shipped it to me and what follows today is its condition as it arrived.
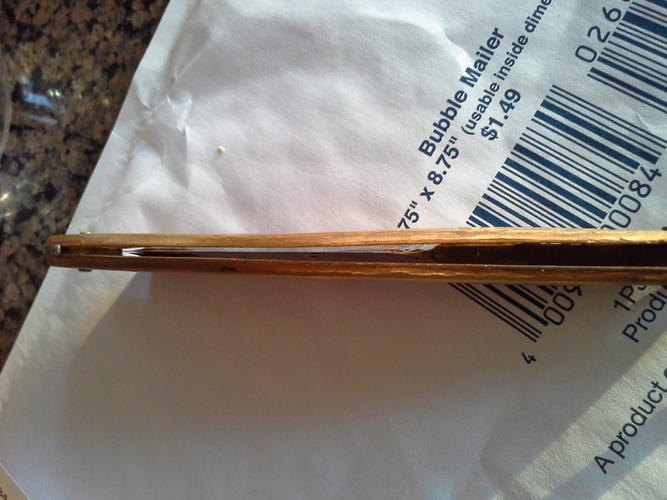
One scale is warped and a little bug bitten, but it has the inscription on it and I will restore it.
The other is broken at the pin.
 This is the one I will save.
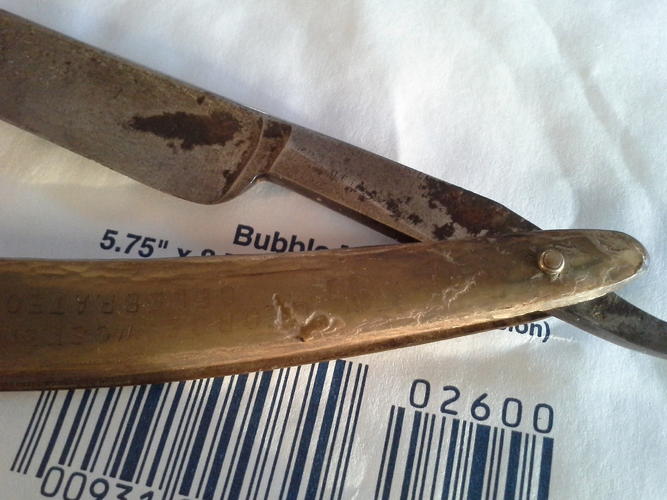
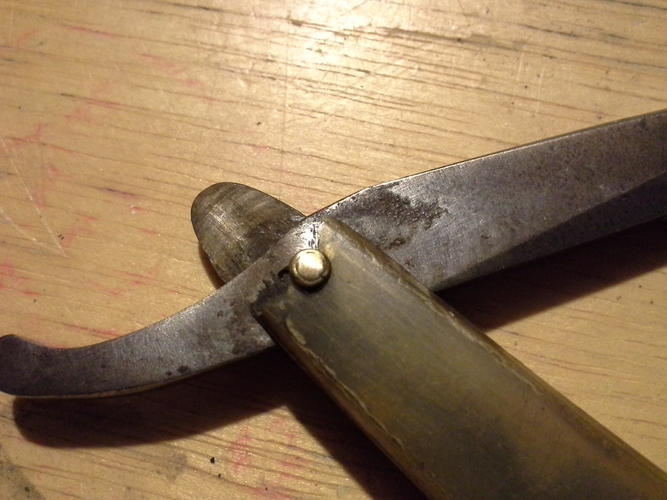
The blade is in pretty good shape at first glance.
A little bit of a frown, some rust, but none near the cutting edge.
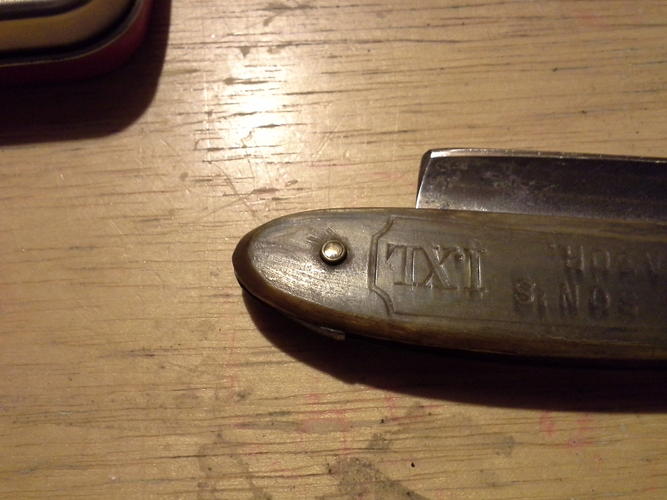
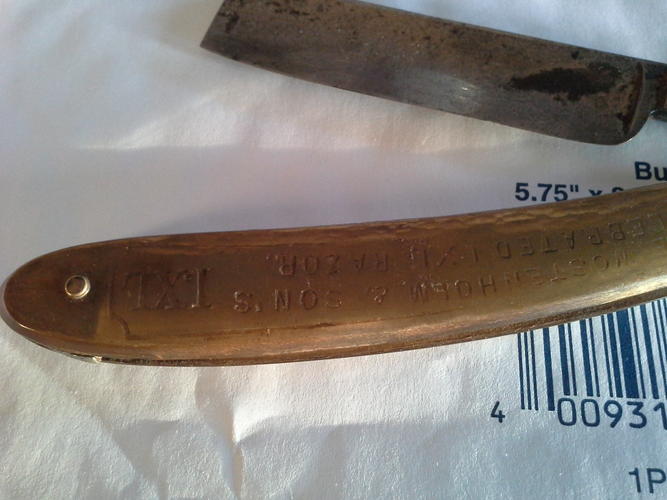 the inscription on the scale is in decent shape. I am glad it is not on the blade.
It says" IXLGeorge Wostenholm and Son's
celebrated IXL Razor. IXL"
I don't know the age, but I am guessing mid to late 1800's.
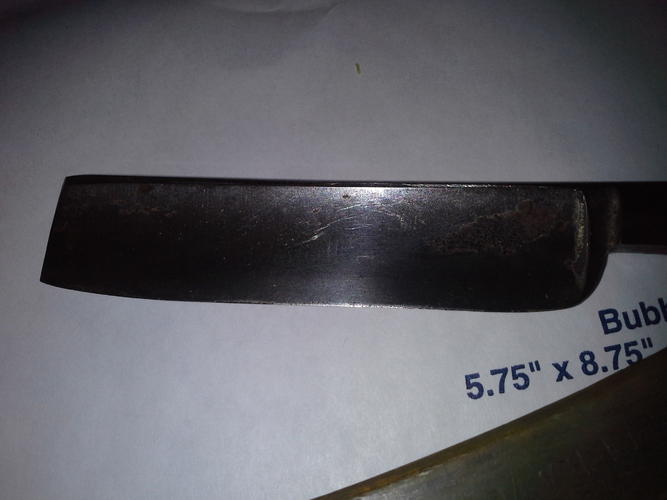
Interestingly enough there are no markings on the blade at all, even the tang.
It looks totally original, no rescaling.
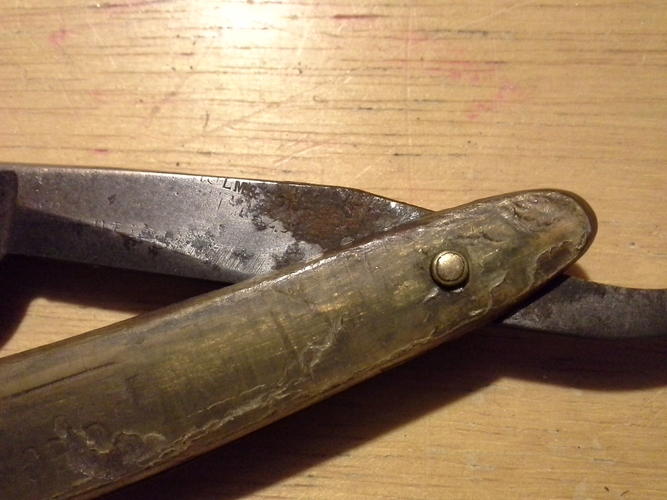 WOW This tablet camera is awesome. I just noticed the inscription on the tang, badly stamped, and almost rusted over.
 This is the broken scale.
Nashrome likes this.
This is the broken scale.
Nashrome likes this.
-
09-09-2013, 11:46 PM #2
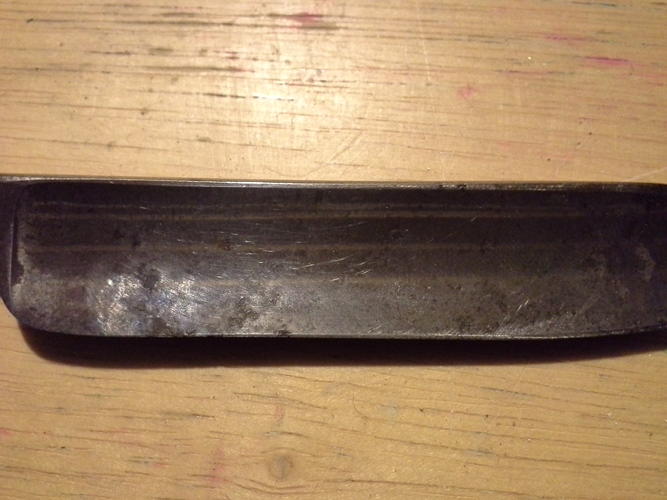
A closeup of the blade on the other side.
Tomorrow I will remove the scales. Standby for updates.reverenddd and 2010johnjef like this.
-
09-09-2013, 11:57 PM #3'with that said'


- Join Date
- Aug 2010
- Location
- Walla Walla in WA State USA
- Posts
- 11,258
Thanked: 4238
I'm IN! I'm really looking forward to see how this comes out!
Our house is as Neil left it- an Aladdins cave of 'stuff'.
Kim X
-
The Following User Says Thank You to cudarunner For This Useful Post:
souschefdude (09-10-2013)
-
09-10-2013, 12:02 AM #4
I know someone in Walla Walla!
-
09-10-2013, 12:49 AM #5Senior Member

- Join Date
- Mar 2012
- Location
- PA
- Posts
- 650
Thanked: 81
Looks interesting.
-
09-10-2013, 05:44 PM #6Member
- Join Date
- Jan 2013
- Location
- Algiers Point, LA
- Posts
- 88
Thanked: 12
Replying to subscribe this looks like it should be fun...
-
09-11-2013, 12:27 AM #7
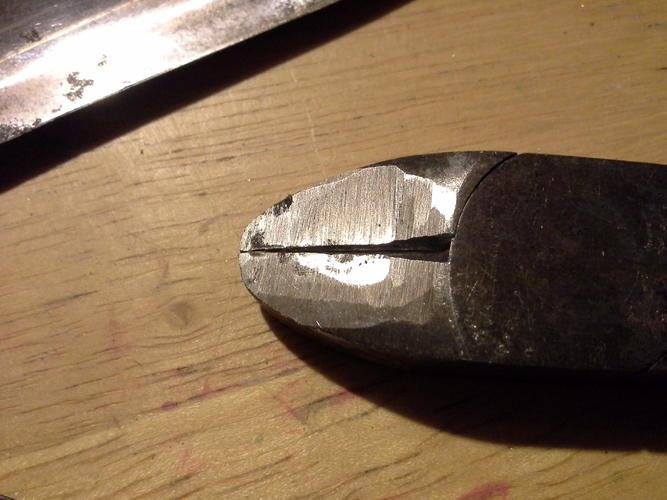
Removing scales is easy if you arent saving the scales. Use a pair of wire cutters modified to be flush on the cutting edge. Do this with a dremel.
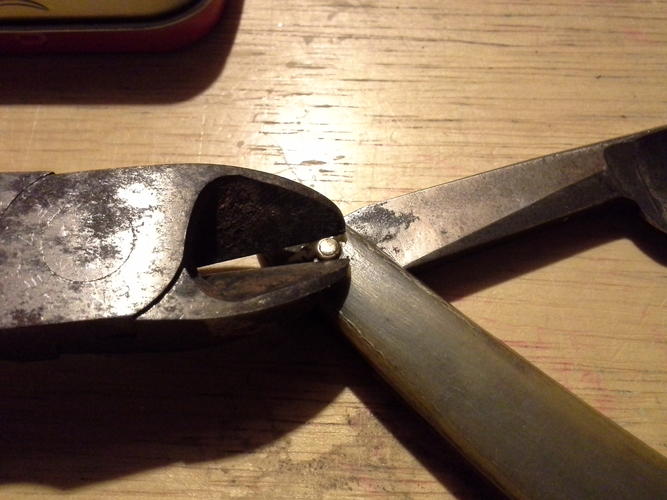
Then cut the pin under the washer.
-
09-11-2013, 12:36 AM #8
However, if saving the scales, you must file the peen off one side.
Two things can go wrong. Overheat and melt the hole the pin is in, and scratch the scales while filing.
I never tried a manual filing, but you could tape all around the pin. Manual filing reduces the 2 risks quite well.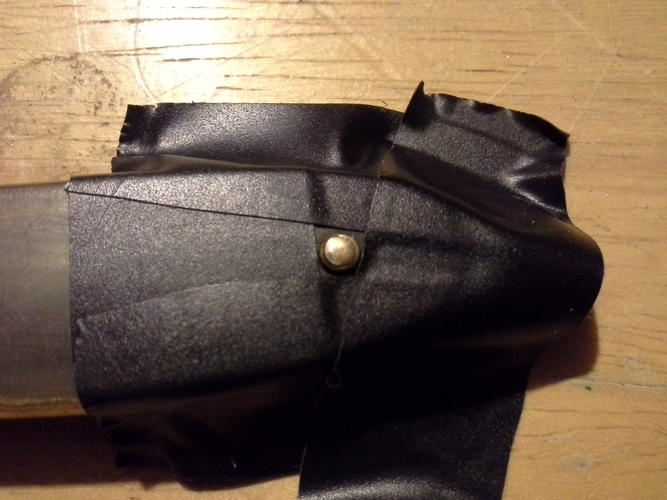
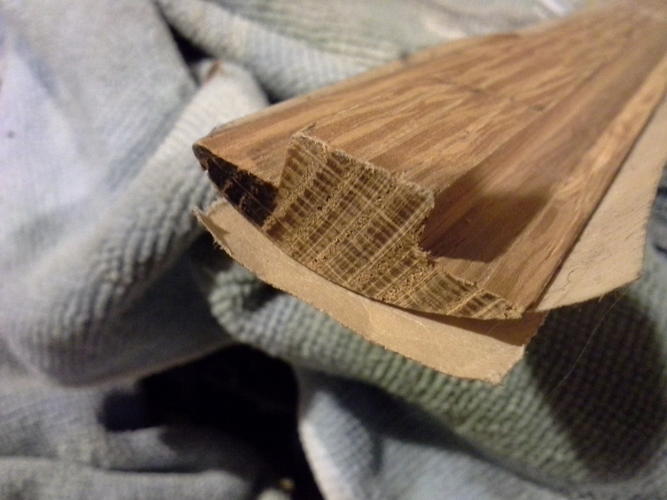 here I.ve taped a piece of sandpaper to a round piece of moulding. It seems quite effective.
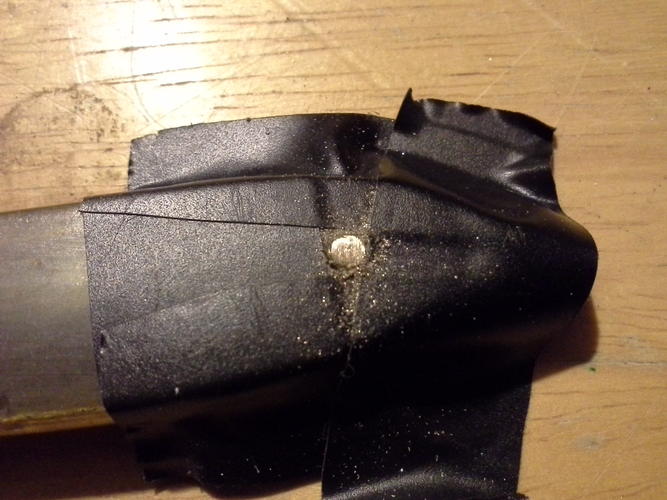 that is just a few swipes.
-
09-11-2013, 12:42 AM #9
If using a dremel, shield the scale wih a piece of aluminum. Here I use an Altoid box drilled out to just over 3/32.
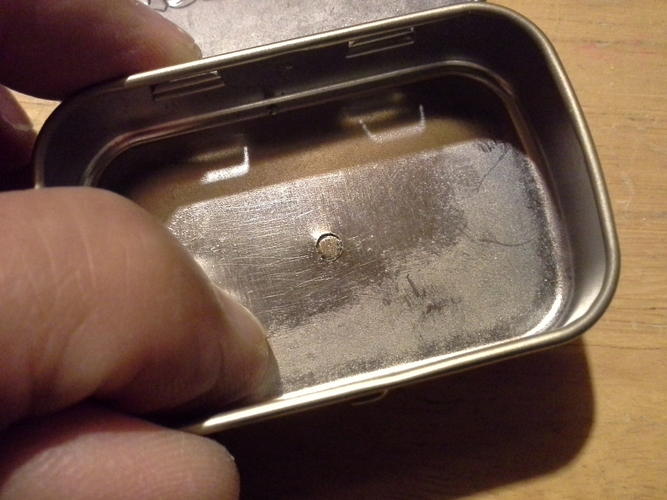 Laurens likes this.
-
09-11-2013, 12:46 AM #10
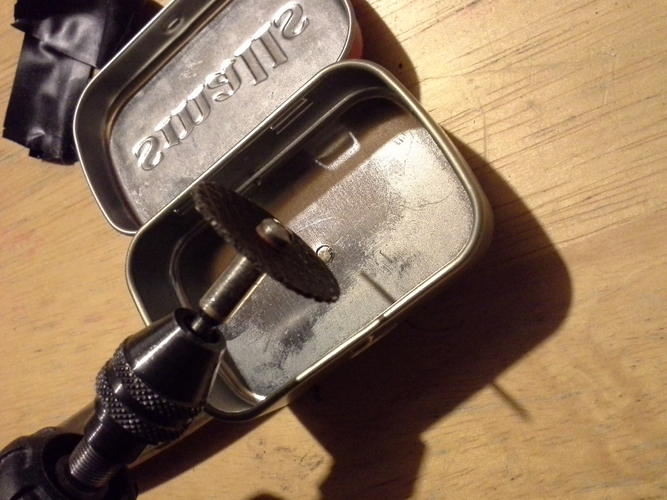 use a cutting wheel
-
The Following 2 Users Say Thank You to souschefdude For This Useful Post:
carrolljc (07-03-2014), Sandycrack (09-11-2013)


 Reply With Quote