Okay, cool. I'll see if I can find it.
Printable View
Okay, cool. I'll see if I can find it.
Think I found what you mean Bob with partial layers of tape or grinding through tape then adding more until it evens out. I actually thought about doing that. Whether rightly or wrongly I decided to sand because the spine is not the issue. There is either a hump in the grind in the middle or wear from sanding/grinding at both the heel and toe ends on both sides. It seemed more right to me to even out the hump. Maybe that was wrong but I am going forward carefully so that I will hopefully not make mistakes beyond what can be compensated for.
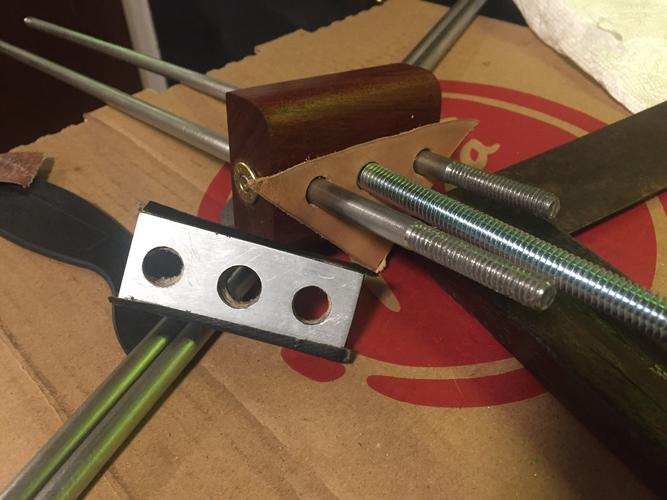
Working on leather and trying to hit the c/lines with a hole punch always seems an effort in best guess so I made an aluminum jig and sized it for the od of the punch tools.
Tested the spacing on some scrap and was happy with the results. Very repeatable.
Attachment 316831
So time to cut some holes and get these dialed in.
Attachment 316832
Attachment 316833
Attachment 316834
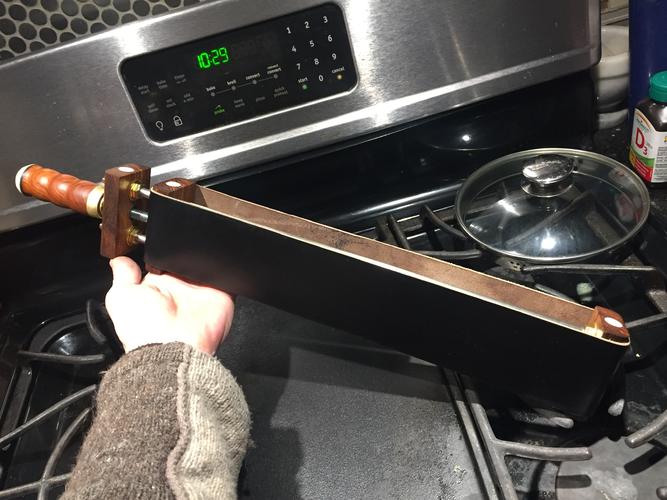
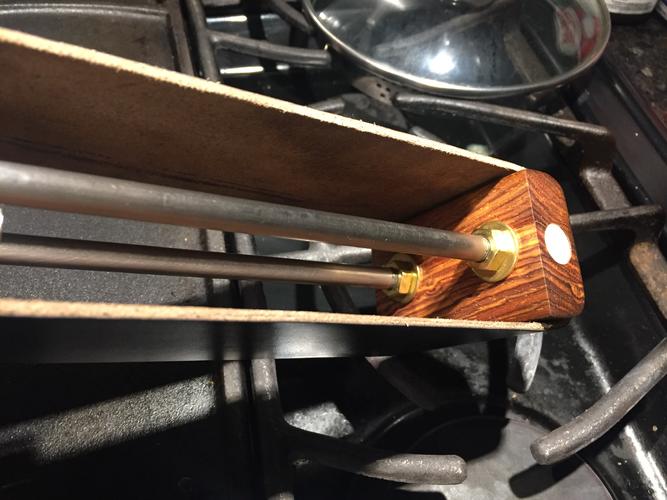
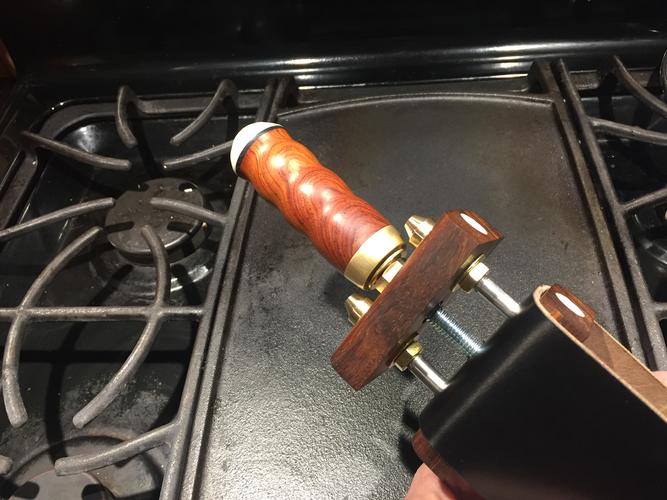
Now the fussy steps of getting the rods exactly right, burnishing the leather edges, and tightening everything up for the last, of many, many times apart..
Hell, every step was fussy actually. But a great pleasure to indulge the time in.
:beer1:
Man that looks good B52!
Beautiful work bro. A strop to pass down the generations. I might have to have one of those.
Absolutely gorgeous, Mike. Some damn fine work, there.
Very nice. What leather did you use? Is it reversible?
That looks like a work of art
Many thanks. This is exactly the information I was looking for. I can now make a reasonably well informed decision.Quote:
Originally Posted by MikeB52
Went with horsehide from Horween Leather out of Chicago. Best source for horse anymore I find.Quote:
Originally Posted by PaulFLUS
Not reversible but both sides of the strop are useable.
On some, I suede the backside but on others if the hide is blemish free both sides I leave as is.
Will probably create a separate thread highlighting the journey and steps involved.
This was a specific challenge to replicate a former members meticulous design for a bow strop.
Still a few more steps to complete but happy it’s starting to look like it was made to.
:tu