
Results 21 to 30 of 112
 122Likes
Thread: ebay scales
 LinkBack URL
 About LinkBacks
-
11-25-2014, 01:10 AM #21Senior Member


- Join Date
- Feb 2013
- Location
- Haida Gwaii, British Columbia, Canada
- Posts
- 14,436
Thanked: 4827
That is a great project for your bone scales. They don't look like you need to take a lot off of them for the thickness. I think if you figure out which of you scale pairs is the smallest and match all the rest to those it would be the simplest way, although you also need to consider how they will size up with the originals. It is best if the scales match nice with the tang size when they are open and in the stropping position. I made a set once that was quite a bit wider and it made for an unnatural grip when stropping. Lead has to be the easiest material to make wedges with as it is so easy to shape. I look forward to your progress reports if you have time to make any.
It's not what you know, it's who you take fishing!
-
11-25-2014, 01:56 AM #22
I agree with RezDog. Once you get the scale pattern you want, you can make the rest the same. Some of your work is already cut out for you. I have made wedges from different materials but I have some old lead tire weights that I cut with a hacksaw & flatten them at an angle on the anvil part of my vise. They are easy to work with, to make & they are ideal!
-
11-25-2014, 12:58 PM #23Senior Member

- Join Date
- May 2014
- Location
- Canberra, Australia
- Posts
- 257
Thanked: 43
I like this idea it seems to be quite do-able with the limited resources i have in the garage. i guess i am just a little daunted by the seven pairs that i want to get through. i will set up some sort of rig to be able to get through all 14 pieces. Originally Posted by engine46

I would like to take them down to about 1.5-2mm but i will see how i go as i work on them if they need to be thicker or thinner.
i also like the idea of using old tyre weights for wedges, i think i will use a piece of sheet aluminium though. that way i can cut one out and have it correct and use it as a stencil for the others.( i think it will be easier to make them all the same, than having to whack out a new lead weight each time)
i am using this as a guide http://straightrazorpalace.com/works...pic-heavy.html they won't be as nice but it will be ok
i will try to keep up a log of what i do (the good the bad and the ugly)
-
The Following User Says Thank You to dooey For This Useful Post:
Geezer (11-25-2014)
-
11-25-2014, 01:40 PM #24Senior Member
- Join Date
- Feb 2013
- Location
- Haida Gwaii, British Columbia, Canada
- Posts
- 14,436
Thanked: 4827
I appreciate everyone that take the time and effort to photograph and post their work in progress threads. The posts are almost as much work as the projects themselves.
It's not what you know, it's who you take fishing!
-
11-25-2014, 05:40 PM #25
That is a nice guide to use! I never saw that but it is a great one. He did a great job & I hope that you can maybe get all your scales in an exacy size like his. It makes it look so much better. Originally Posted by dooey
Geezer likes this.
-
11-27-2014, 12:57 PM #26Senior Member
- Join Date
- May 2014
- Location
- Canberra, Australia
- Posts
- 257
Thanked: 43
got a touch done today
 Safety first!!
taped them together, they are pretty even now, i am happy with them. not a massive difference but definitely much better and far better to use now. Some of them are still a little out in some parts but not in other parts of the scales but it would require annihilation the rest of them to get them all to conform.
before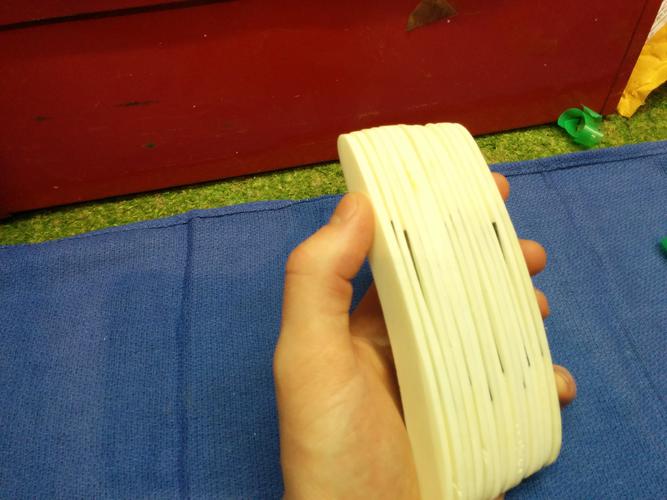 after
after 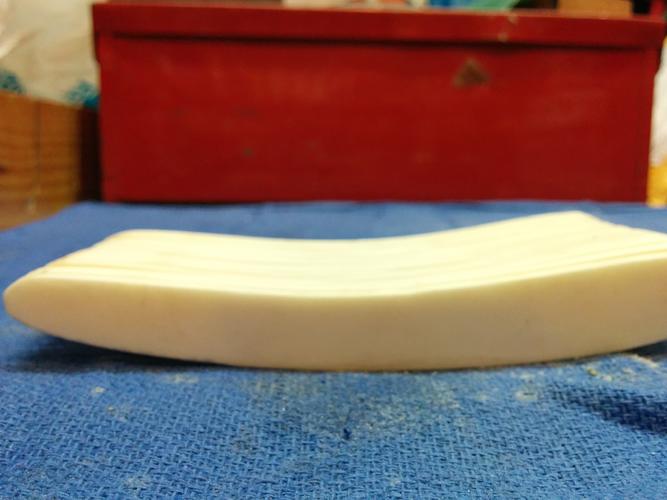
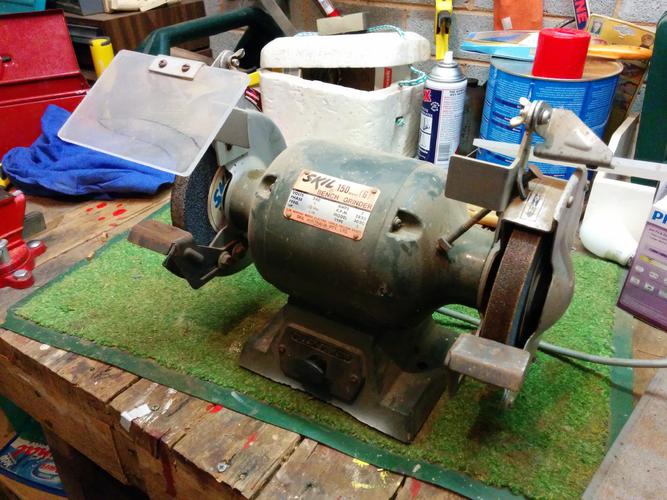
I used 60 grit sandpaper, a file and a bench grinder. i reckon it would have been a ton easier with a belt sander, but I unfortunately don't have one of them.
next step is split them into pairs, and thin them out. still not sure of the best way to do this (with fourteen pieces!), help would be appreciated
oh and 100th post!
-
11-27-2014, 01:13 PM #27Senior Member
- Join Date
- Feb 2013
- Location
- Haida Gwaii, British Columbia, Canada
- Posts
- 14,436
Thanked: 4827
do you have a drill press?
It's not what you know, it's who you take fishing!
-
11-27-2014, 01:20 PM #28Senior Member
- Join Date
- May 2014
- Location
- Canberra, Australia
- Posts
- 257
Thanked: 43
Originally Posted by RezDog
Unfortunately no. Just a nice drill and a steady hand.
-
11-27-2014, 04:41 PM #29Senior Member
- Join Date
- Feb 2013
- Location
- Haida Gwaii, British Columbia, Canada
- Posts
- 14,436
Thanked: 4827
my first thought for thinning requires a drill press. My second thought is to stick them to a board and use a file and a sanding block. They are a little tricky to get nice and even but it is a matter of taking your time. They only need to loose about a millimeter and a half so you should be off to the races easy enough. A guide block alongside might give you a nice gauge.
It's not what you know, it's who you take fishing!
-
11-27-2014, 06:23 PM #30
Yep, like Shaun said, sticking them to a board would work. Some two sided sticky tape or carpet works or the 3m double sticky tape from the auto parts stores but you can probably find it cheaper on the bay. I c-clamped it to a board just enough to hold it from moving but not too much since I didn't want to break them & used a file. Then I turned it around & repeated. It worked out good but if you can use the tape or use the palm sander procedure, the would work great & uniformly at that! Those look pretty damn good already!!!! Originally Posted by RezDog
Last edited by engine46; 11-27-2014 at 06:28 PM.


 Reply With Quote

