
Results 31 to 40 of 59
 244Likes
 LinkBack URL
 About LinkBacks
-
09-27-2016, 03:55 AM #31Razor Vulture


- Join Date
- Oct 2010
- Location
- Lone Star State
- Posts
- 26,119
Thanked: 8612
Looking forward to the next installment! Things are coming together!
xiaotuzi likes this.
-
09-27-2016, 01:24 PM #32Senior Member


- Join Date
- Oct 2015
- Location
- Knoxville,IA
- Posts
- 2,368
Thanked: 762
I keep checking in on this cant wait to see it complete
 gonna be a looker for sure.
Sent from my SM-G930R4 using Tapatalkxiaotuzi likes this.Nothing is fool proof, to a sufficiently talented fool...
-
09-28-2016, 01:28 AM #33Senior Member

- Join Date
- Jun 2016
- Location
- NH
- Posts
- 1,924
Thanked: 1363
Back to work on the blade today. I sanded up to 2000 grit and have a nice even surface ready for applying the satin finish. I'm please with the way it turned out so far, if I had created a wavy surface earlier with the lower grits it would have been evident at this point. So, I'm happy it's nice and smooth. After that I honed what was left of the chips out of the edge and have a pretty good bevel set on my King 1000. It still measures 7/8 at the widest so I'm happy with that also. I will reset the bevel after the satin finish is complete.
-
The Following 2 Users Say Thank You to xiaotuzi For This Useful Post:
ScoutHikerDad (09-29-2016), sharptonn (09-28-2016)
-
09-28-2016, 01:31 AM #34Historically Inquisitive

- Join Date
- Aug 2011
- Location
- Upstate New York
- Posts
- 5,782
- Blog Entries
- 1
Thanked: 4249
Nice work! Progressing nicely, bevel looks small and even.
xiaotuzi likes this.
-
The Following User Says Thank You to Martin103 For This Useful Post:
xiaotuzi (09-28-2016)
-
09-28-2016, 01:55 AM #35Razor Vulture
- Join Date
- Oct 2010
- Location
- Lone Star State
- Posts
- 26,119
Thanked: 8612
Ya know...This is absolute proof-positive that there is no shortcut in making an old wedge glow.
True-enough, a thick wedge is an awesome canvas which cannot be attained with more hollow-ground blades.
Still, this is a lot of work.
Done evenly. I take a great deal from that aspect.
That is what makes Tuzi's work stand out.
Thanks for this tute!
-
The Following 2 Users Say Thank You to sharptonn For This Useful Post:
ScoutHikerDad (09-29-2016), xiaotuzi (09-28-2016)
-
09-28-2016, 11:25 AM #36Senior Member

- Join Date
- Mar 2015
- Location
- Akron, Ohio
- Posts
- 12,067
Thanked: 4312
What he said^
xiaotuzi likes this.Mike
-
The Following User Says Thank You to outback For This Useful Post:
xiaotuzi (09-28-2016)
-
09-28-2016, 11:06 PM #37Senior Member
- Join Date
- Jun 2016
- Location
- NH
- Posts
- 1,924
Thanked: 1363
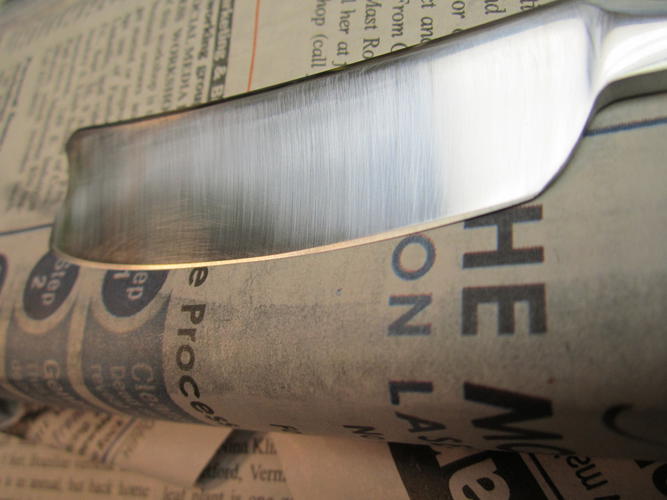
The last step for the blade, and maybe the most fun, is putting the satin finish on the blade faces. I learned a lot from methods described in this post http://straightrazorpalace.com/works...in-finish.html
and sort of based what I do on that. First I start working with 1500 grit sandpaper dry, spine to edge in straight lines, or as straight as possible. I sometimes use a small leather backer but usually end up using bare finger backer. Careful not to touch the areas that are to be left mirror
Then 1000 grit dry with the same action
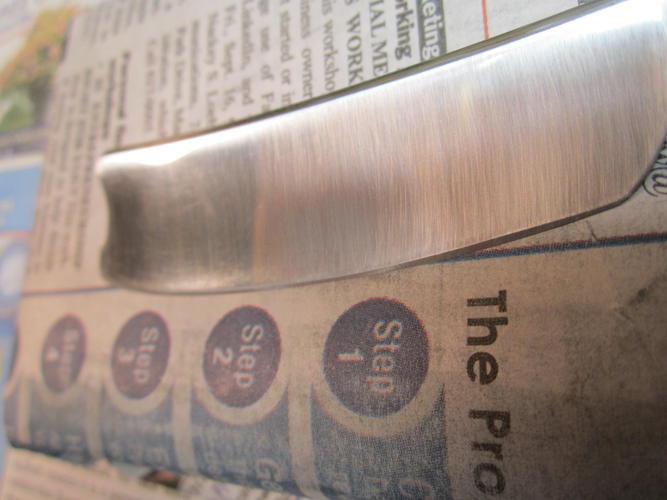
800 grit dry
Then 600 grit dry, then 600 lightly coated in oil, this time I used clipper oil
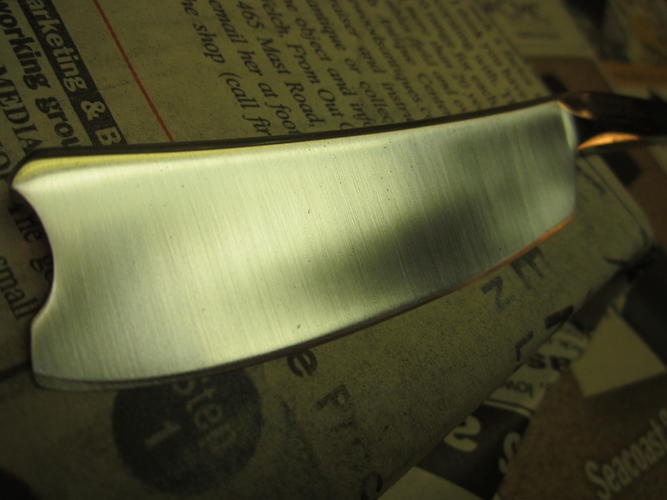
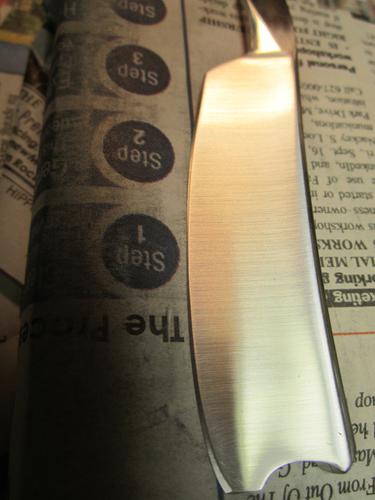
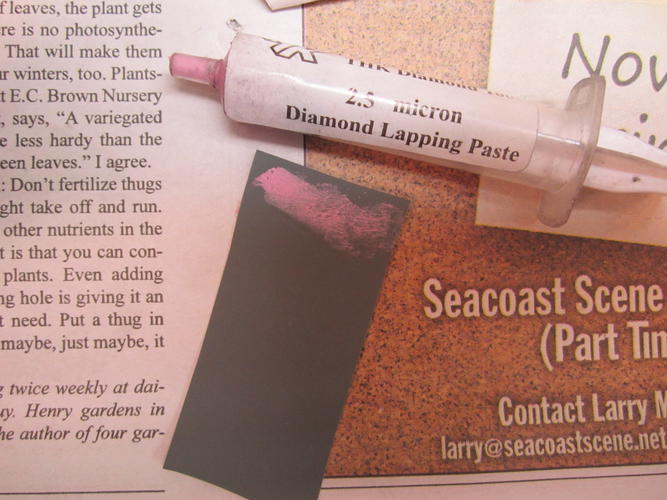
After that I coated some 2000 grit with some diamond paste and again work spine to edge in straight lines until finished. Then polish up the spine, tang, tail and notch.

Next step is just putting it together...
-
The Following 5 Users Say Thank You to xiaotuzi For This Useful Post:
gabrielcr78 (11-17-2017), Geezer (06-13-2017), MrZ (11-17-2017), ScoutHikerDad (09-29-2016), sharptonn (09-28-2016)
-
09-28-2016, 11:22 PM #38Historically Inquisitive
- Join Date
- Aug 2011
- Location
- Upstate New York
- Posts
- 5,782
- Blog Entries
- 1
Thanked: 4249
Well done, blade looks superb.
xiaotuzi likes this.
-
The Following User Says Thank You to Martin103 For This Useful Post:
xiaotuzi (09-29-2016)
-
09-28-2016, 11:25 PM #39Senior Member
- Join Date
- Mar 2015
- Location
- Akron, Ohio
- Posts
- 12,067
Thanked: 4312
Very nice, well done. [emoji106]
xiaotuzi likes this.Mike
-
The Following User Says Thank You to outback For This Useful Post:
xiaotuzi (09-29-2016)
-
09-28-2016, 11:46 PM #40Razor Vulture
- Join Date
- Oct 2010
- Location
- Lone Star State
- Posts
- 26,119
Thanked: 8612
So you go fine to more coarse as getting the finish down. Interesting. You seem to be avoiding the bevel?
How do you not drag the sandpaper across it?
Looks quite nice!
-
The Following User Says Thank You to sharptonn For This Useful Post:
xiaotuzi (09-29-2016)


 Reply With Quote