
Results 11 to 20 of 51
 106Likes
 LinkBack URL
 About LinkBacks
-
11-11-2016, 10:33 AM #11
 Wine corks are handy for holding the sanding paper.
 Originally Posted by cmsessa

The flex shaft attaches to the dremel tool.
Start out with really cheap blades. There have been a goodly number of good blades ruined by a power tool. Pups is right. It takes a very light touch to use a buffer or a dremel. The carpet is a good idea. My area is covered with carpet I got at discount carpet stores.
Follow the advice and use the vids here in SRP.If you don't care where you are, you are not lost.
-
11-11-2016, 11:34 AM #12Senior Member


- Join Date
- Mar 2015
- Location
- Akron, Ohio
- Posts
- 12,118
Thanked: 4316
Get the flex shaft adaptor for the dremmel. Originally Posted by cmsessa
Mike
-
11-11-2016, 11:38 AM #13Senior Member
- Join Date
- Mar 2015
- Location
- Akron, Ohio
- Posts
- 12,118
Thanked: 4316
To wrap the wet/dry paper around. Originally Posted by cmsessa
So you can sand the inside curvature of the blade.Mike
-
11-11-2016, 12:30 PM #14Senior Member

- Join Date
- Feb 2013
- Location
- Haida Gwaii, British Columbia, Canada
- Posts
- 14,457
Thanked: 4830
The wine corks also provide a solid backer for the sandpaper and actually help to keep the surface flat and the lines flat.
cmsessa likes this.It's not what you know, it's who you take fishing!
-
11-11-2016, 12:42 PM #15Senior Member


- Join Date
- Oct 2011
- Location
- Standish, Maine
- Posts
- 816
Thanked: 954
Lots of horror stories out there using a Dremel. I tried it early on but it's just too easy to make a mistake and end up with a broken blade or worse. You'll get mixed reviews on its use. Some folks like them. Mine gets used to clean out the barbers notch and cleaning up the top of the monkey tail of the tang and that's about it.
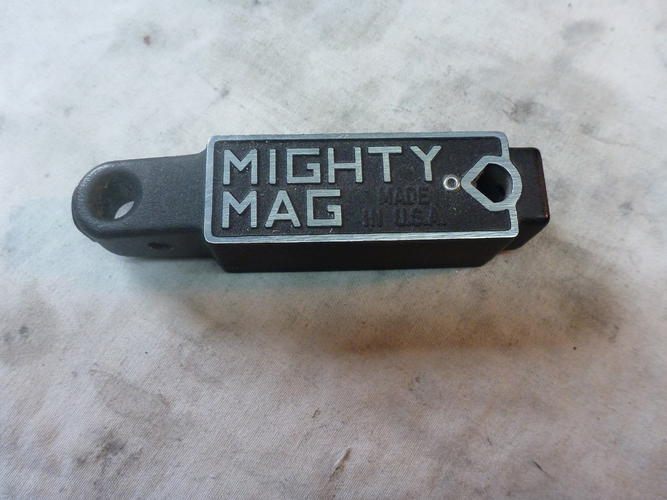
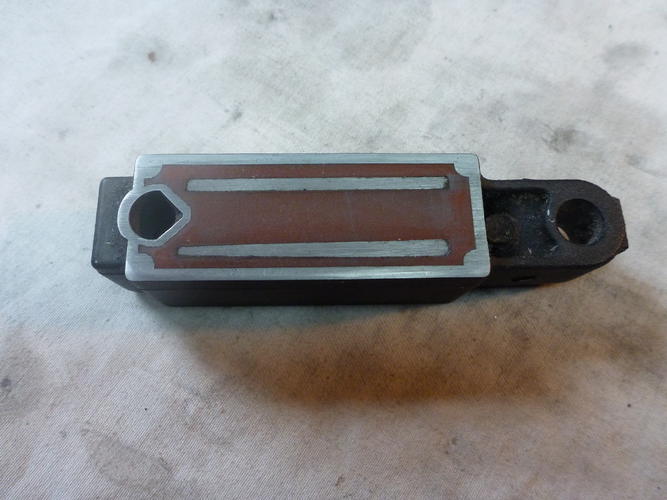
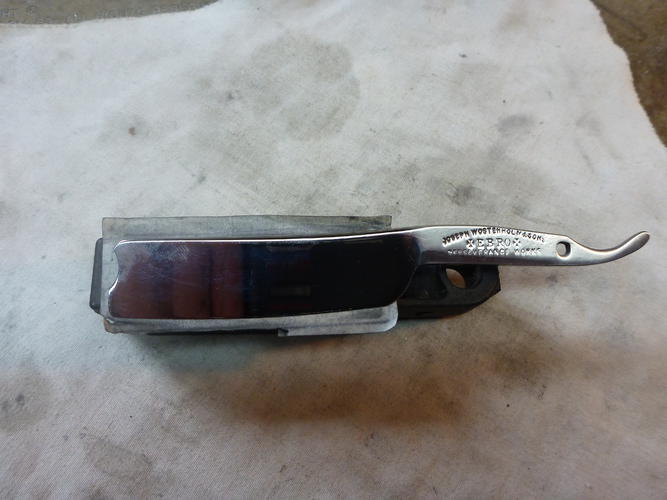
If you are looking for a magnet to hold onto a blade I use this this 'Mightly Mag". My machine operators used them to mount gages back before I retired from the business. The magnet is very powerful and can flex the edge of a blade when flat on the magnet. This is not an issue with near wedges. I use a piece of paper folded over a few times to cut the power of the magnet and keep from scratching the blade. Just watch for the deflection of the blade edge with the really hollow ground blades and position them accordingly. Google Mighty Mag and it will come up.
Last edited by karlej; 11-11-2016 at 01:02 PM.
-
-
11-11-2016, 03:13 PM #16Senior Member
- Join Date
- Apr 2012
- Location
- Diamond Bar, CA
- Posts
- 6,553
Thanked: 3215
The flex shaft attaches to a Dremel, you can buy some in sets with the Dremel, flex shaft and set of grinding and polishing bits.
You hold the flex shaft like a pencil instead of holding the large Dremel. The more control you have the safer the process is. You can buy them separate, just make sure they will fit your model.
Using a Dremel is dangerous because the bit is spinning so fast. Almost anyone that has used one has had it get away from them. It will easily chip or break a razor or toss it across the room. Be careful.
A buffer is for different task. It too is dangerous and requires separate skills. There are tons of threads on buffers and compounds. Depending on what you will be doing, you will use both.cmsessa likes this.
-
11-11-2016, 10:00 PM #17Member

- Join Date
- Nov 2016
- Location
- SF
- Posts
- 79
Thanked: 14
I was reading the library and in Hand sanding a blade - Straight Razor Place Library Bruno uses 150 180 240 320 400 600 1000 1200 1500. Originally Posted by RezDog
Do you mind explaining why you recommended 400-2k?
-
11-11-2016, 11:07 PM #18
Just for saving a buck:
http://straightrazorpalace.com/works...storation.html
Have fun!
~Richardcmsessa likes this.
-
11-11-2016, 11:08 PM #19
Sanding is a personal thing. I use a range from 120 to 3000 paper and sponges up to 12k. Originally Posted by cmsessa
Always start at a grit higher than you think you will need. You can always go back to a lower grit.Last edited by rolodave; 11-12-2016 at 03:41 AM.
cmsessa likes this.If you don't care where you are, you are not lost.
-
11-12-2016, 03:29 AM #20Senior Member
- Join Date
- Apr 2012
- Location
- Diamond Bar, CA
- Posts
- 6,553
Thanked: 3215
The grit you use is dependent on the damage, you are trying to repair, remove all the metal around the damage, to the lowest level of the damage, for example a rust pit. You will remove all the metal around the pit, equal to the bottom of the pit.
If you have a deep pit, 220 is faster than 600 grit, but 220 will leave deep scratches that must be removed and often it is a wash, if using aggressive grits are faster overall.
So, you must decide, if you want to remove ALL the damage, all the time.
Restoration begins at purchase. Look at a razor and think in terms of how much work will be needed, compare this with the price. You can always find a razor in better condition, possibly for just a little more money, but you will be better off in the long run.
I start with 600, then decide, how much damage you can live with.
You don’t have to try to save them all, leave some for Outback…
-
The Following User Says Thank You to Euclid440 For This Useful Post:
Geezer (11-12-2016)


 Reply With Quote