
Results 41 to 50 of 51
 106Likes
 LinkBack URL
 About LinkBacks
-
11-15-2016, 11:24 AM #41
 The side cutters to use are flush cut. They are about $17 on Amazon. I have never broken scales with mine.
 Originally Posted by Euclid440

Conventional side cutters are double beveled and will break the scales.If you don't care where you are, you are not lost.
-
11-15-2016, 05:05 PM #42Member


- Join Date
- Nov 2016
- Location
- SF
- Posts
- 79
Thanked: 14
Link or name? Originally Posted by rolodave
-
11-15-2016, 05:15 PM #43Senior Member


- Join Date
- Mar 2015
- Location
- Akron, Ohio
- Posts
- 12,119
Thanked: 4316
Are you able to save the collars this way? I prefer the pin vise. It takes a little longer, but I can save the collars this way. Originally Posted by rolodave
 Mike
Mike
-
11-15-2016, 05:20 PM #44Senior Member

- Join Date
- Jun 2016
- Location
- NH
- Posts
- 1,924
Thanked: 1363
A pin vise is a "must have" item in my workshop
 outback likes this."Go easy"
-
11-19-2016, 08:48 PM #45Member
- Join Date
- Nov 2016
- Location
- SF
- Posts
- 79
Thanked: 14
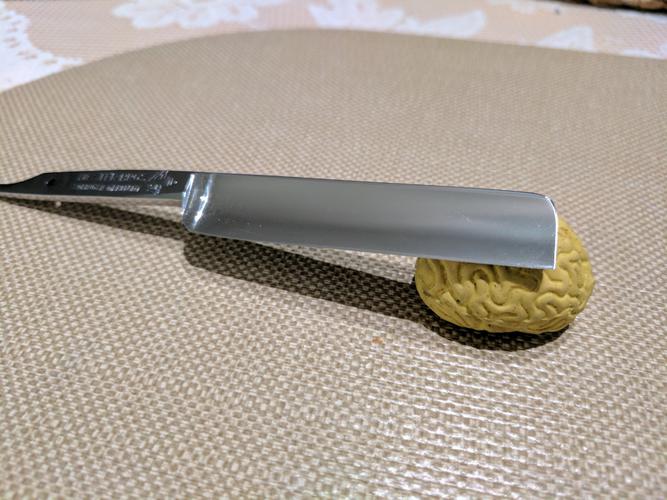
Update: I did some sanding today.
I couldn't find 1k grit, so I started with 1.5k
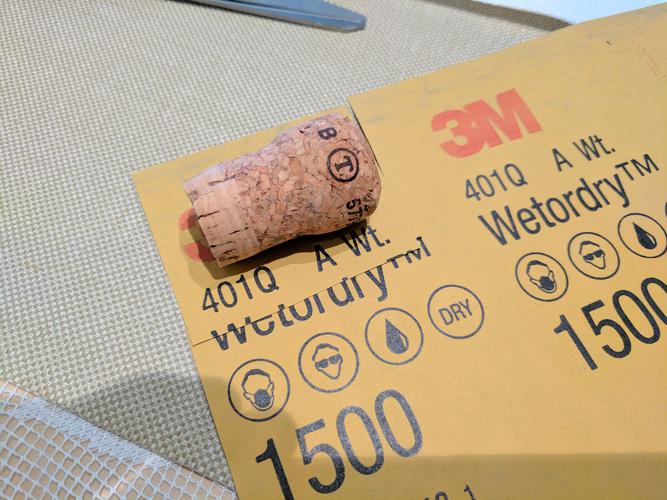
As you can see, it didn't do much.
I went to 600grit.
Even with 600, I couldn't get rid of the "circle"
I went to 400 grit.
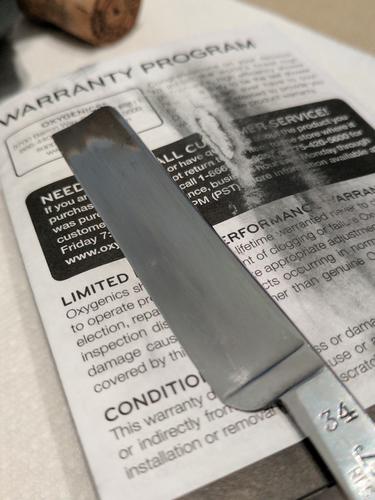
Yay! 400 did the job!
Here are some pictures after the sanding:

After polishing with Mothers:
After polishing I noticed more black marks
General questions:
- Was going to 400 grit a good call?
- Should I do 400 grit again to get rid of the black marks I found after polishing?
- General thoughts?
Thanks!
-
11-21-2016, 05:42 AM #46Member
- Join Date
- Nov 2016
- Location
- SF
- Posts
- 79
Thanked: 14
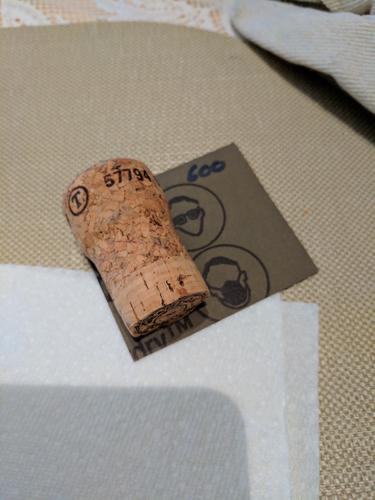
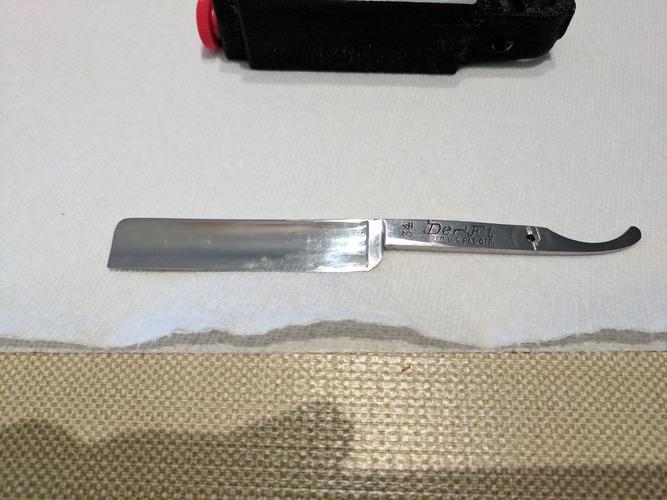
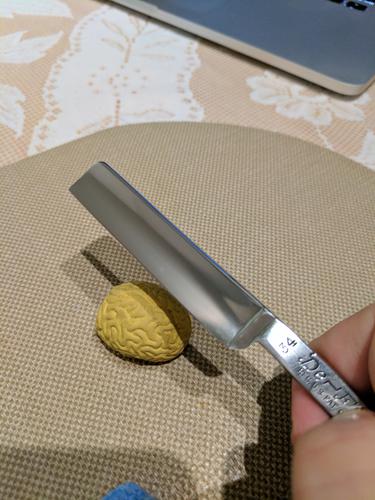
Update:
- Additional 400 grit pass to finish removing everything I wanted
- Clean some of the scratches with 1500 grit
- Polish with mothers
Here are some pictures:
 RezDog likes this.
-
11-21-2016, 02:31 PM #47
If you are happy with the results then scale it up, hone and shave.
On all restores, you have to decide when enough is enough. I have razors that shave great but don't look so great.
OTOH, if you want a piece to be perfect, then buy a new one.If you don't care where you are, you are not lost.
-
11-21-2016, 03:38 PM #48Senior Member

- Join Date
- Feb 2013
- Location
- Haida Gwaii, British Columbia, Canada
- Posts
- 14,457
Thanked: 4830
It looks like you have gotten all of the marks off and have worked the 400 grit scratches out. If you are happy with the finish then it is a great job. It has a nice satin look to it. It is not uncommon to find things hiding under the light confusion of low grit scratch patterns. With practice you will get better at spotting those things. I often wear a 8X visor when I am working on my blades, as my eyes are not as sharp as they once were. If you want a higher gloss finish you can go to 2000 or 3000 grit sand paper, again wet sanding it. Steel wool can help raise your level of polish a bit too. If I am polishing I use 0000 steel wool and mother polish together and then finish with just mothers.
It's not what you know, it's who you take fishing!
-
11-25-2016, 12:22 AM #49Member
- Join Date
- Nov 2016
- Location
- SF
- Posts
- 79
Thanked: 14
Great words. I just pinned it. I will update with pictures shortly. Originally Posted by RezDog
-
11-25-2016, 12:51 AM #50Member
- Join Date
- Nov 2016
- Location
- SF
- Posts
- 79
Thanked: 14
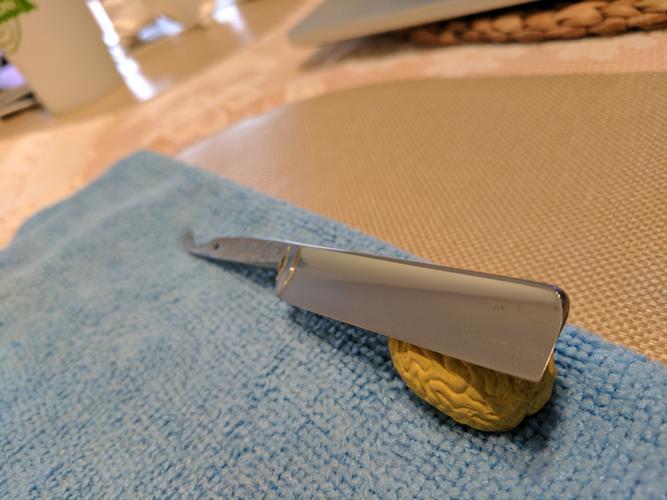
Update:
I "finished".
I bought "Black Plastic Replacement Scales" from maggardrazors (Link: Black Plastic Replacement Scales | Maggard Razors - Straight Razor Restoration, Custom Scales and Wet Shaving Products)
I drill a hole into the plastic scales using a Precision Pin Vise (https://www.amazon.com/gp/product/B0...?ie=UTF8&psc=1)
No idea where to do the hole so I kind of guess. This is what it looked like before pinning:
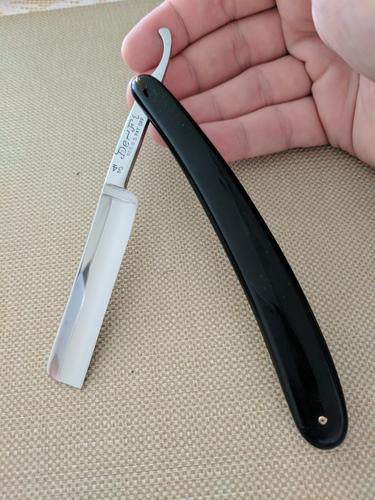
The scales look a bit big for the size of the razor...
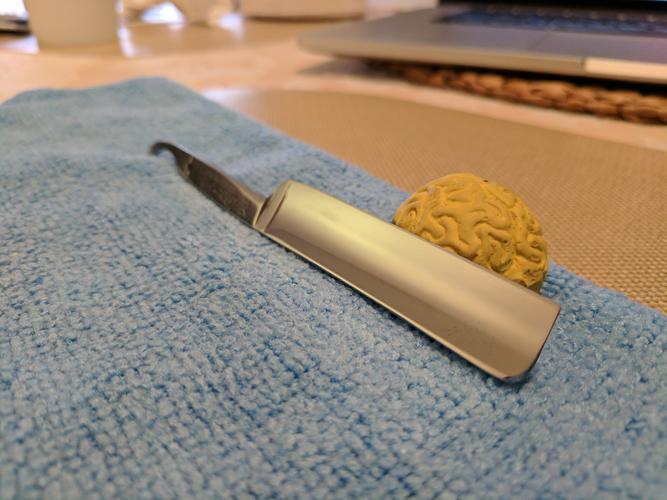
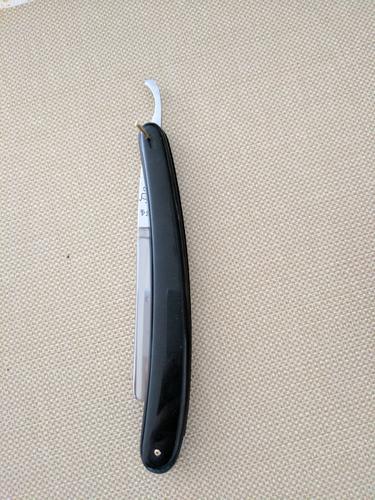
My first time pinning:
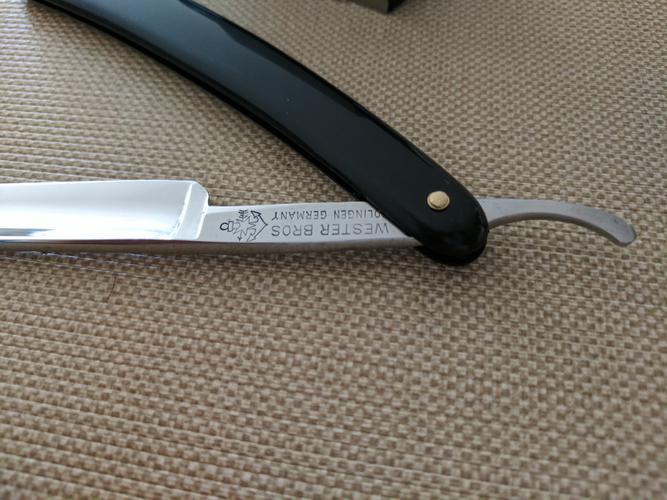
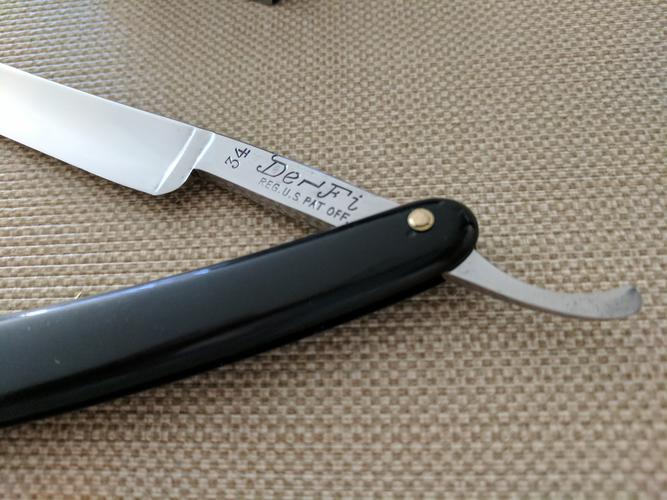
Yep, I started doing a hole to regret the position afterwards.
I found out that someone from the forum hones and lives close to me. This razor will get honed and I will move on to my next adventure.
Final picture of the work done:
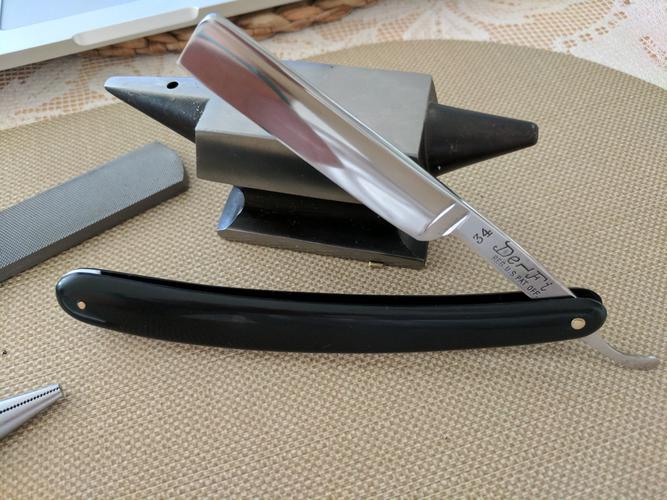
Thanks a lot for the help! This was fun!Last edited by cmsessa; 11-25-2016 at 01:25 AM. Reason: wording
-
The Following User Says Thank You to cmsessa For This Useful Post:
Geezer (11-25-2016)


 Reply With Quote