Results 101 to 110 of 153
Thread: Mini Anvil
-
05-25-2018, 10:30 PM #101Senior Member


- Join Date
- Feb 2015
- Location
- Duluth, GA - Atlanta OTP North
- Posts
- 2,546
- Blog Entries
- 1
Thanked: 315
...
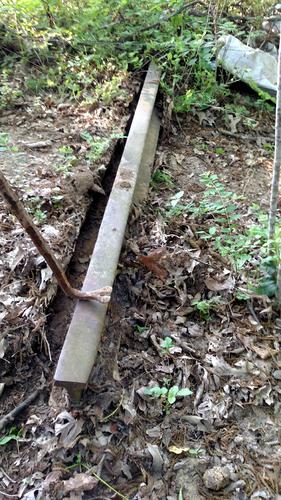 - Joshua
-
05-25-2018, 10:54 PM #102

I 'Think' that I'm done with the top of my piece of Railroad Track

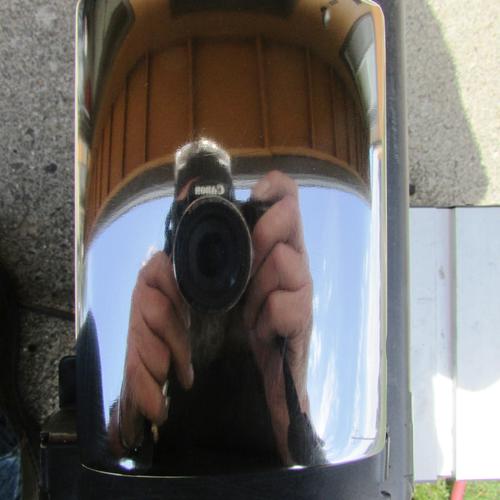
I may clean up the ends more then cover the polished top with some electrical tape and have the rest of it soda blasted then use a clear coat to highlight the exposed/fresh metal Our house is as Neil left it- an Aladdins cave of 'stuff'.
Kim X
-
05-25-2018, 11:14 PM #103

More pics Roy, nice job!
Freddie
-
05-25-2018, 11:19 PM #104

Really nice Roy!
What was your sanding/polishing progression?
Pete <:-}"Life is short, Break the Rules. Forgive quickly, Kiss Slowly,
Love truly, Laugh uncontrollably, And never regret ANYTHING
That makes you smile." - Mark Twain
-
05-25-2018, 11:50 PM #105

Well Freddie, there's not much to show other than how the rest of the rail piece landed here but here's a couple of pics as per your request:
This view is of what's similar of both ends;
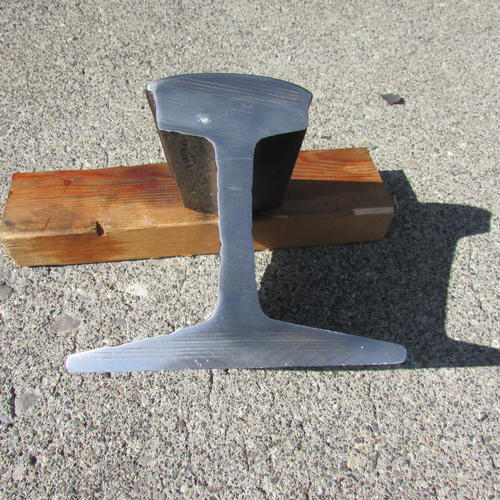
This pic is similar to both sides and the bottom/I'm thinking of using some BARGE contact cement to attach a piece of 1/4" thick leather to the bottom.
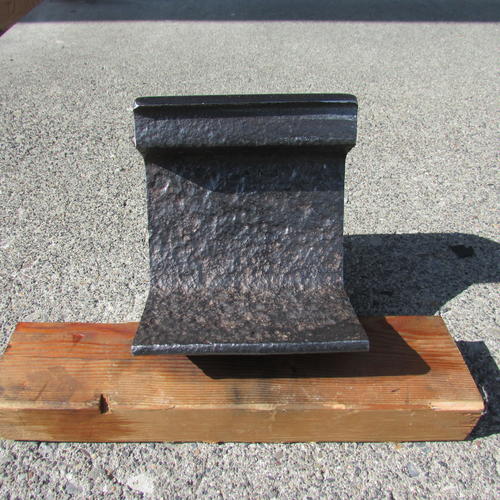
Pete, I had a worn 120 grit Harbor Freight belt on my table top belt sander and that put a small dent in the surface/I did use my air compressor to keep the surface cool as I sanded. anyway I was low on funds so I said 'FI' and waited until I had some more income.
When I got a few unexpected dollars I picked up a 5pack of HF 80 grit and 120 grit belts. I used one 80 grit belt until it was well worn. I then switched to a 120 grit belt and did the same.
Once I was done with the belt sander I put on a piece of the new and improved (as far as I'm concerned) 3M Wet&Dry 80 grit on my DeWalt palm sander and had at it. I ended up changing the paper 3 times.
I then switched to the new 3M Wet&Dry in 120 grit and again went through 3 changes of paper.
Then I went to 220 in the 3M Wet&Dry and again for 3 changes of the paper.
I then went to 400 3M Wet&Dryand once again for three changes of paper. NOTE: I didn't change any of the sand papers until they were Totally Worn Out.
I then went to my buffer at 400 greaseless, then to 600 greaseless, then to CrOx on the buffer and finished by hand with well crumpled newspaper and Mothers Metal Polish followed by paper towels with Mothers then I finished with Mothers on a soft cloth.
NOTE: The newspaper and paper towels have a mild abrasive of their own.
I have applied a coat of Renaissance Wax to protect it from oxidization.
IMPORTANT NOTE:
After I was done with the belt sander I tore all of the covers off of the belt sander and I used my air compressor to blow any bits of metal dust from it. A good deal on a piece of RR Track isn't a good deal if you end up having the metal dust ruin a perfectly good belt sander.Our house is as Neil left it- an Aladdins cave of 'stuff'.
Kim X
-
The Following 2 Users Say Thank You to cudarunner For This Useful Post:
MisterClean (05-26-2018), petercp4e (05-26-2018)
-
05-26-2018, 12:33 AM #106

Thanks Roy.
Seeing that I don't have a belt sander, I'm thinking with a good supply of paper, I'll be able to come close with a d/a and a palm sander to get it ready for the buffer.
I've been real busy and have a trip to Illinois coming up next week so it will be a little while.
Another thing on the "to do" list.
Pete <:-}"Life is short, Break the Rules. Forgive quickly, Kiss Slowly,
Love truly, Laugh uncontrollably, And never regret ANYTHING
That makes you smile." - Mark Twain
-
05-26-2018, 12:47 AM #107

TBH, a DA and vibrating sander seem appropriate.
I forget how outback did them, but I think that is how.
(Respirator/mask!)
-
05-26-2018, 03:12 AM #108

I'm sick of rubbing and buffing and sanding, so this is it. It doesn't compare to the shine Roy got on his but its close. And I went TWO steps farther. Meaning I did the sides too. So here is a few pics. Before and after only. And I'm to damn tired to make the pics better so ...
Before
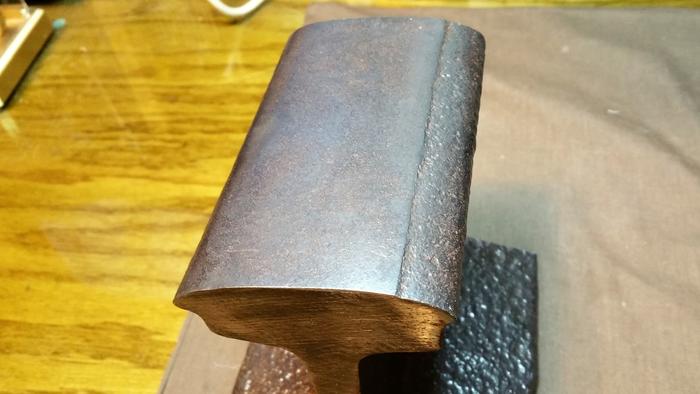
After. You can see a couple crack on the far edge of the top. I tried to sand them out but they just got bigger, so I left them. As long as they don't get any worse, they should be OK.
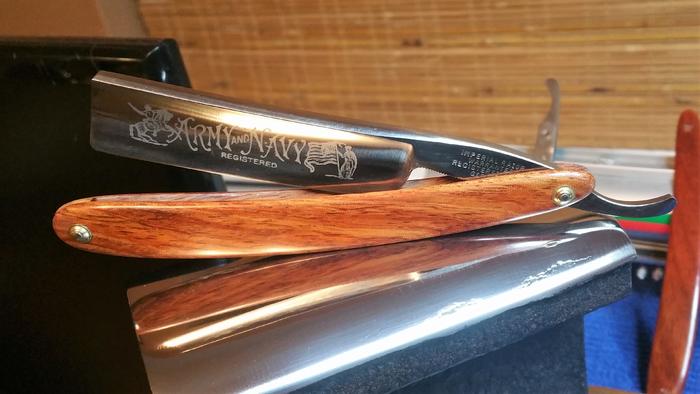
This one you can see the reflection of the razor blade in the bottom edge of the side
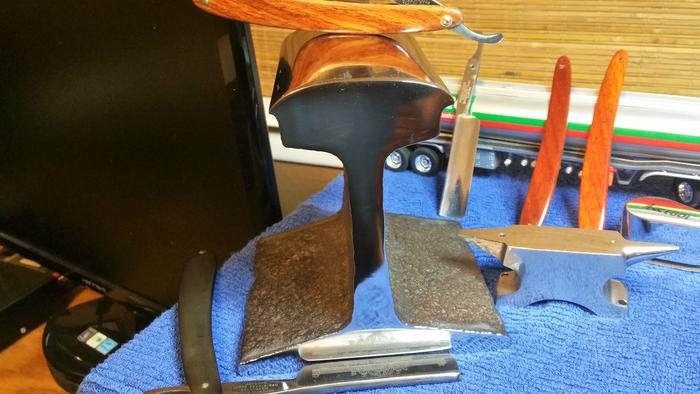

So there it is. Good enough for this truck driver. I did put it to use last night and found it peened much faster than what I've been using. And I had it sitting on a 1/2 thick rubber pad. So, Roy, I think if you put some leather on the bottom, it won't take away from its abilities at all. I think mine will be a doorstop to my room until I need to use it.
Hope you all like it. I got to have a few beers and some aspirin now.It's just Sharpening, right?
Jerry...
-
The Following 2 Users Say Thank You to Gasman For This Useful Post:
MisterClean (05-26-2018), sharptonn (05-26-2018)
-
05-26-2018, 03:17 AM #109

Jerry, it looks good to me!
 :
:
Now what about those ear plugs to keep your lovely bride from hearing the Ring Ring Ring every time you tap on a pin? Our house is as Neil left it- an Aladdins cave of 'stuff'.
Kim X
-
05-26-2018, 03:34 AM #110

I found last night when I gave it a try, that it's not as loud as the piece of steel I was using before. So this should work out nicely. Thanks, Roy and for pointing me in the direction of pulling more money out of my wallet. You've been really good at that in the last year. Ha. My wife asked me, what other little things I might be buying soon. I told her I had nothing planned, but you never know.
It's just Sharpening, right?
Jerry...


 506Likes
 LinkBack URL
 About LinkBacks


 Reply With Quote


