Page 7 of 7 FirstFirst ... 34567
Results 61 to 66 of 66
Like Tree143Likes

Thread: W&B 8/8 FBU shorty project

  1. #61
    Senior Member blabbermouth outback's Avatar
    Join Date
    Mar 2015
    Location
    Akron, Ohio
    Posts
    11,944
    Thanked: 4300

    Default

    As Marty said...

    A big basterd, is the way to go. Just clamp it to your table.
    Its the only way I know to achieve, true flat. Keep a small wire brush on the bench for clearing the teeth on the file, you'll need it most when making lead and brass, wedges

    Name:  KIMG3976.jpg
Views: 122
Size:  34.5 KB
    Mike

  2. #62
    Senior Member JellyJar's Avatar
    Join Date
    Feb 2019
    Location
    Salida, CA
    Posts
    600
    Thanked: 94

    Default

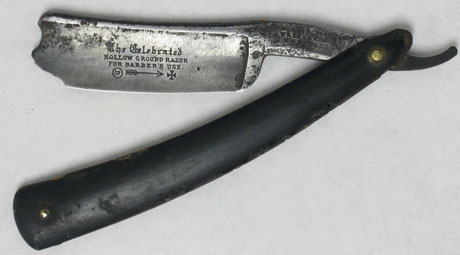
    I believe I have finally made a proper wedge . Triple checked the measurements, can't see any gaps through a magnifier, and the scales flex appropriately when opening and closing. Just need to pin it up, sand it flush, and finish the edge.

    Name:  wedge fit top.jpg
Views: 127
Size:  19.5 KB

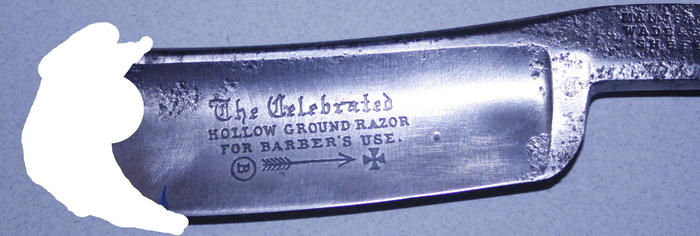
    I also need to finish a small side project that came from this blade (literally...it's the cut off tip).
    ScoutHikerDad likes this.
    O'Toole's commentary on Murphy's Law: Murphy was an optimist.

  3. #63
    Senior Member JellyJar's Avatar
    Join Date
    Feb 2019
    Location
    Salida, CA
    Posts
    600
    Thanked: 94

    Default

    It's finally ready to shave

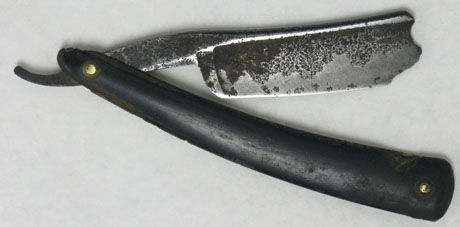
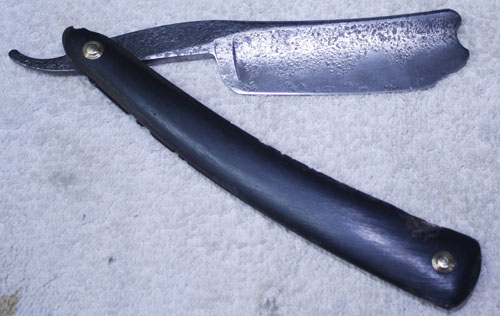
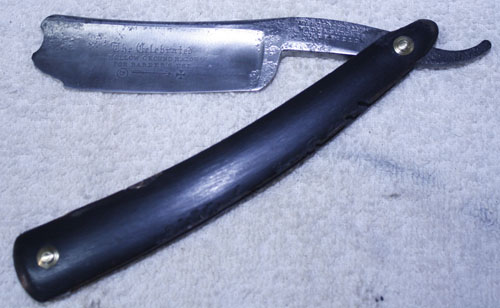
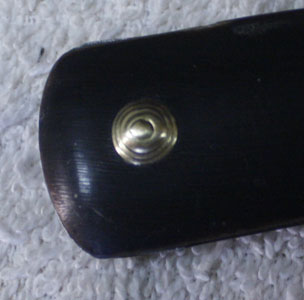
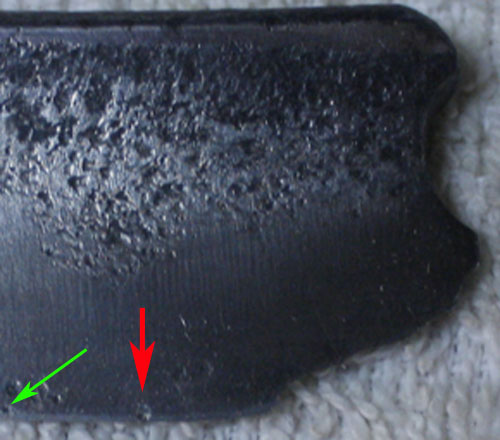
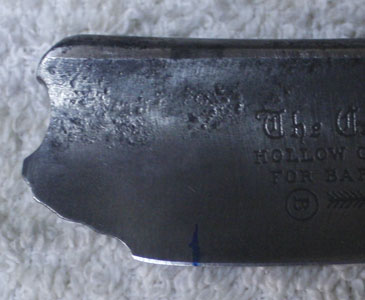
    Got it honed up last night for tomorrows shave. I like the way this came out and am looking forward to seeing how well it shaves. There's a few places I could have improved (a little more taper on the wedge), but overall I think this is one of my better efforts. Nothing was finished past 600 grit and I think it was the right choice, high polish would have been a bit off with the condition of the blade. My little side project with the cut off tip was fun (actually this whole project was fun). That idea came from my son when he picked up the cut of tip and asked why I was making a little hatchet/tomahawk huh, good idea. I just annealed the tip and drilled a hole, easy miniature hatchet/tomahawk.

    Name:  front final.jpg
Views: 120
Size:  74.1 KB Name:  back final.jpg
Views: 104
Size:  82.1 KB

    Name:  wedge final.jpg
Views: 88
Size:  14.8 KB

    Why is it you don't notice the dust smudge until after you upload the picture...sigh. It'll be better when I put it in the resto thread.

    Thanks for all your advice and encouragement.
    O'Toole's commentary on Murphy's Law: Murphy was an optimist.

  4. #64
    Senior Member blabbermouth ScoutHikerDad's Avatar
    Join Date
    May 2010
    Location
    Upstate South Carolina
    Posts
    3,308
    Thanked: 987

    Default

    Very cool project, JJ-Seems like you learned a lot doing it. I think the curve up to the barber's notch came out very well. The wedge looks good to me, and I like your little tomahawk!
    JellyJar likes this.
    There are many roads to sharp.

  5. #65
    Senior Member blabbermouth ScoutHikerDad's Avatar
    Join Date
    May 2010
    Location
    Upstate South Carolina
    Posts
    3,308
    Thanked: 987

    Default

    edit: I absent-mindedly posted in JJ's thread when I thought I was posting in the workshop. Would it be possible to move it there? Sorry to step on your thread JJ!

    I managed to carve out a short session in the shop today, and worked a bit on these Torreys Tom added as a bonus to a strop purchase. I thought they would look good in some Incudo Pearloid Acrylic I found from a supplier in the UK. As I want both finished razors to be matching in their scale shapes, I got the idea to sandwich them all together with double-sided tape for shaping on the 60 and 120-grit belts, just treating them as 1 unit until I split the two sets for further profiling and beveling.
    Name:  Twin Torreys Pearloid Acrylic in Progress Scale Sandwich.jpg
Views: 103
Size:  28.7 KB
    For once, my plan worked as intended, and I now have them (mostly) shaped. I think the brown/tortoise-shell one will look good in brass hardware, and probably nickel/steel hardware and an aluminum wedge for the smoke-colored set. I didn't take before pics, but the blades had about the degree of scratching and tarnish you would expect, and one of them had a hard plastic shell from an oil coating that had spent decades polymerizing, which took several sessions of acetone and elbow grease to get off. I'll work on them a bit more, but not looking for perfection if I can just get them looking nice.
    Name:  Twin Torreys Pearloid Acrylic in Progress Rear.jpg
Views: 92
Size:  51.6 KB
    Name:  Twin Torreys Pearloid Acrylic in Progress.jpg
Views: 79
Size:  45.2 KB
    As work continues to be wide open, it might be Thanksgiving before I finish these, but it's nice to just get the occasional hour or two here and there for razor therapy. I'll post them when I finish 'em. Thanks again Tom for the unexpected bonus!
    Last edited by ScoutHikerDad; 10-19-2019 at 10:14 PM.
    RezDog, outback, DZEC and 1 others like this.
    There are many roads to sharp.

  6. #66
    Senior Member JellyJar's Avatar
    Join Date
    Feb 2019
    Location
    Salida, CA
    Posts
    600
    Thanked: 94

    Default

    Not a problem, this thread is coming to it's end and I do enjoy seeing your scale creations.
    ScoutHikerDad likes this.
    O'Toole's commentary on Murphy's Law: Murphy was an optimist.

Page 7 of 7 FirstFirst ... 34567

Posting Permissions

  • You may not post new threads
  • You may not post replies
  • You may not post attachments
  • You may not edit your posts
  •