
Results 1 to 10 of 59
 113Likes
 LinkBack URL
 About LinkBacks
-
01-06-2013, 08:26 PM #1Senior Member


- Join Date
- Sep 2011
- Posts
- 1,650
Thanked: 1342 Making triple stacked washers old school
Hi all, this has been a work in progress for a long while and I finally got all the kinks worked out, so thought I'd write up a post (it's long). I've been trying to replicate the authentic triple stack style washers. I wasn't happy with actually stacking the brass washers and wanted to see if I could make them out of stamped brass sheet like they used to.
I wanted to make a 2-part pressure die, but didn't have the tools to machine the female end, so I started by just making the male die on the lathe. They were just in the shape of the washer. Then I punched the shape into brass sheet, cut out the circle, and drilled the hole. The results were ok but not great:

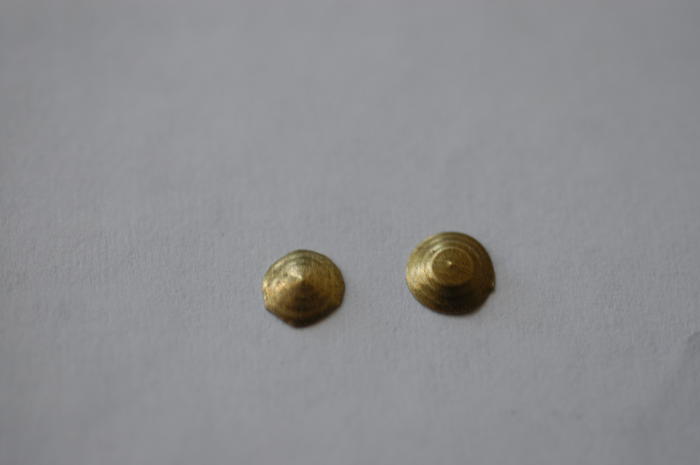
The main problem was in the definition of the edges on the stacks, and the problem was getting the right surface to punch into. I tried pine, maple, styrene, hard rubber, and a lot of other things. Eventually I found the right surface at a block of hard maple with 2 layers of duct tape on top. Then the problem was cutting out the washers and drilling a hole that was actually centered. I got around this by making a sharp edge on the die to deal with the cutting part, and decided to pre-drill the brass sheet and made a new die that had a raised part in the middle to fit into the hole. With the right surface, this worked like a charm. They're time consuming to make, but I think they're the best replications of these I've seen.
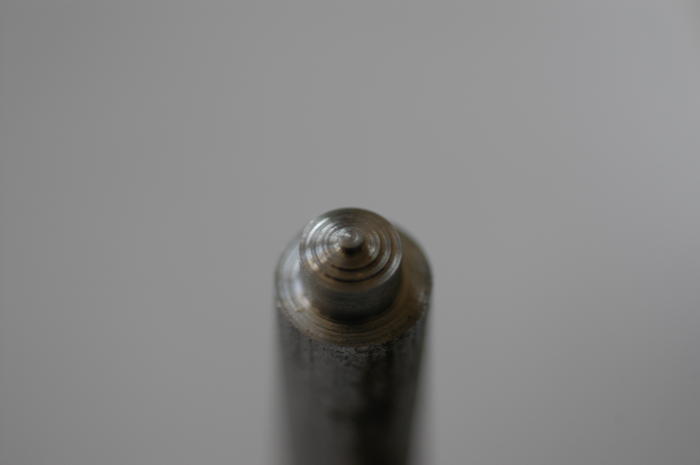
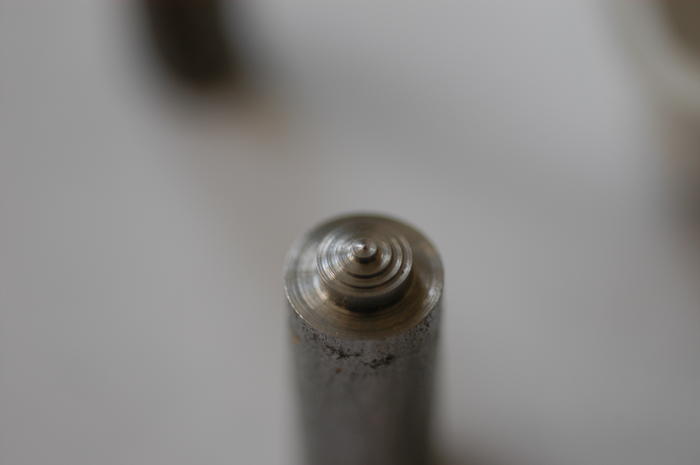
Here's two variations of the dies:
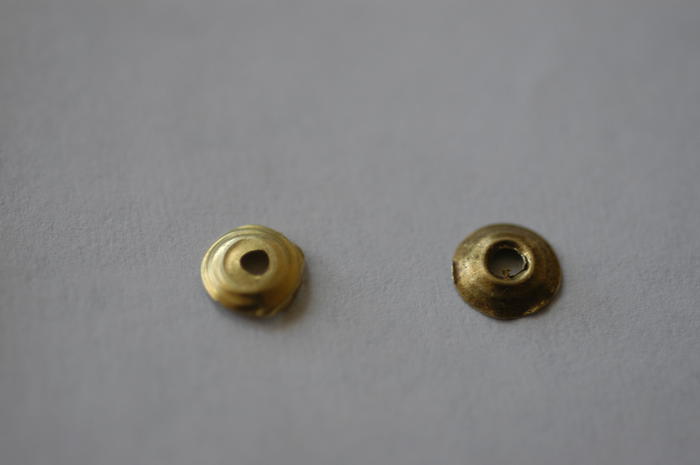
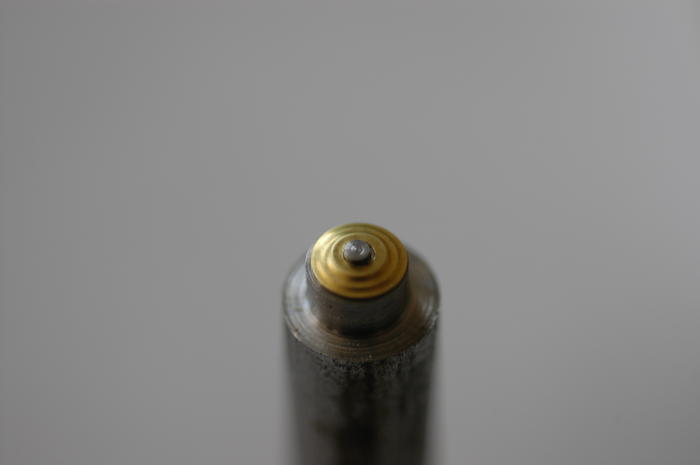
And with a respective collar, so you can see how the pin in the middle fits through the hole:
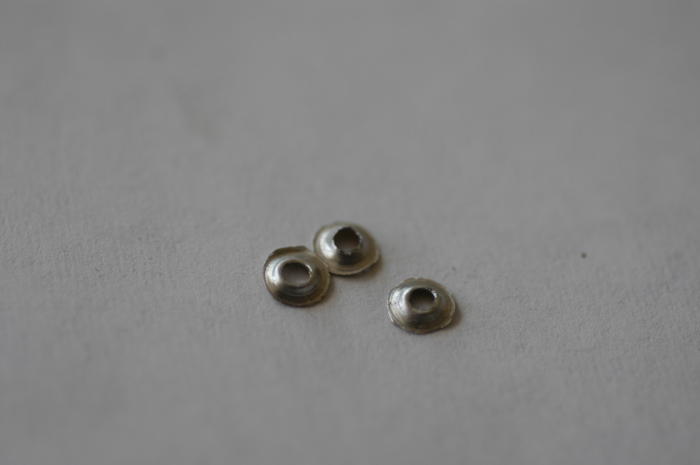
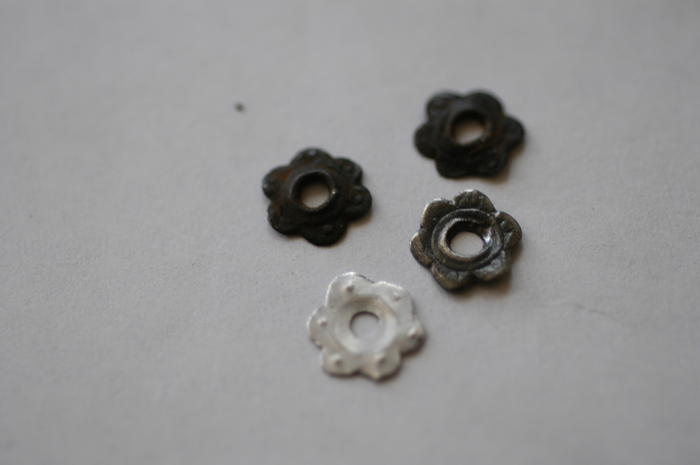
So really the only purpose of the die is to punch out a circle and shape the edges of the stack. Next I made a different die (not pictured) to punch out some aluminum under-collars. Aluminum doesn't like plastic deformation so it's no good with this die set, but is ok for the simple support collars underneath the decorative brass. Here are a couple of them. They're supposed to be steel but I couldn't find any thin sheet lying around.
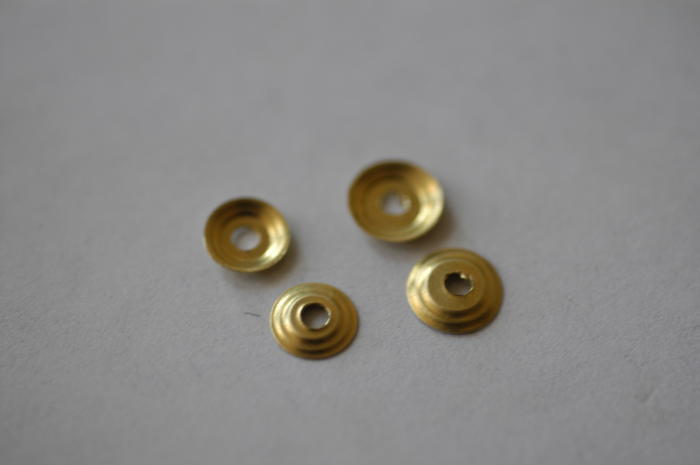
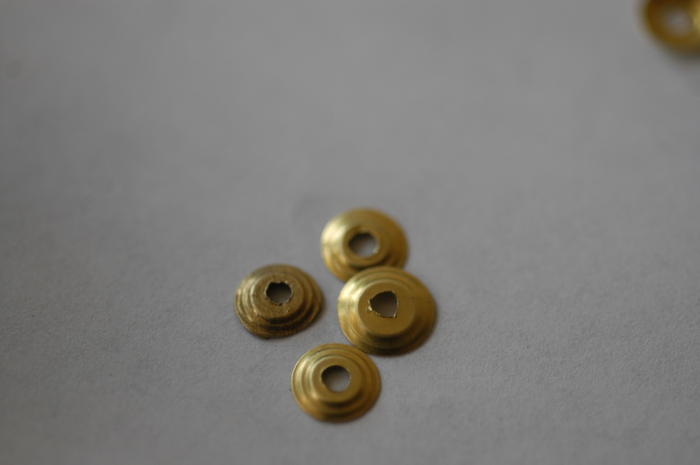
So anyway, after all that, I got a little overzealous and made a ton. Here are the final results:
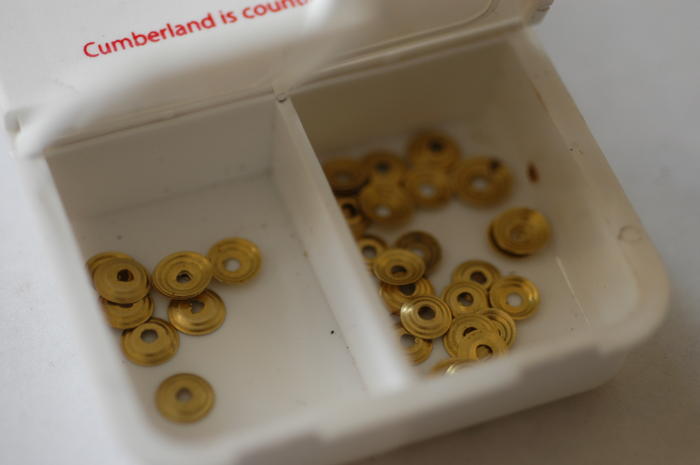
More in the next post, I think I ran out of picture space.
-
The Following 10 Users Say Thank You to ScienceGuy For This Useful Post:
Geezer (01-06-2013), Gipson (01-18-2014), lz6 (10-08-2013), Sandycrack (01-13-2014), Shaggy8675 (01-06-2013), spazola (01-07-2013), Tarkus (01-06-2013), Voidmonster (01-06-2013), Wolfpack34 (02-08-2014), WW243 (01-30-2014)
-
01-06-2013, 08:38 PM #2Senior Member
- Join Date
- Sep 2011
- Posts
- 1,650
Thanked: 1342
Continued.
So for fun, guess which one is the repro (well it's pretty obvious, but still for comparison):
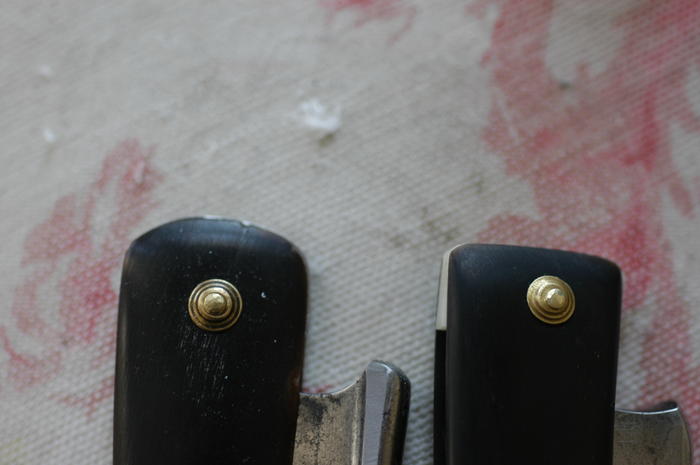
The system worked great with the under-collar for support, just like the originals. So for anyone who is interested in trying this, here's a summary of my process for the adventurous:
1) Machine die to desired collar shape on lathe. Make sure to leave a nib fit to the hole you want. Sand edges of stacks so they don't tear the brass, but leave the last one sharp. I think I made mine out of 3/8" or so diameter steel, and it's better if they're longer than 1.5" to hold onto while punching.
2) Cut out square of brass with at least 1/8" extra on each side, and drill centered hole.
3) Make punching block: hard maple with 2 layers of duct tape.
4) Put nib in hole on brass blank, and whack against the block with 1 good stroke of a hammer. If more clarity on the edges is needed, repeat on a different spot of the block. If the die is good and there is enough free brass on the sides, the brass circle should be punched out.
And that's it. Takes some trial and error but works pretty well. Some pointers I would give anyone:
-the die should be flatter than you expect (each stack level is not very high). If it is too high it can punch out holes in the brass rather than make the detail.
-thin brass is best. thicker stuff won't transfer detail
-it's easy to overpunch and ram the collar into the surface. I had to dig a few out of the block
-much better to drill the blank beforehand, but you need to have the nib on the die to make sure it punches centered.
I'll update if I forgot anything. On the subject of collars, just made this one for an old stubby I had. Should be steel but couldn't find any. Not sure if I'll leave it as is or try again once I get the right material:
-
The Following 5 Users Say Thank You to ScienceGuy For This Useful Post:
carrolljc (06-01-2014), skipnord (01-06-2013), Tarkus (01-06-2013), Voidmonster (01-06-2013), Wolfpack34 (02-08-2014)
-
01-06-2013, 08:39 PM #3Senior Member


- Join Date
- Nov 2012
- Location
- Across the street from Mickey Mouse in Calif.
- Posts
- 5,320
Thanked: 1185
The only thing more fun than making things is making things that make things. Great thread !!!!
Good judgment comes from experience, and experience....well that comes from poor judgment.
-
01-06-2013, 08:49 PM #4Captain ARAD.

- Join Date
- May 2011
- Location
- Pacifica, CA
- Posts
- 2,474
Thanked: 2227
What thickness of brass stock are you using there? It looks like a dead-ringer for vintage washer stock.
I'm really excited to see where this goes!-Zak Jarvis. Writer. Artist. Bon vivant.
-
01-06-2013, 08:53 PM #5Just a guy with free time.
- Join Date
- Oct 2011
- Location
- Mid state Illinois
- Posts
- 1,448
Thanked: 247
I'm really impressed with it. This is something I've been wanting to do for some time. You really did well, and should be proud. I think if you could provide the exact materials and measurements somehow, this thread ought to end up in the wiki. And since you've gone and made a ton....Be expecting a PM from me.

-
01-06-2013, 09:02 PM #6Senior Member
- Join Date
- Sep 2011
- Posts
- 1,650
Thanked: 1342
As far as I can tell from my caliper, 0.005" thick. Don't have the original package to be sure. Originally Posted by Voidmonster

-
The Following User Says Thank You to ScienceGuy For This Useful Post:
Voidmonster (01-06-2013)
-
01-06-2013, 09:11 PM #7Senior Member

- Join Date
- Dec 2011
- Location
- I'm Gonna Spend Another Fall In Philadelphia
- Posts
- 2,027
Thanked: 498
Wow!!!
What a creative idea, not to mention the process.
Very Cool
Thanks for sharing this Sci-Guy
-
01-06-2013, 09:25 PM #8Senior Member
- Join Date
- Sep 2011
- Posts
- 1,650
Thanked: 1342
The brass was 0.005" thick (I haven't checked an authentic one on a caliper for comparison but it's pretty close.) As far as other measurements, I get the feeling that these weren't standardized much and there's all kinds of patterns, plus they get deformed or flattened easily so original measurements aren't easy. For this project: Originally Posted by regularjoe
Smaller triple stack die:
bottom rung diameter: 0.225" (this should have been 0.01 wider but I messed up)
next: 0.185"
last: 0.135"
nib: 0.065"
depth of each rim: 0.010"
depth from last rim to die shoulder: 0.065"
Larger die:
bottom rung diameter: 0.240"
next: 0.195"
last: 0.150"
nib: 0.065"
depth of each rim: 0.010"
depth from last rim to die shoulder: 0.135"
Just note that these were done on the fly and I didn't measure originals and plan out these measurements from that. For a more comprehensive study or to repro an original one that would be better.JBHoren likes this.
-
The Following User Says Thank You to ScienceGuy For This Useful Post:
Tarkus (01-06-2013)
-
01-06-2013, 09:31 PM #9Senior Member

- Join Date
- Jan 2008
- Location
- Sweden, Gotland, Visby
- Posts
- 1,888
Thanked: 222
You can make the female quite easily by drilling a hole thru a piece of steel and then make a cut from the side thru the hole with a hacksaw.
Small pic but I hope it helps http://www.konradw.se/pub_images/ori...ggare_1643.JPG
The cutting surface of the male can for a small diameter like yours be all flat.
On the female you should polish the cut you made so you get sharp sides of the hole.
another pic Swanstrom Round Disc Cutter Set
I'm talking about a cutter to make the first blanks, the forming part you are doing nicely!
One trick to get a female for forming is to use a piece of poly cutting board, heat the male part up a little and press it into the board.
Last edited by Lemur; 01-06-2013 at 09:35 PM.
32t likes this.
-
01-06-2013, 09:44 PM #10< Banned User >
- Join Date
- Feb 2011
- Posts
- 1,256
Thanked: 194
wow...this is awesome. I love how they came out. Great work!


 Reply With Quote