
Results 11 to 20 of 56
 7Likes
Thread: Tim's 1st Blade
 LinkBack URL
 About LinkBacks
-
12-01-2011, 08:18 PM #11Senior Member


- Join Date
- Jul 2011
- Posts
- 768
Thanked: 99
My opinion only:
Take your idea and cut it out of 1/4" pine or similar. Try to strop it. I've seen it said that stropping is as important as the shave. My first set of scales looked cool, until I tried to strop the razor. There was no was I could strop effectively. You might or might not find you want to change your pattern. Either way, pine is cheap.randydance062449 likes this.
-
-
12-01-2011, 08:30 PM #12Senior Member

- Join Date
- Mar 2011
- Location
- North Carolina
- Posts
- 407
Thanked: 72
I meant for the blade and spine to be in line. My drawing skills are woefully lacking

I kept coming back to "battle axe" shapes for some reason.
I might have some plywood around Brian. Perhaps I an mock up this desgn. I can do cardboard if nothing else.
Thanks guys.
-
12-01-2011, 09:23 PM #13Member

- Join Date
- Apr 2011
- Location
- Brisbane, Australia
- Posts
- 1,434
Thanked: 642
I would suggest something with classic lines for a first blade. Tight curves, near the blade especially, might cause you some grief for your first.
Please don't take this for criticism, I think your design is original and has great potential, but smoother transitions from blade to tang might be easier for your first. Just MHO.
Good luck. tkpeebles likes this.
-
The Following User Says Thank You to Str8Raz0r For This Useful Post:
tumtatty (12-01-2011)
-
12-01-2011, 10:22 PM #14Senior Member
- Join Date
- Mar 2011
- Location
- North Carolina
- Posts
- 407
Thanked: 72
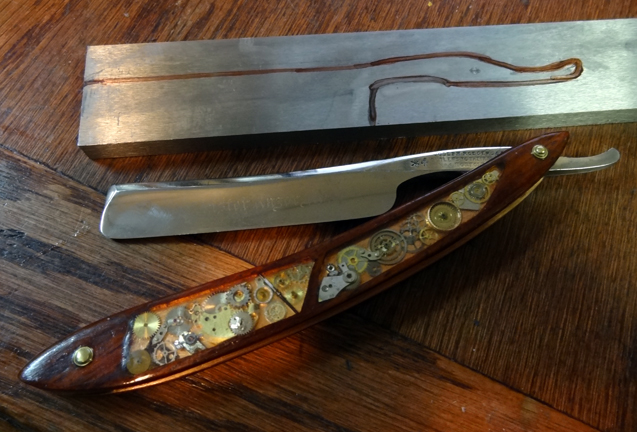
I went to the other end of the bar and made this "backup" version. I think I can make 3 blades from this 18" bar (or 3 attempts
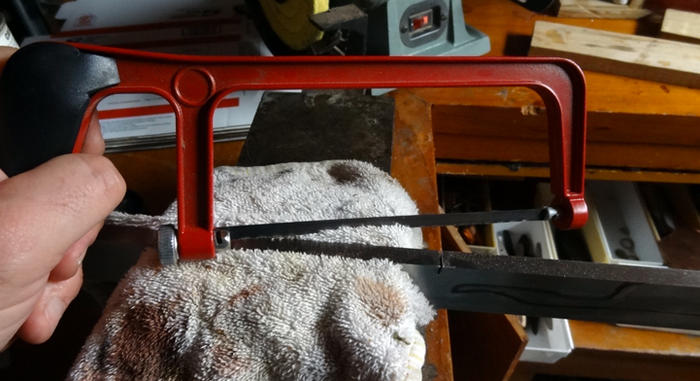
I went straight out to the workshop and started hacksawing my guts out...In about 5 minutes I learned 2 things:
1) I need a bigger hacksaw (This one worked for steampunk scales...but not steel. The teeth are worn out and so is my arm!)
2) This is going to take awhile
Well I learned 3 things I guess:
3) I'm out of shape
Last edited by tumtatty; 12-01-2011 at 10:36 PM.
-
12-01-2011, 10:48 PM #15Senior Member
- Join Date
- Jul 2011
- Posts
- 768
Thanked: 99
I think you will have better luck with that design. Take the blank, drill holes around the outside of the blade pattern, not quite touching each other, then cut through the thin sides of the circles with the saw. Lots less sawing that way.
Btw, draw filing will wear you out too. It does me! Less so than sawing, but eventually you have to take a break.
Find a local machine shop, make friends, and have them cut close to the marked lines. Seriously, you don't have anything to prove by doing it yourself. No use dying trying to cut the stupid things out.
Alternatively, try the hole drill and chisel method I mentioned above. I have never tried it, but I don't see why it wouldn't work.
-
12-01-2011, 11:57 PM #16Hones & Honing


- Join Date
- May 2005
- Location
- Saint Paul, Minnesota, United States
- Posts
- 8,023
- Blog Entries
- 1
Thanked: 2209
May I suggest you purchase a standard sized hacksaw and some bi-metal blades that fit. It will go much better.
I do have a question.....are you sure that steel is annealed? If not then your in for a lot of work.Randolph Tuttle, a SRP Mentor for residents of Minnesota & western Wisconsin
-
12-02-2011, 12:54 AM #17Senior Member
- Join Date
- Mar 2011
- Location
- North Carolina
- Posts
- 407
Thanked: 72
I'm not sure if its annealed or not. It's "Oil Hard Flat Ground Stock" from Enco. That's as far as my metallurgical understanding goes at this point.
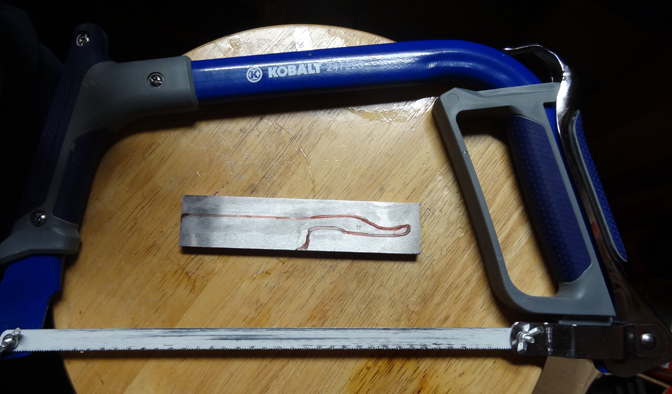
However I'm guessing its annealed. I went to Lowes and picked up a full sized, two handed hacksaw ($10) with some 18 TPI blades ($3). The work was much easier.
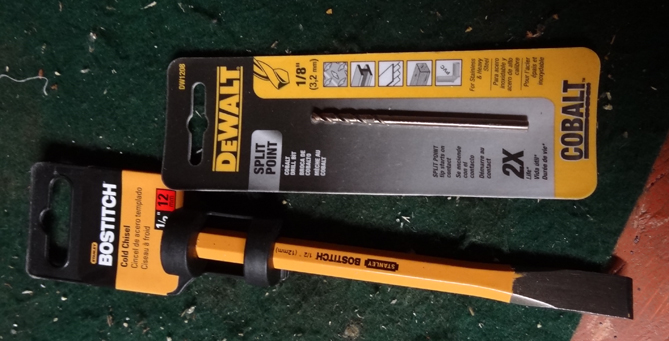
I also picked these up and will set the drill press tomorrow (hopefully) and put some holes all the way around the blade and use the cold chisel ($4) to knock out the scraps (at least in theory)
Last edited by tumtatty; 12-02-2011 at 01:22 AM.
-
12-02-2011, 04:51 AM #18Member
- Join Date
- Apr 2011
- Location
- Brisbane, Australia
- Posts
- 1,434
Thanked: 642
Just be careful with the chisel. If you give it too much muscle you may twist your nice flat blank and end up with a twist in your blade before you even start. My money would be on the drill and hacksaw not the drill and chisel. I used the drill and hacksaw on my all three of my blades to date. This has worked well for me.
I like your new design better for your first blade.
Good luck and keep us posted.
Stu
-
12-02-2011, 12:06 PM #19Senior Member
- Join Date
- Jul 2011
- Posts
- 768
Thanked: 99
Stu, I never thought about that, and it makes me sick thinking about making a flat blank twisty. The example I saw it on was either 1/8" or 3/16" and may have been 1084, not O1, but I can't remember.
I am going to have to go get a hack saw like that! That thing is huge.
-
12-04-2011, 10:41 PM #20Senior Member
- Join Date
- Mar 2011
- Location
- North Carolina
- Posts
- 407
Thanked: 72
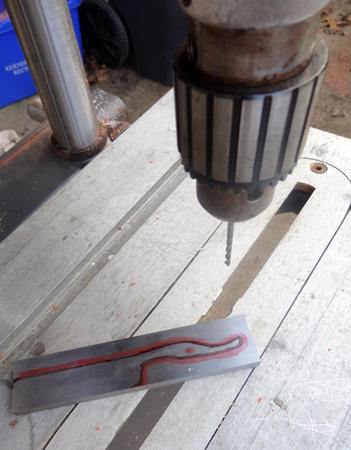
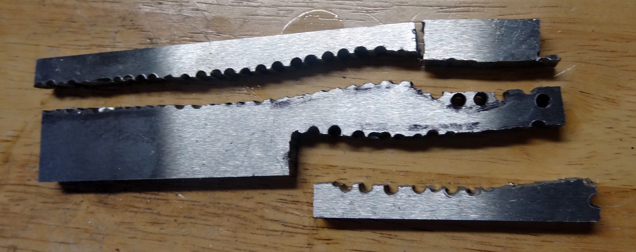
I had about an hour and a half to spare this afternoon and I made some good progress on the steel.
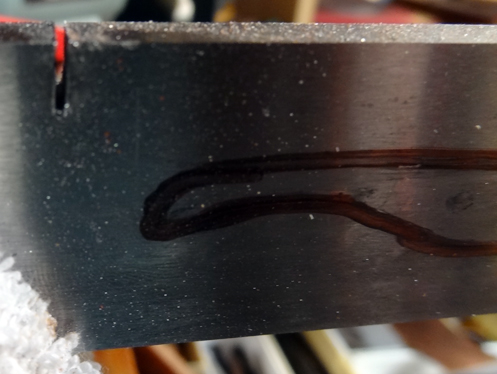
I traced a red line around the outside of my blade template to give a visual of where i wanted to drill.
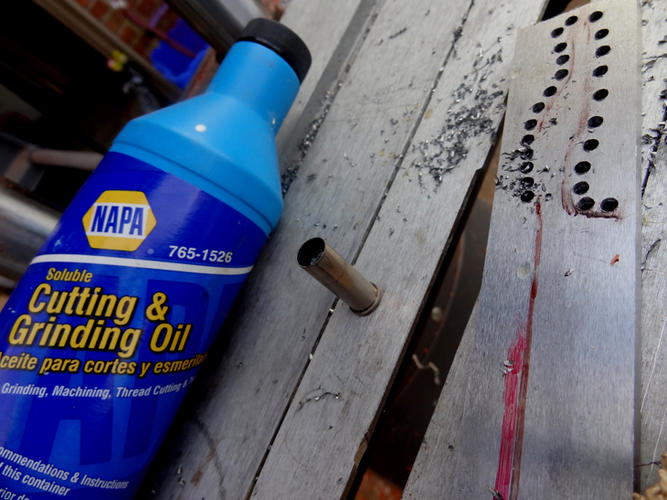
I had some cutting oil that I used for a lubricant when shooting old military muskets. I thought it might be a good idea to coat the drill bit after every few holes. I filled an old brass pistol case with the oil and dipped the bit in there every so often. I think it helped but the oil washed away most of my permanent marker lines.
I decided to use the hack saw to "connect the dots" which wasn't as hard as I thought once I had the proper tools.
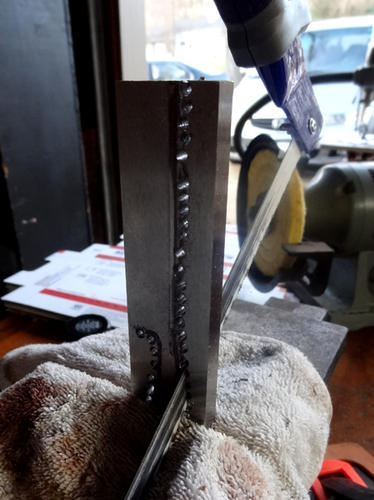
After 15 minutes or so of serious arm pumping I was left with this. Check out those jimps!!
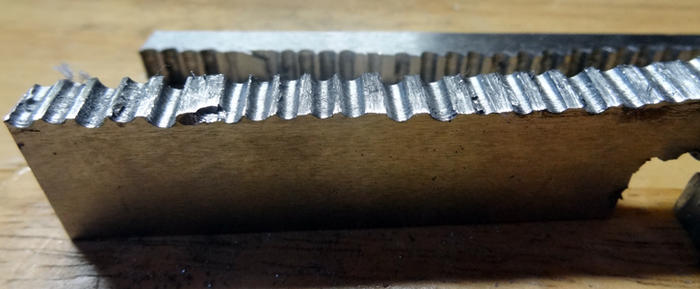
I used my Harbor Freight $10 set of chisels and got to work smoothing out the steel.
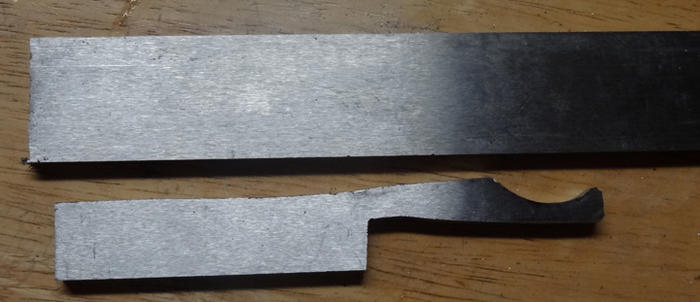
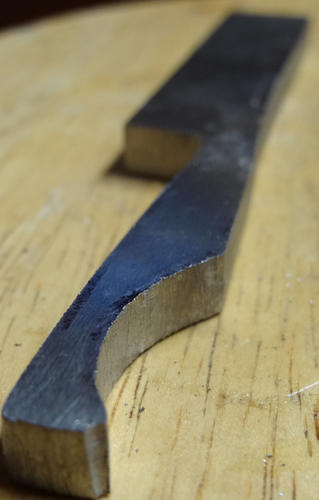
So what next? How do I go about filing this blade into something even and usable?


 Reply With Quote