Page 3 of 7 FirstFirst 1234567 LastLast
Results 21 to 30 of 66
Like Tree157Likes

Thread: Bevel width

  1. #21
    Home of the Mysterious Symbol CrescentCityRazors's Avatar
    Join Date
    Dec 2019
    Location
    New Orleans LA
    Posts
    805
    Thanked: 115

    Default

    I agree with Euclid regarding your last set of pics. The reflection from base to apex of the bevel should be the same, completely homogenous, and it isn't. It should be flat like a mirror.

    Make sure you are not using too much pressure and when you reduce pressure you do so gradually. Make sure you are not allowing the shoulder of the razor up onto the hone. Go at it some more until your bevel's reflection is evened out and there is no extra reflection from the edge. You have to get those bevel faces flat and intersecting properly in a good apex. Then make sure that the scratches of the previous stage are completely obliterated, replaced with the finer scratches of the current stage. Each stage needs to do that. Also, have you lapped your stones lately, and do you know how? HINT: so-called "flattening stones" are not the best way and are money wasted.

    4 laps isn't enough for any stage in the progression. No, don't count laps, look at results. But it is a pretty safe bet that 4 laps won't do much. It will reveal where the steel is contacting the hone, in a sharpie test, but it won't materially improve the edge.

    I would go back to the 1k, light pressure, just the weight of the razor and half the weight of your hand. Go at it until the bevel is nice and flat and goes all the way to the edge, and the edge does not reflect separately from the bevel face. Do not proceed to a finer grit until you are done with that one. It serves no purpose. That is the secret of progressive honing. Each stage must fully do its job before moving up to the next grit.

    Are you bench honing, and holding the razor in two hands, desperately trying to control it? This is the root cause of many newbie honing mistakes. Works fine for an experienced honer, but you will learn quicker if you hone in hand. You can regulate pressure and balance much easier if your hone and razor are sort of floating out there in front of you, finding their own alignment. After about 30 laps it will seem natural to you even if it feels awkward when you first begin.

    Don't lay a finger on the blade at this stage. It is okay to torque the blade slightly to ensure that the edge receives as much pressure as the spine but keep it consistent. The finger on the blade can cause the razor to flex. You don't want that while you are trying to prep the bevel for the progression. You are trying to achieve a good bevel. Without a good bevel you will not have a good edge. The edge IS the bevel. Further work with finer media will only refine and polish it.

    You will get this. Keep at it. You aren't done yet, is all, and maybe you have a few minor technical issues to work out. I bet tomorrow you will crush it and then it will be happy dance time.

  2. The Following User Says Thank You to CrescentCityRazors For This Useful Post:

    STF (07-23-2020)

  3. #22
    STF
    STF is offline
    Senior Member blabbermouth STF's Avatar
    Join Date
    Oct 2019
    Location
    Kingsville On, Canada
    Posts
    2,435
    Thanked: 207

    Default

    Quote Originally Posted by Euclid440 View Post
    You are not honing to the edge, see that white line at the edge. You either have a burr/flashing, or you are not honing to the edge or the bevels are not flat yet.

    The 4k bevel is full of 1k stria leading to a chipped edge. The last photo and the one above it, are not honed to the edge on the right side of the blade.

    Back to the 1k and ink the bevel to figure why you are not honing to the edge fully across the whole bevel. Try ink and another layer of tape.

    If you have to, ink each stroke. It takes, what it takes.

    Look down on the bevel, if you see any shiny spots, the bevels are not fully meeting.

    Here is the bevel of a fully set 1k edge note the even stria all the way to the edge and note the straightness of the edge.

    2nd photo looking straight down on the edge, not set. 3rd photo almost set, see reflections on right.
    4th photo fully set bevels, the edge is in the middle of the grey line, a faint white line. No reflections.
    Thank you,

    That was really helpful, now I get it.
    RezDog likes this.
    - - Steve

    You never realize what you have until it's gone -- Toilet paper is a good example

  4. #23
    STF
    STF is offline
    Senior Member blabbermouth STF's Avatar
    Join Date
    Oct 2019
    Location
    Kingsville On, Canada
    Posts
    2,435
    Thanked: 207

    Default

    Quote Originally Posted by CrescentCityRazors View Post
    I agree with Euclid regarding your last set of pics. The reflection from base to apex of the bevel should be the same, completely homogenous, and it isn't. It should be flat like a mirror.

    Make sure you are not using too much pressure and when you reduce pressure you do so gradually. Make sure you are not allowing the shoulder of the razor up onto the hone. Go at it some more until your bevel's reflection is evened out and there is no extra reflection from the edge. You have to get those bevel faces flat and intersecting properly in a good apex. Then make sure that the scratches of the previous stage are completely obliterated, replaced with the finer scratches of the current stage. Each stage needs to do that. Also, have you lapped your stones lately, and do you know how? HINT: so-called "flattening stones" are not the best way and are money wasted.

    4 laps isn't enough for any stage in the progression. No, don't count laps, look at results. But it is a pretty safe bet that 4 laps won't do much. It will reveal where the steel is contacting the hone, in a sharpie test, but it won't materially improve the edge.

    I would go back to the 1k, light pressure, just the weight of the razor and half the weight of your hand. Go at it until the bevel is nice and flat and goes all the way to the edge, and the edge does not reflect separately from the bevel face. Do not proceed to a finer grit until you are done with that one. It serves no purpose. That is the secret of progressive honing. Each stage must fully do its job before moving up to the next grit.

    Are you bench honing, and holding the razor in two hands, desperately trying to control it? This is the root cause of many newbie honing mistakes. Works fine for an experienced honer, but you will learn quicker if you hone in hand. You can regulate pressure and balance much easier if your hone and razor are sort of floating out there in front of you, finding their own alignment. After about 30 laps it will seem natural to you even if it feels awkward when you first begin.

    Don't lay a finger on the blade at this stage. It is okay to torque the blade slightly to ensure that the edge receives as much pressure as the spine but keep it consistent. The finger on the blade can cause the razor to flex. You don't want that while you are trying to prep the bevel for the progression. You are trying to achieve a good bevel. Without a good bevel you will not have a good edge. The edge IS the bevel. Further work with finer media will only refine and polish it.

    You will get this. Keep at it. You aren't done yet, is all, and maybe you have a few minor technical issues to work out. I bet tomorrow you will crush it and then it will be happy dance time.
    Thank very much, that is very helpful, I will definitely be trying again this morning.
    - - Steve

    You never realize what you have until it's gone -- Toilet paper is a good example

  5. #24
    STF
    STF is offline
    Senior Member blabbermouth STF's Avatar
    Join Date
    Oct 2019
    Location
    Kingsville On, Canada
    Posts
    2,435
    Thanked: 207

    Default

    Quote Originally Posted by RezDog View Post
    Overhoning from my point of view,is on the higher grit hones. It leads to a weak or foil edge, it may shave very well, but will have a short life. Overhoning on a 1K is just wasting steel.
    If you have a near perfect or perfect bevel set, and do 20 or 30 very light strokes on the 1K you will reduce the scratch pattern and slightly improve the shave off your edge. Also when setting the bevel I never really concern myself as to what the sides of the bevel look like, at this point I feel they are not particularly relevant. I look nearly straight down on the very tip of the apex. It should be very hard to see and have no sparkles or lines. If you take and joint the edge lightly on your thumbnail, then look at the point of the apex, it should show a fine white line all the way along. In order to have the bevel set, you must bring the two sides back to form an apex. A set bevel is a perfect V and an inset bevel is more like a U. Bringing the side together to form the perfect V is the first goal in bevel setting.
    Thank you, that is very helpful, so running the blade across my thumbnail will joint it enough?

    I have to admit that the thumbnail jointing technique makes me a bit nervous.

    Is there any chance that I will cut right through my fingernail?

    I have also seen youtube videos where a person tests if the bevel is set on their fingernail.

    If a fingernail joints an edge, would testing the bevel on a nail also destroy it?
    - - Steve

    You never realize what you have until it's gone -- Toilet paper is a good example

  6. #25
    Home of the Mysterious Symbol CrescentCityRazors's Avatar
    Join Date
    Dec 2019
    Location
    New Orleans LA
    Posts
    805
    Thanked: 115

    Default

    You have already jointed that edge at least once. I would urge you not to do it again now that you are so close to having a bevel. Just hone, lightly and carefully with x strokes until you have your bevel.

  7. The Following User Says Thank You to CrescentCityRazors For This Useful Post:

    STF (07-23-2020)

  8. #26
    Senior Member blabbermouth PaulFLUS's Avatar
    Join Date
    Dec 2018
    Location
    Gainesville, FL
    Posts
    5,919
    Thanked: 599

    Default

    The thumb nail test (TNT)will kill the edge so don't do it at the very end. Always end off the stone. It won't go through the nail unless you are really leaning on it AND have micro-thin nails. Dampen the nail (I usually lick mine) and with only the pressure of the blade drag it LIGHTLY across the whole length of the bevel. It should pull a little. Where it doesn't pull you don't have a good apex. If it catches you have a micro- chip. After the test , if it is good, do 10-20 light strokes ( blade weight only) to bring the edge back.

    Jointing is like any other technique. Don't overdo it or you defeat your progress. It's easy to overdo any technique when your learning it but try to fully understand it first so you don't. I'm the worst at that so I tend to really study something first so that I don't.
    You'll get it figured out. You're making good progress.
    Last edited by PaulFLUS; 07-23-2020 at 01:00 PM.
    Iron by iron is sharpened, And a man sharpens the face of his friend. PR 27:17

  9. The Following User Says Thank You to PaulFLUS For This Useful Post:

    STF (07-23-2020)

  10. #27
    Home of the Mysterious Symbol CrescentCityRazors's Avatar
    Join Date
    Dec 2019
    Location
    New Orleans LA
    Posts
    805
    Thanked: 115

    Default

    Oh I forgot, you are honing with tape, right? As it wears, your bevel angle changes and more emphasis is placed on the root of the bevel, away from the edge. Change your tape often and place it carefully. Next time, try honing without unless you actually check the bevel angle and find it to be too acute. No, don't switch to untaped honing for this razor. It would mean starting all over again and you are close to success. But watch the wear (and compression) on the tape. It can trip you up. If your tape is wearing quickly, you may be applying too much pressure to the spine and too little to the edge. Give it a gentle torque down onto the hone. It doesn't take much so don't overdo it.

  11. The Following User Says Thank You to CrescentCityRazors For This Useful Post:

    STF (07-23-2020)

  12. #28
    Senior Member blabbermouth bluesman7's Avatar
    Join Date
    Jul 2014
    Location
    Denver CO
    Posts
    4,572
    Thanked: 810

    Default

    Quote Originally Posted by STF View Post

    If a fingernail joints an edge, would testing the bevel on a nail also destroy it?
    I never do a TNT beyond the 1k level, and return to the 1k after it for several strokes before progressing upward.
    RezDog and PaulFLUS like this.

  13. The Following User Says Thank You to bluesman7 For This Useful Post:

    STF (07-23-2020)

  14. #29
    STF
    STF is offline
    Senior Member blabbermouth STF's Avatar
    Join Date
    Oct 2019
    Location
    Kingsville On, Canada
    Posts
    2,435
    Thanked: 207

    Default

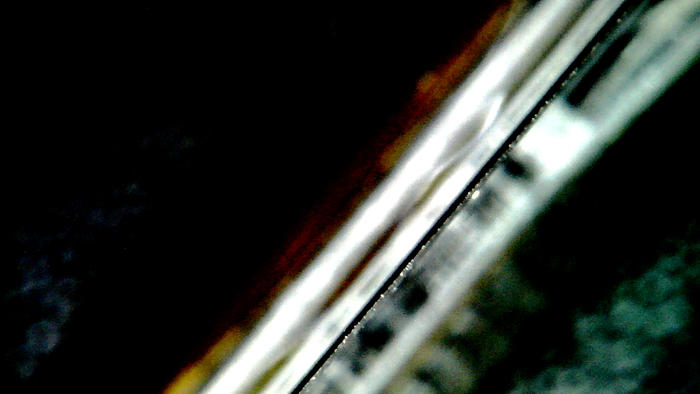
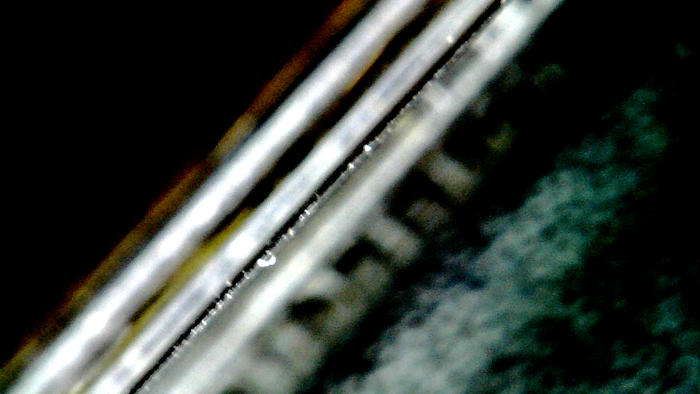
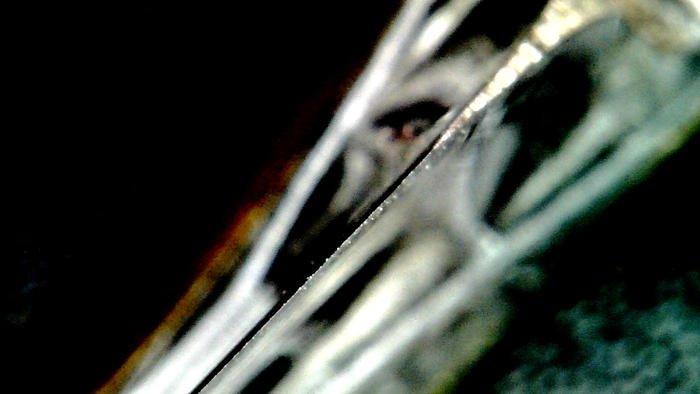
    OK, now I have an idea what i'm seeing!

    This is this mornings attempt to set the bevel.

    Based on the advice you are generously offering I'm going to hazard a guess that this bevel is not good.

    I will say that I don't know anything about this razor and have never shaved with it. I was advised though that it had never shaved well.

    I wonder if I should learn on something that I know shaves well?
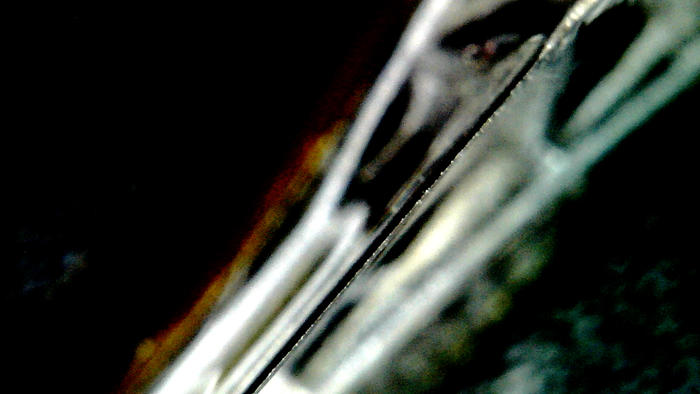
    Name:  SingleShot0003.jpg
Views: 102
Size:  33.2 KBName:  SingleShot0004.jpg
Views: 118
Size:  30.7 KBName:  SingleShot0005.jpg
Views: 108
Size:  38.2 KBName:  SingleShot0006.jpg
Views: 111
Size:  34.6 KB
    - - Steve

    You never realize what you have until it's gone -- Toilet paper is a good example

  15. #30
    Home of the Mysterious Symbol CrescentCityRazors's Avatar
    Join Date
    Dec 2019
    Location
    New Orleans LA
    Posts
    805
    Thanked: 115

    Default

    Try clearing the edge. Looks like some fin there.

    First, the pull strokes. Lay the razor flat on the hone and pull it across, W to E motion, about 3/4" distance. Flip and do the same on the other side. Now 5 more laps like that.

    Next, a couple dozen very light laps using a short x stroke. Travel distance about 3" and be careful not to slap the bevel down on the hone when you flip it.

    This will strip a lot of artifacts from your edge. You can also try stropping. Some guys swear by linen or canvas for this.

    Look at your edge again and see if it has improved. Look at the bevel again. Do you need to go some more? If so, go for it but one or two pull strokes for every 10 laps or so to control the artifacts and do the whole edge clearing routine when you are done.

    Stay on the 1k until you have a good precise bevel and a clean, crisp edge. Remember to watch the pressure. Pressure causes fin or wire edge more than just lap count.

  16. The Following User Says Thank You to CrescentCityRazors For This Useful Post:

    STF (07-23-2020)

Page 3 of 7 FirstFirst 1234567 LastLast

Posting Permissions

  • You may not post new threads
  • You may not post replies
  • You may not post attachments
  • You may not edit your posts
  •