
Results 191 to 200 of 220
 110Likes
 LinkBack URL
 About LinkBacks
-
10-16-2013, 03:29 AM #191

I am reminded how much I hate honing
-
10-16-2013, 04:38 AM #192
Honed thru 8000. Tomorrow on finishing hone, strop and test shave.
The edge looks real nice thru a loupe. The pitting gave a little issue, but shoukd be worked out.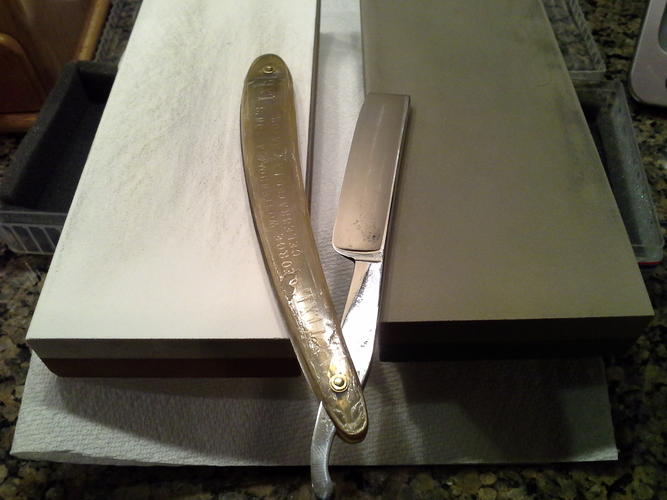
-
10-16-2013, 10:56 AM #193Senior Member

- Join Date
- Jun 2013
- Location
- London Ontario Canada
- Posts
- 112
Thanked: 10
I noticed you said that you used a tack hammer. I found a cheap "jewlers" peening hammer in the craft section of a "dollar/flea" market store. It's about 3 oz and once I cleaned up the face it works like a charm, and only cost $2. It's not well made, but its only use is peening razors so it works.
-
10-16-2013, 12:38 PM #194Senior Member

- Join Date
- Apr 2013
- Location
- Somewhere east of Montauk, LI NY
- Posts
- 710
Thanked: 101
Looks awesome... The honing step is a love/thing. I still don't know how I feel about it.
I have a few small ball peen hammers.. hve yet to find a 4oz. But I have a jewelers hammer that I picked up at Harbor Freight that is really small. the upside is I am less likely to hit too hard. Downside is, it takes a little longer.
I see you have a pencil holding the blade up.. is that just to stand the razor up or did you leave the pivot loose?
Looks like you used different size stacked washers on the pivot and wedge/spacer. Is that just the way it looks or did you do that for a reason?---------------------------------------------------
Love new things that look old, and old things, made to look new again!
-
The Following User Says Thank You to MikekiM For This Useful Post:
souschefdude (10-16-2013)
-
10-16-2013, 02:29 PM #195
The wedge washers would have been my choice for both, i like that look better,, but thr front scale at the tang needed extra support of wider washers.
 Originally Posted by MikekiM

-
10-16-2013, 03:25 PM #196Senior Member
- Join Date
- Apr 2013
- Location
- Somewhere east of Montauk, LI NY
- Posts
- 710
Thanked: 101
So, just a thought on the different size of the scales..
There is a bit you can buy for full size routers and no doubt a jig or bit you can make to work with the Dremel, that makes following a pattern incredibly easy. In this case, the pattern is your original scale. The bit has a bearing mounted at the top, or bottom depending on how you want to mount your pattern and the cutting edge is/are exactly the same size as the bearing. If it were me, and I had your setup, bottom mounted bearing would be best, keeping in mind that you are mounting it in the Dremel inverted, so the bearing will actually be on top, closer to the chuck. You double stick tape the original scale to your scale stock after the stock has been rough cut. Scale on top and stock on bottom. Adjust the height so that the bearing rides on the very edge of the original scale and the cutting edge is cutting your rough stock. The result is an EXACT copy of the original. The good is it's an exact copy. The bad is, it's an exact copy, including any imperfections in the original which will get telegraphed to the new material as the bearing rides over it. You would insert this step after you rough cut with the coping saw and before sanding the bevel. Or not....
Nice work and great thread...---------------------------------------------------
Love new things that look old, and old things, made to look new again!
-
The Following 2 Users Say Thank You to MikekiM For This Useful Post:
AirColorado (10-16-2013), souschefdude (10-16-2013)
-
10-16-2013, 05:00 PM #197
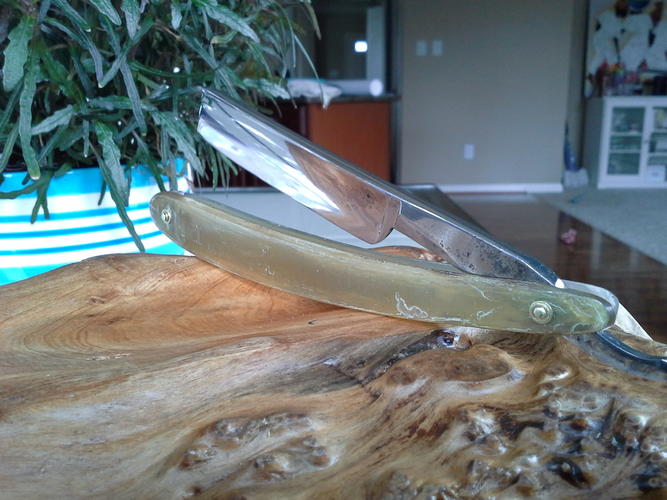
Gentlemen and ladies:
Two face ( now sitting proper)

-
10-16-2013, 05:02 PM #198Senior Member
- Join Date
- Aug 2013
- Location
- bakersfield ca
- Posts
- 160
Thanked: 0
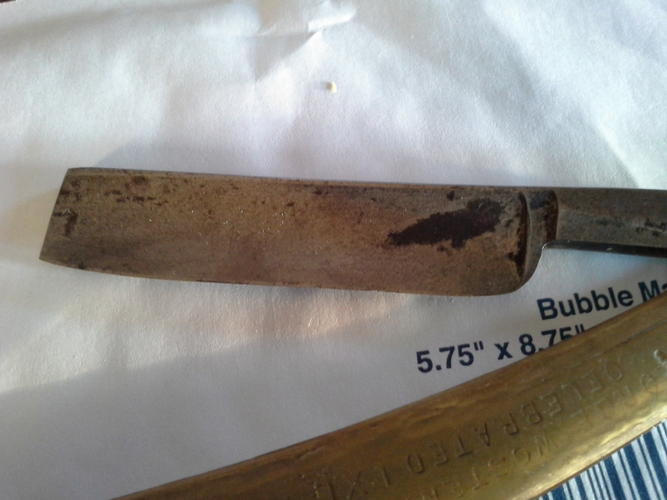
Coukdnt have asked for a better job she looks so much better now its crazy this razor looked like garbage before thanks so much
-
10-16-2013, 05:03 PM #199
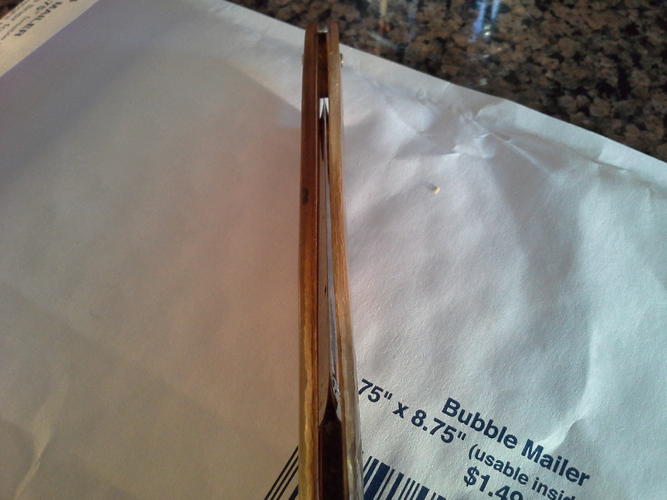
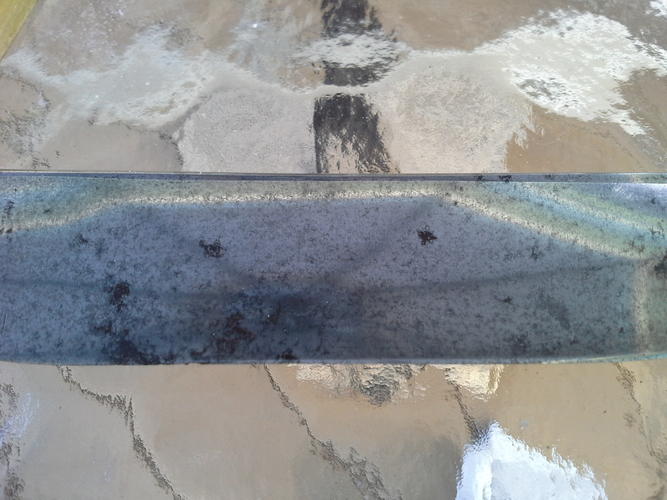
Some befores:
 2010johnjef likes this.
-
10-16-2013, 05:04 PM #200
Shave report in 30 minutes.


 Reply With Quote