
Results 11 to 20 of 49
 38Likes
 LinkBack URL
 About LinkBacks
-
01-03-2014, 07:23 AM #11Senior Member


- Join Date
- May 2011
- Location
- Ipswich, Australia
- Posts
- 481
Thanked: 64
@Crackers Thanks for the tips mate - I will make sure to check out you tube for info on electrolysis
@tintin The aluminium plate is still being sourced - I may go with the hair dryer as I din't want to damage already delicate scales any more than necessary - more reading to be done yet
@Chevhead Thanks for the vote mate - and thanks for the inbox messages and tips.
@10Pups Nice tutorial video on the plating process --- maybe the wife will not be so happy about having sulphuric acid in the house with it being so nasty - I may try to ease her into it like I did with straight razors shaving
I'm about to start cleaning and sanding the blade and will be closely following the method used by 10Pups hopefully without cutting the fingers up. SWMBO gets upset when I do that. So it's going to be patience patience patience and don't rush anything.
Now it's off to make some sanding tools to help the process and minimize chances of Carpal Tunnel injury.
Will post occasionally as I go along with this one in the hope it helps some of our members too.borabus likes this.RickyB
-
01-03-2014, 11:16 PM #12Senior Member
- Join Date
- May 2011
- Location
- Ipswich, Australia
- Posts
- 481
Thanked: 64
Just had a closer look at the edge of mine with my 30X loupe and see some pitting on and near the edge so will lose some size with honing. i will have to make sure I can get clean metal edge before going much further.
Going to try a tip from Glen (gssixgun) and hone it with the spine slightly lifted off the 325 DMT hone and with a bit of luck will not have to take off too much metal.RickyB
-
01-05-2014, 03:01 AM #13Senior Member
- Join Date
- May 2011
- Location
- Ipswich, Australia
- Posts
- 481
Thanked: 64
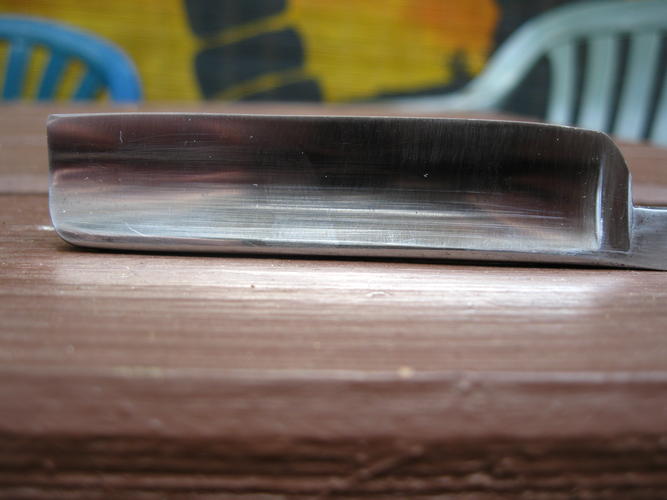
Progress pics - sanding with 400 grit wet/dry - looks like plenty more sanding on this grit to do
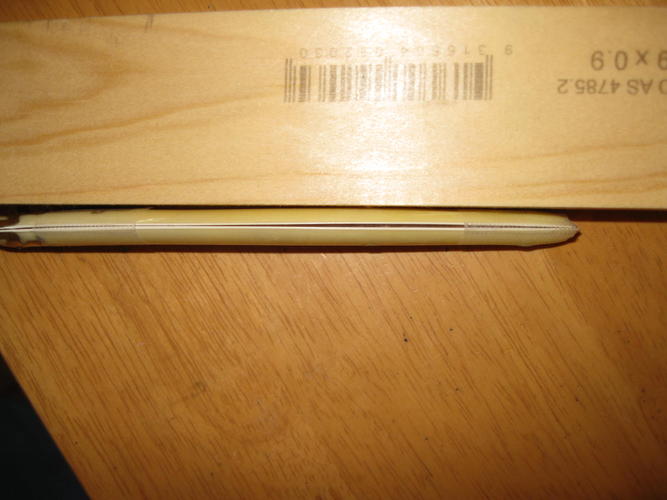
Also got pics of the scales taped together to show the slight warp in them.
 Chevhead likes this.RickyB
-
01-05-2014, 03:12 AM #14
Those scales look like my FINISHED ones...LOL
They are not bad at all!
Blade is coming along NICE!
It should be a BEAUTY when you are finished!
-
The Following User Says Thank You to Chevhead For This Useful Post:
RickyBeeroun222 (01-07-2014)
-
01-05-2014, 08:48 AM #15Junior Member

- Join Date
- Oct 2013
- Location
- Pennsylvania
- Posts
- 9
Thanked: 6
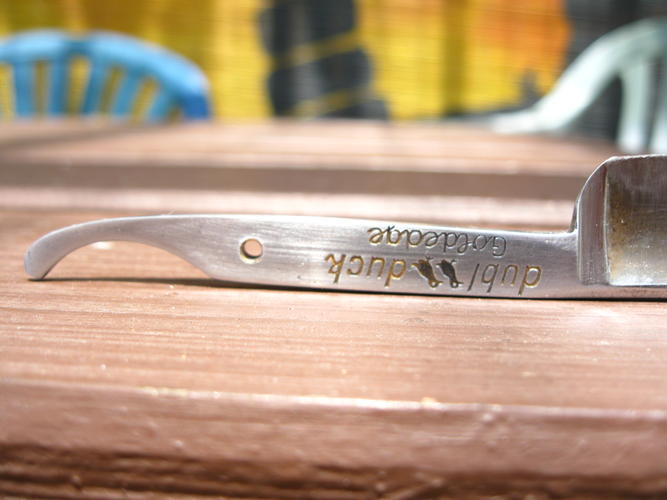
Nice pickup Ricky. Those scales look about as good as you can get for a Goldedge. Very clean. Hope your plan on the gold plating goes well. GL buddy
-
The Following User Says Thank You to Barberologist For This Useful Post:
RickyBeeroun222 (01-07-2014)
-
01-13-2014, 10:14 AM #16Senior Member
- Join Date
- May 2011
- Location
- Ipswich, Australia
- Posts
- 481
Thanked: 64
It's been a while since my last post here
Work on the restore has gone slowly - work is very busy right now with lots of extra hours to be done.
Not much time for working on highly favored hobbies ... that's life gents.
Since my last post the sanding work has moved to 1000 grit wet/dry, using WD40 from 600 grit level onwards.
I have noticed there will be more reshaping of the edge profile to be done before honing can commence.
There seems to be a bit of a hump shape towards the toe end of the edge that will have to be sorted out.
Here are some pics to show progress so far. Not sure how clear they will be a couple seem a bit blurred.
400 grit finished
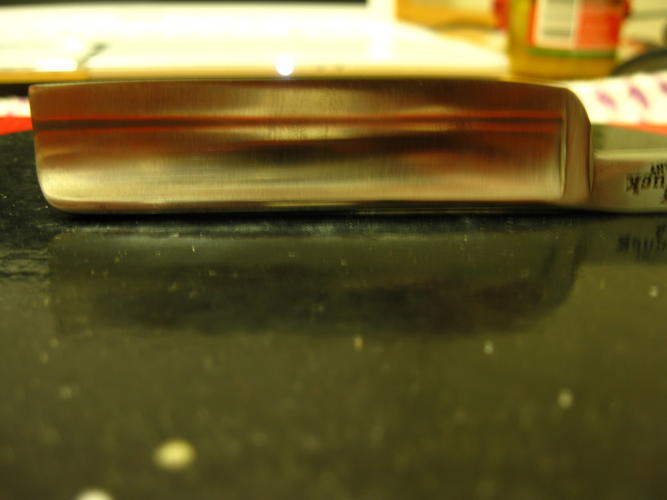
800 grit finished

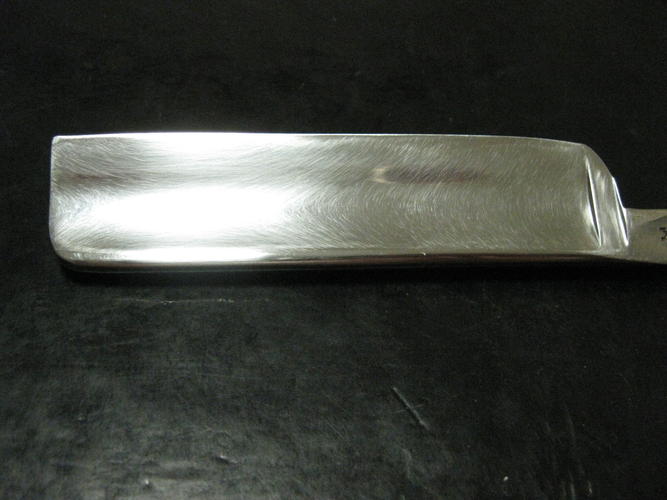
1000 grit
 RickyB
-
01-13-2014, 10:24 AM #17
It's looking good bro!
Can't wait to see it DONE!
-
01-13-2014, 10:37 AM #18Senior Member
- Join Date
- May 2011
- Location
- Ipswich, Australia
- Posts
- 481
Thanked: 64
Thanks Ed. Originally Posted by Chevhead

I am making sure to take the time to get the small things right on this restore
Really don't want to make a mess of such a nice blade.
I will be checking on getting the gold wash redone when the blade is finally ready.
Have fun broChevhead likes this.RickyB
-
01-18-2014, 08:39 AM #19Senior Member
- Join Date
- May 2011
- Location
- Ipswich, Australia
- Posts
- 481
Thanked: 64
Had some more time to work on this yesterday and today.
After using micrmesh starting at 1500 and working up to 12000 I saw some light swirl marks on the blade, almost certainly lower grit sanding marks.
I was about to start again with sanding from 600 grit, but thought to try working the scratches out on the small buffing wheel on my drill. After some reading back here on the forum I decided to work with a generic metal cleaning compound on applied to the buff wheel. This was part of a 3 pad and compound set I got from a local hardware store last year.
After 4 applications the scratches were much less noticeable (and I was so focused on it I forgot to take some photos) so i moved to a light polish compound and worked with that for nearly an hour. I can tell you it was very tricky keeping tabs on the heat build up on the blade.
At this point the scratching was almost completely gone, but I just wasn't satisfied with the look of the blade.
Still not wanting to start sanding again I decided to try some auto cutting compound (the stuff used on car paint to make it shine like new again). After nearly an hour the blade was looking much better with a nice polish coming through.
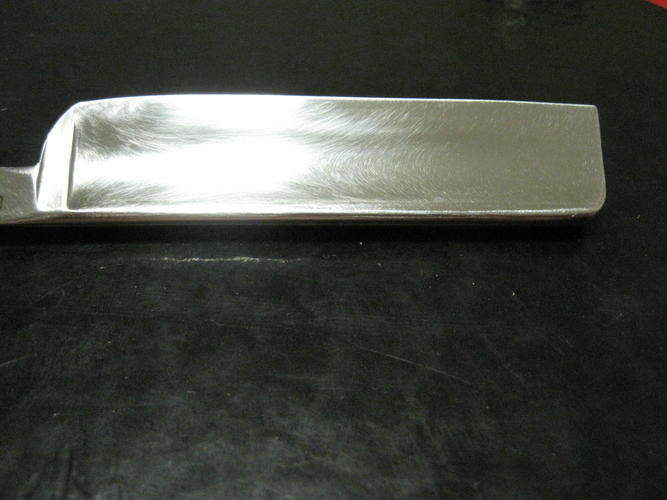
Next move was to do a polish with some Flitz. About 30 minutes later, the blade looked quite good.
This time I took some pics to share.RickyB
-
01-18-2014, 10:51 AM #20
That is looking AWESOME!
-
The Following User Says Thank You to Chevhead For This Useful Post:
RickyBeeroun222 (01-19-2014)


 Reply With Quote


