
Results 21 to 30 of 49
 101Likes
Thread: WIP: W.G. Wilton
 LinkBack URL
 About LinkBacks
-
02-02-2019, 07:04 AM #21Senior Member


- Join Date
- Jan 2015
- Location
- Pinole, ca
- Posts
- 1,526
Thanked: 339
Working on scales, can’t make a decision, any opinions?
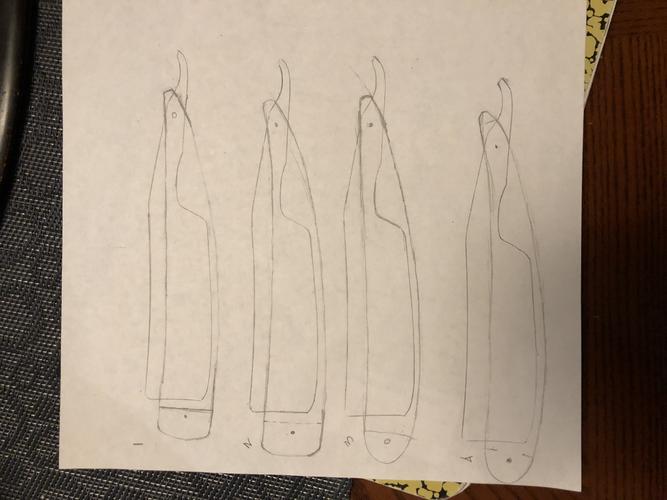
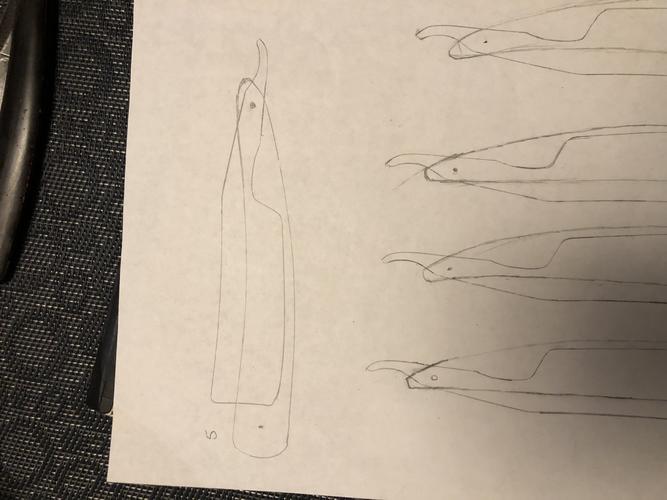
#5 is a direct copy from a WB FBO, doesn’t seem right proportionally to me.
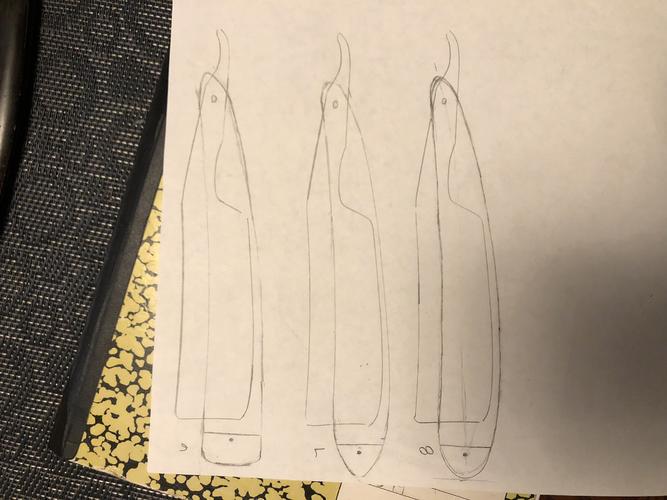
#8 Is the one I’m leaning towards, seems about right, with a lead wedge and horn scales I should be able to get it to balance really good too.
The blade is going into some honey horn so you will be able to see it when it’s closed.Last edited by jfk742; 02-02-2019 at 07:12 AM. Reason: Add’n stuff
MikeT likes this.
-
02-02-2019, 07:10 AM #22Senior Member
- Join Date
- Jan 2015
- Location
- Pinole, ca
- Posts
- 1,526
Thanked: 339
I’m not sure how people use it on a buffing wheel, always seems every line is blown by the time they’re done. Nothing worse than a vintage with all rounded off corners. Originally Posted by outback

-
02-02-2019, 12:43 PM #23Senior Member

- Join Date
- Jun 2015
- Location
- South Carolina
- Posts
- 1,838
Thanked: 516
Wedge of #1, pivot of #8.
That's my vote.

Thank you for undertaking this project with the wheels, I've always wanted to do it. Any pics of the wheels loaded up? Trying to get a better grasp on it..
Looking good!jfk742 likes this.You must unlearn what you have learned.
Yoda
-
02-02-2019, 02:54 PM #24Senior Member


- Join Date
- Feb 2013
- Location
- Haida Gwaii, British Columbia, Canada
- Posts
- 14,451
Thanked: 4829
3 and 8. It’s unlikely we will get a consensus with that many options. Make sure the pivot end of the scale is only slightly larger than the tang. Otherwise they are awkward to strop. I think you should start hand sanding on the blade. You can wobble the face of the blade easily as well as round out the lines. A bit of hand sanding should show you where the blade face is low. Once you have it flat you should set the bevel to see how wide and straight the remaining grind is. You can remove metal above the bevel to straighten it out.
It's not what you know, it's who you take fishing!
-
02-02-2019, 03:52 PM #25Senior Member
- Join Date
- Apr 2012
- Location
- Diamond Bar, CA
- Posts
- 6,553
Thanked: 3215
I prefer classic shapes for classic razors 3,4 7 &8 . Probably 7 the best.
Have you seen the old threads on old school grinding wheels? They used wooden wheels with leather strips glued on end to the edge of the wheel then glued abrasives to the leather. There are post with photos on the site.
Your method seems to work well, similar to knife paper wheels.
Take a look at some of Mikes work Wolfpack34, for ideas and inspiration.
Nice workjfk742 likes this.
-
02-02-2019, 09:10 PM #26Senior Member
- Join Date
- Jan 2015
- Location
- Pinole, ca
- Posts
- 1,526
Thanked: 339
Here you go! Originally Posted by MikeT
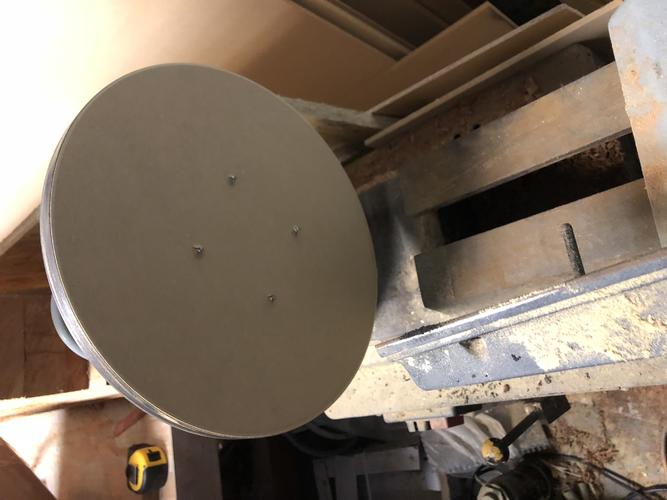
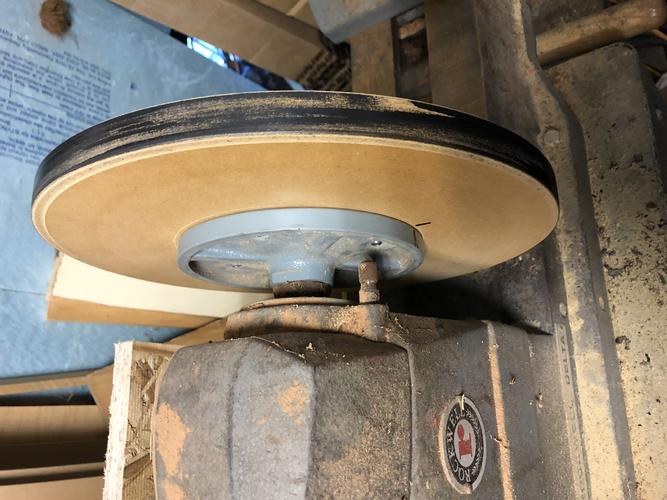
I just used some dividers and scratched a circle on some 3/4” mdf then cut it out with a jigsaw, I measured the face plate and made a slightly oversized circle from the same point I drew the wheel from then lined up the faceplate as well as possible and mounted it with screws, then that assembly just threads on to my headstock. I tried the face with a scraper chisel and the edges as well given there was a slight wobble as well. I think if I do this in the future I’ll use 1” mdf as it would be nice to have a little more real estate. I also gave the face just the slightest crown, you can’t tell it’s there unless you put a straight edge on it.
As far as using the greaseless I just loaded it and then hit it with a heat gun for 10 seconds and was able to go right back to grinding. The wheel runs way cooler with fresh compound on it.
Luckily the ways for the tailsstock are a few inches short otherwise the widest wheel I could make would have been 12”. I should be able to go up to 15.5” comfortably. What I like about the set up is the ability to do regrinds of big wedges. Look into how much a 12”-14” contact wheel costs for a belt grinder, the whole setup plus the cost of the lathe would buy me one 12” contact wheel and a box kleenex for the tears I’d shed just to try and regrind this $15 blade.Last edited by jfk742; 02-03-2019 at 01:11 AM.
-
The Following User Says Thank You to jfk742 For This Useful Post:
MikeT (02-04-2019)
-
02-03-2019, 06:49 AM #27Senior Member
- Join Date
- Jan 2015
- Location
- Pinole, ca
- Posts
- 1,526
Thanked: 339
Necessity is the mother of invention.
I usually pin my razors then polish the washers afterward. The problem is that you get dark ring of wax from the buffing compound right around the edge of the washer where it meets the scales, a real pita to clean it. The honey horn presents more of a problem given how light in color it is, so I can up with a solution:
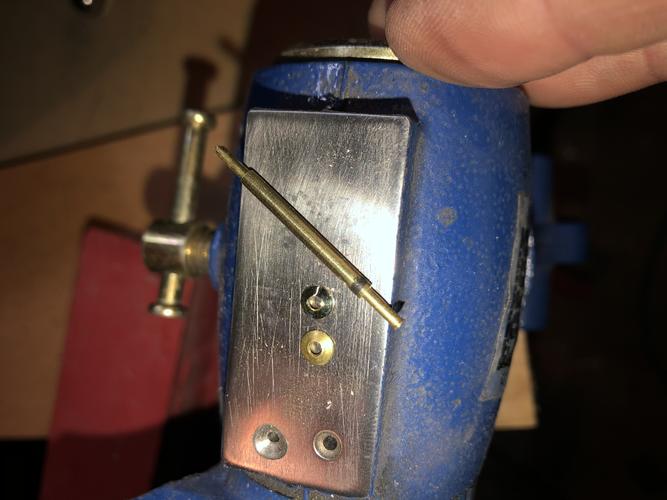
I cut some 1/16” pin material about 1 1/4” and peened one end then cut some 1/16” id brass tubing drop the washer onto the peened end then butt the tube into the back of the washer and chucked it into a drill then went to the buffer. You could do the same thing but by hand, some polish on a rag would also have the same effect.
I polished the washer with emery then with tripoli which is my preference for horn, has a nice glow without getting offensive. Stamped out my own washers, was thinking about bullseye washers but I don’t want to take the focus away from the blade in the scales.
-
02-03-2019, 10:32 PM #28Senior Member
- Join Date
- Jan 2015
- Location
- Pinole, ca
- Posts
- 1,526
Thanked: 339
Went back to the greaseless to clean up some lines. I dropped back from the 600 grit to 400 grit as it was too shiny after the emery loaded wheel. I tried doing a little work on the buffer just to see what it would do and was pretty unhappy with it. Ended up with 400 grit then just two passes on each hollow with the emery loaded wheel.
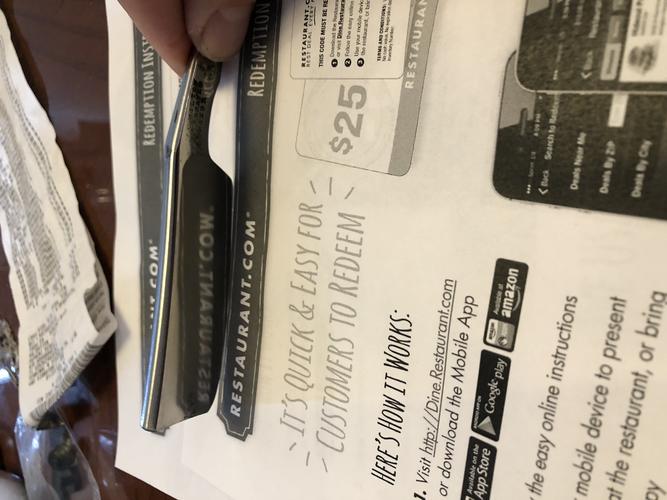
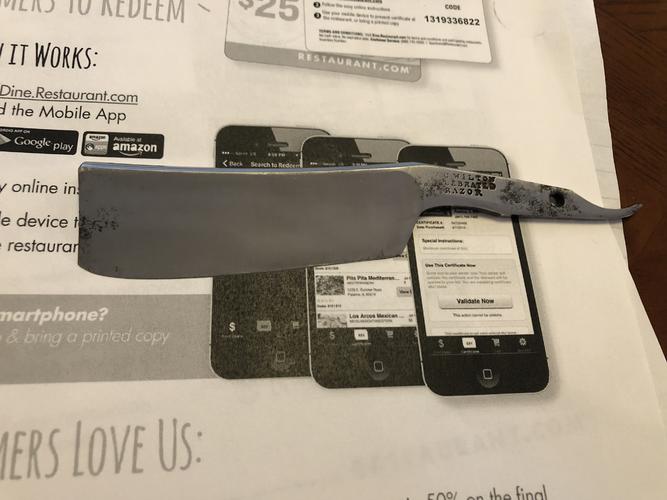
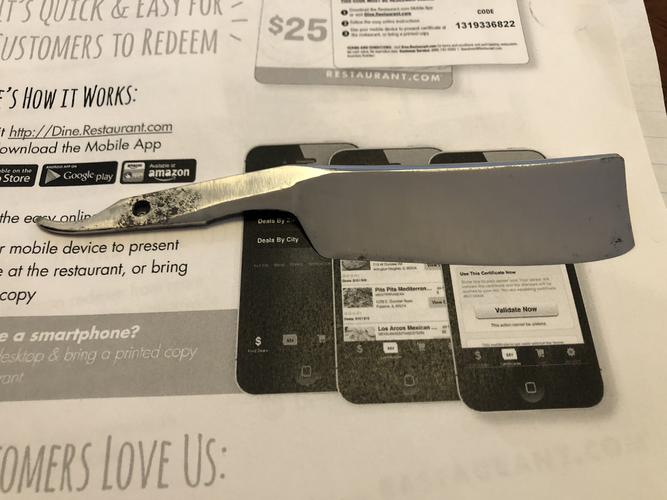
I may go back and tweak the finish after I get the scales done. I ended up not trying to match a finish from a similar era razor.
-
02-03-2019, 11:28 PM #29Senior Member

- Join Date
- Mar 2015
- Location
- Akron, Ohio
- Posts
- 12,107
Thanked: 4313
Sorry ,John. I was meaning to post JP5s, in a separate thread.
Forgot where I was..
Now, if a mod would please put this in the " What are you working on" thread of the workshop, I'd greatly appreciate it.Last edited by outback; 02-03-2019 at 11:32 PM.
Mike
-
02-04-2019, 04:08 AM #30Senior Member
- Join Date
- Jan 2015
- Location
- Pinole, ca
- Posts
- 1,526
Thanked: 339
No problem, Mike.
Nice job on the scales, btw.


 Reply With Quote