Lookin good, Tom. Glad yer keepin it simple, this time..
Printable View
Lookin good, Tom. Glad yer keepin it simple, this time..
Thanks!Quote:
Originally Posted by outback
Always looking to keep it simple, Mike.
Lazy Me! :rolleyes:
One man's 'Lazy' is another man's 'Taking it to extremes' :wQuote:
Originally Posted by sharptonn
I put together a few razors tonight.
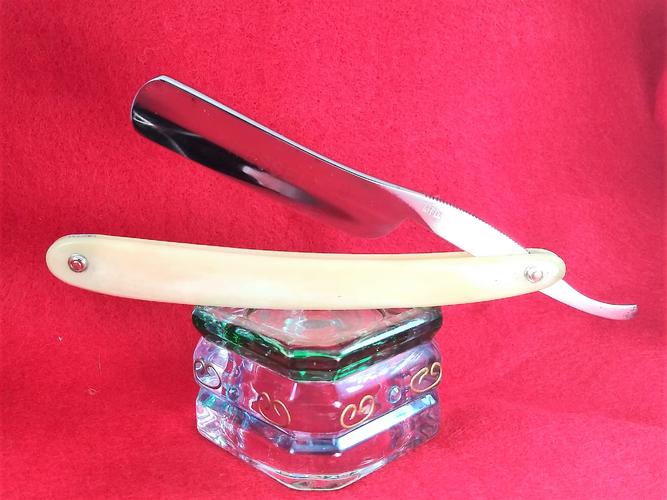
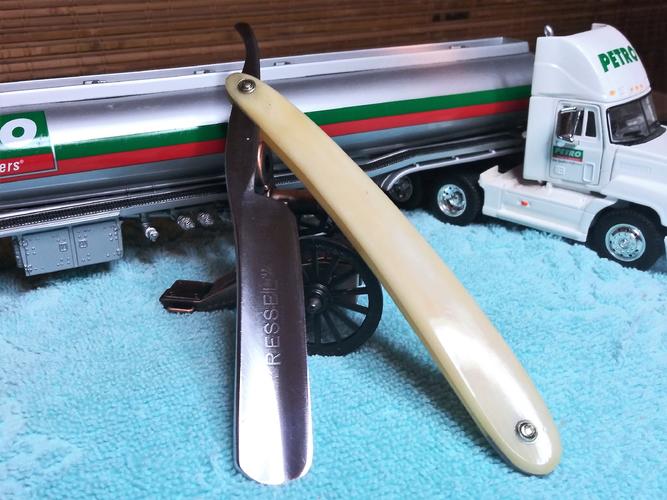
First up is Ressel, Hollow Ground, Germany.
I saved some bone scales from another razor. Cleaned them up and polished. Did some polishing on the blade too to get rid of some pitting and rust. You can still read the word Ressel on the blade face but not so much in the pictures I took...
Attachment 302135Attachment 302136
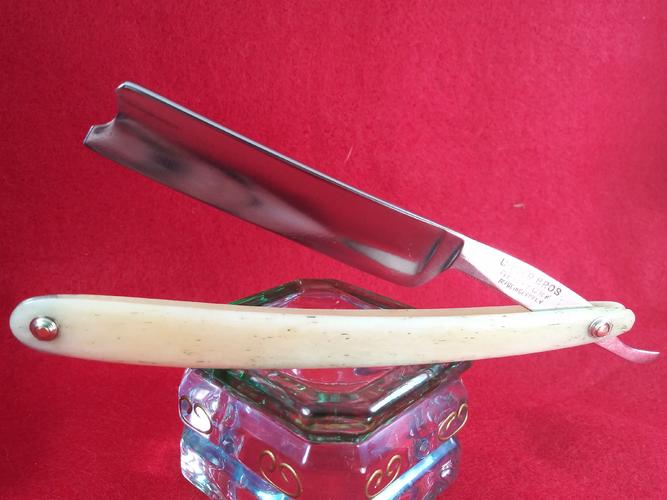
Number 2 is an Unger Brothers from New York. Also a German blade. Another set of scavenged bone scales. I wasn't able to get all the gunk out of the front scale as you can see the specks still on it. But its polished along with the blade. More pitting and rust removal...
Attachment 302137Attachment 302138
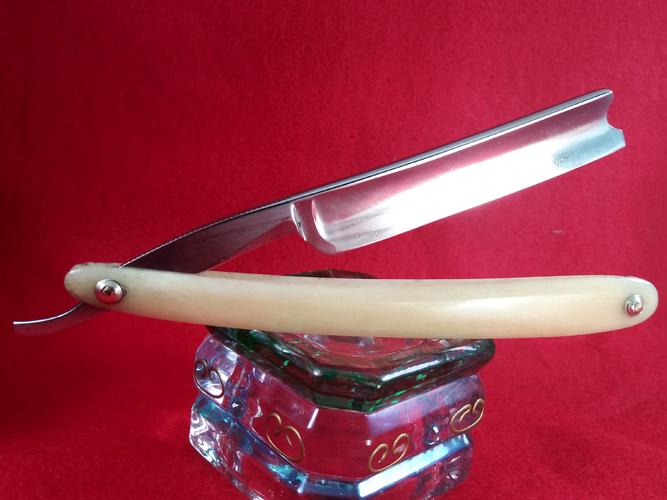
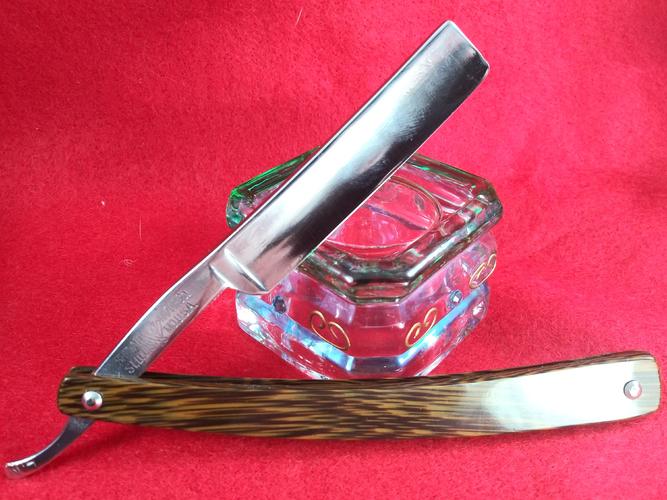
Next is a Shumate's Barber, St. Louis, MO.
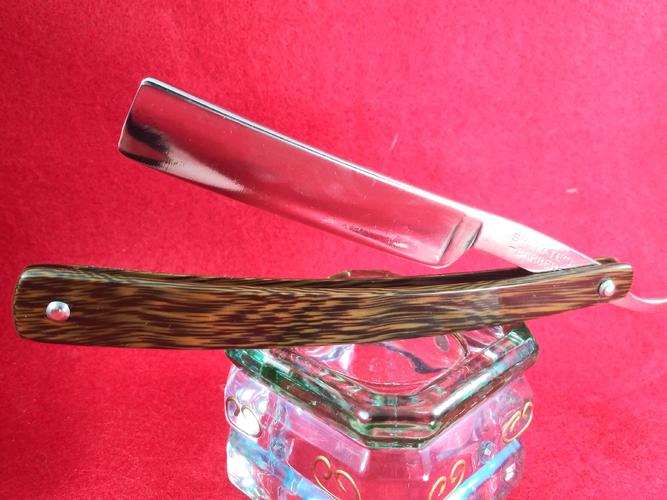
I dug thru my saved scales and found this set of Faux Woodgrain scales and it fits nice and tight. Like it was made for it. More buffing and sanding. I used some do-it-yourself collars this time.
Attachment 302139Attachment 302140
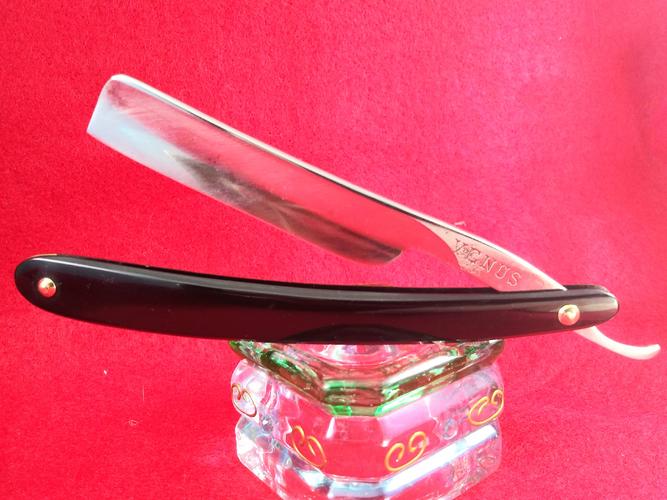
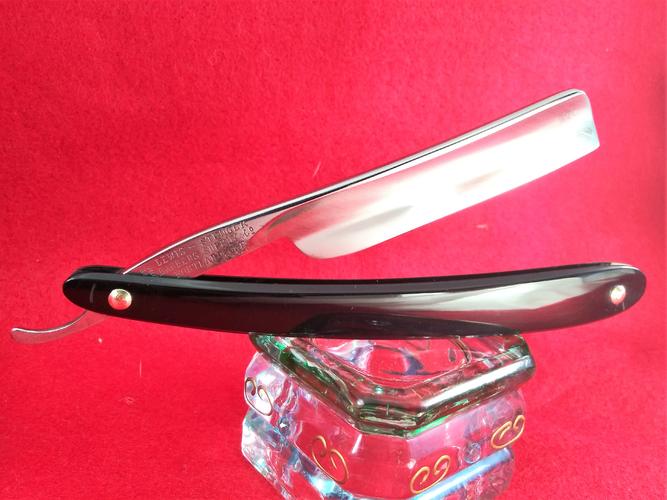
And last is a Venus, Lewis-Stenger Barber Supply, Portland, OR. German blade. Dressed in some salvaged hard rubber scales. Homemade collars with some sanding and buffing.
Attachment 302141Attachment 302142
A productive night. Also managed to scrape out the caulking around the tub and shower. Replace some grout in a few spots and re-caulk. Now if I can get some honing time in I will feel like I did something!
Better pic of the Ressel...
Attachment 302143
Nice job Jerry. Bone is my favorite scale material. As classy and smooth as ivory, IMO, but stronger and not illegal. I am going to have to get a set in bone I think.
Wow, Jerry! Cranking on that Gatling-gun! Don't overheat the barrels!
They look great!
Honed up one of them and touched up 3 others. I think i over did it a bit yesterday as i feel like hell today. Well, i had a good run. Maybe hone up a few more today.
Stole some time this morning and got this project done. A bit of a pain.
Scales turned-out nice. Sort of looking their age, but lots better.
Attachment 302165
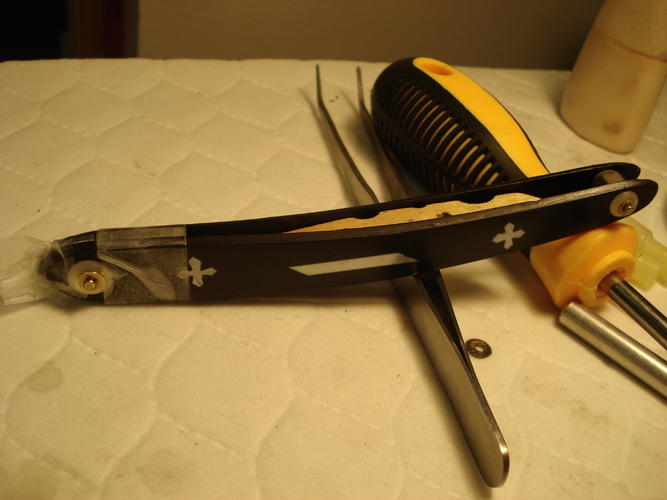
I could sense potential issues at the top, but began at the wedge end anyway. :shrug:
All mocked-up, tape at the bottom holding things tight and keeping the collars on.
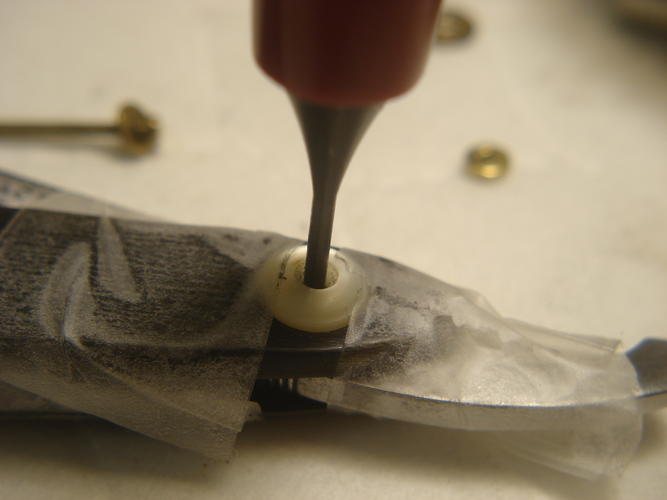
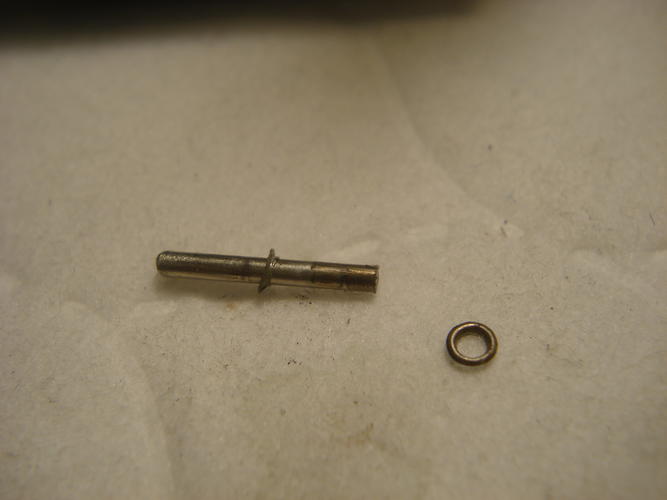
Pulled the screw and sized a pin. Poked it out and annealed the ends for easy pinning.
Touched the very ends of the pin to the blue flame for 30 seconds and allowed to cool. (bad picture!)
The plier acts as a heat sink for the rest of the pin.
Attachment 302166Attachment 302167Attachment 302168Attachment 302169
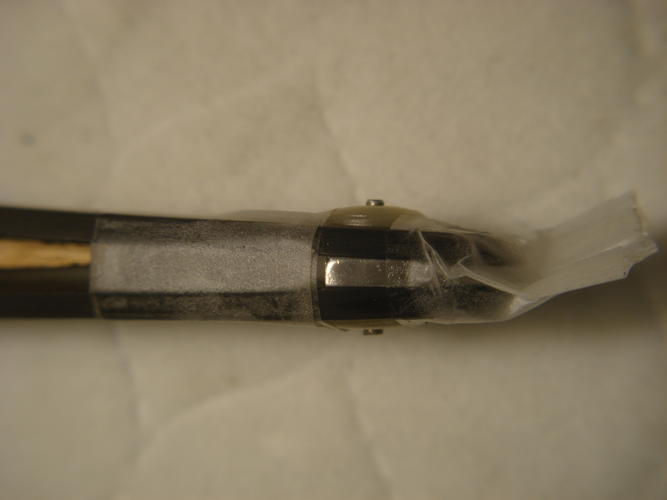
Went well, so mocked-up to pin the top and my issue presented it'self.
The top had been loose and flopping so long that the inside of the collars were wallowed out and tapered. To try to fill this with pin could be catastrophic, I thought. Dug through the pile of old collars and came-up with some teeny ones from an old razor. Likely undercollars.
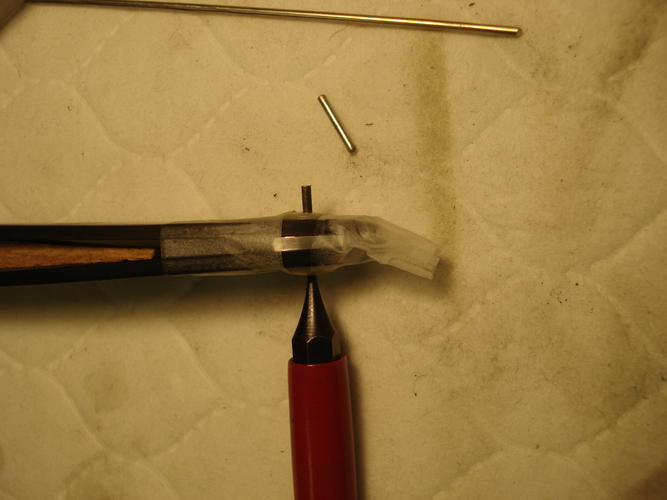
Inserted them on that top 'shelf' in the collar opening and taped them down.
Sized a pin and annealed it.
Attachment 302171Attachment 302172Attachment 302173Attachment 302174
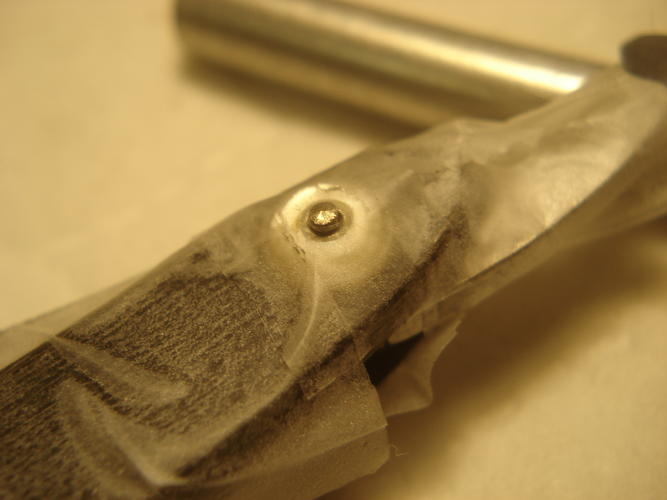
With my tiny collars taped-down, I inserted my pin and peened a while until the collars could not escape. Pulled the tape off to finish. Peened over the little collars, they cannot be seen.
Attachment 302175Attachment 302176
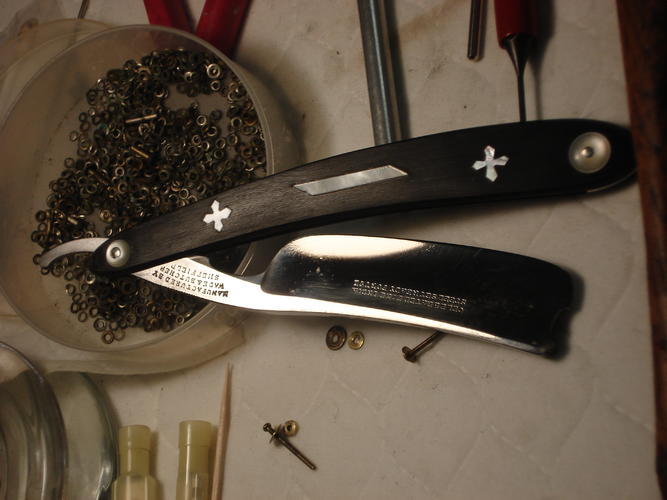
Turned out good and tight. The top peens are a bit larger than the bottom ones, but it is what it is. Not too shabby....
Attachment 302177Attachment 302178
Nice work Tom.
Ready for the hones.
Looking good for a soon SOTD photo shoot!