Results 111 to 120 of 156
-
09-04-2016, 04:47 AM #111Senior Member


- Join Date
- Apr 2012
- Location
- Diamond Bar, CA
- Posts
- 6,553
Thanked: 3215
A 9X12 in piece of 6mm (1/4 inch) Craft Foam from Wallmart, or any craftstore, about 2 bucks.
Protects the razor and keeps it from moving. Plus you can bury the blade in the foam and sand or polish right to the edge, with no danger of cutting yourself.
-
The Following User Says Thank You to Euclid440 For This Useful Post:
xiaotuzi (09-04-2016)
-
09-04-2016, 06:13 PM #112

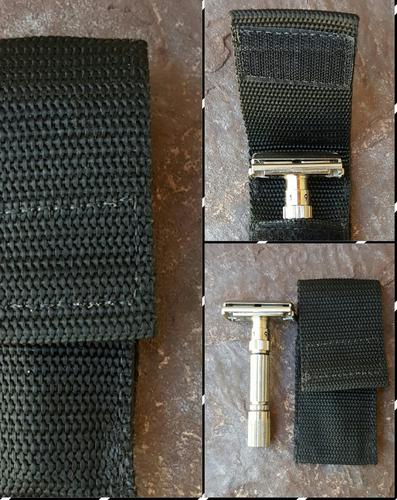
I don't know if this is a modification, let's call it repurposing. An old knife sheath is now a DE cover. I can even wear it on my belt!
-
09-25-2016, 09:57 PM #113

I guess that I am getting old as I let my good friend Ski talk me into installing an electric garage door opener so I didn't have to get off my bike to open the damn door.
Now the portable controls to open the garage door are designed to be mounted on the sun visors so they are completely out of the elements. That really doesn't work on a motorcycle. However since I have saddle bags I figured I could attach a control in there and have it fairly safe from the elements. I could just reach back and slid my hand under the leather cover and hit the button.
However I thought that a little insurance would be nice so I made the control 'Water Resistant'.
I used my vacuum sealer to form a bag just big enough for the control then I cut a slice on One Side of the top of the bag. I used acetone to clean all the plastic bag contact area and the metal from the control. I then used some silicone to seal all around the slice.
I let it set for about 24 hours and then used the vacuum sealer to close it up. NOTE: There wasn't enough plastic bag at the bottom to see if the machine would suck the air out so I just sealed it up.
While I wouldn't want to drop it in water to test, I think it should hold up.
If it wasn't for needing to use the metal hook I would have just made a bag and vacuum sealed it in/well maybe not completely but most of the air would have been evacuated.
Before sealing the metal hook with silicone and sealing the bottom of the bag:
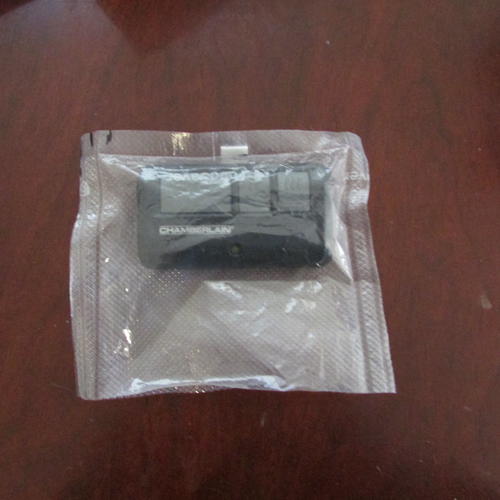
Before sealing with silicon:
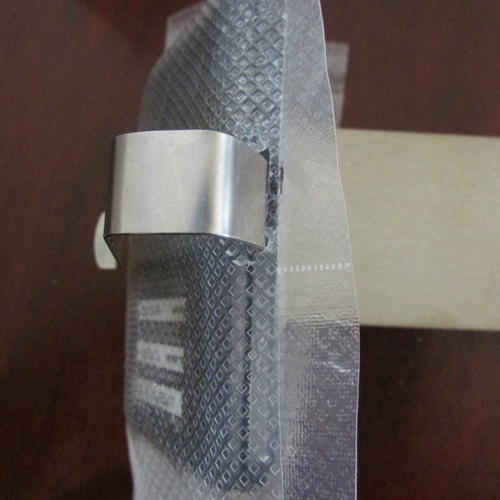
Silicone sealed and cured and the bottom of the bag sealed:
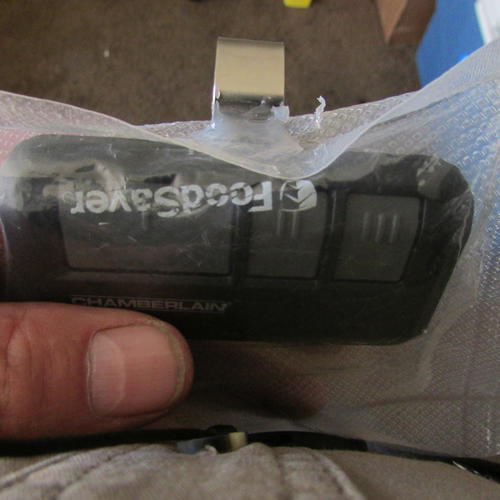
I rode to Ski's today to get my ass kicked shooting pool and upon returning home the remote worked perfectly! Our house is as Neil left it- an Aladdins cave of 'stuff'.
Kim X
-
The Following User Says Thank You to cudarunner For This Useful Post:
Euclid440 (09-26-2016)
-
09-26-2016, 12:49 AM #114Senior Member


- Join Date
- Apr 2012
- Location
- Diamond Bar, CA
- Posts
- 6,553
Thanked: 3215
You could seal the bag and stick some Velcro on the back of the bag and where you want to stick it, so the integrity of the plastic bag is intact.
I have had a remote for the gate and the garage door, Velcroed to the side of my counsel on my Explorer, for a few years now, down below my leg and in front of the seat, where it can’t be seen, but is easy to get to.
-
09-26-2016, 12:56 AM #115

I've thought about doing just that!
 : However I figured that with the metal hook the remote would probably stay in place better IF I were to 'Be Less Than Careful' when adding things to the saddle bag.
With my luck I'd knock the remote off and have to get off and then have to dig down to find it. Our house is as Neil left it- an Aladdins cave of 'stuff'.
Kim X
-
09-26-2016, 01:29 AM #116

I dislike remotes especially the one for my truck on the key. I have unintentionally unlocked my truck many times from inside the house by just bumping it in my pocket. I would use my key without the remote but then I would have to start the truck within 12 seconds of unlocking the door or the alarm goes off. I keep waiting for the batteries to go lower so it only unlocks from 10 feet or less!
-
09-26-2016, 01:33 AM #117
-
09-26-2016, 02:08 AM #118

 ,,,,,,,,,,,,,,,,,,,,,,,,
-
10-13-2016, 08:58 PM #119

My first lighted loupe was a plastic one in an aluminum frame with the two hole cover for the batteries. Well it only took a couple of battery changes before I lost the thin aluminum tool to remove the cover so I'd use two 1/16" pin punches to remove and install the cover.
I found a heavier duty loupe made out of metal so I retired my original. I needed to change the batteries so after I was done I figured I'd better find a way to keep from losing the two pronged tool.
I decided it would be best if I just made a different one. I 'think' I saw something similar somewhere here at SRP to unscrew the plug in the handle of a DE so this isn't an original idea.
Here's my solution:
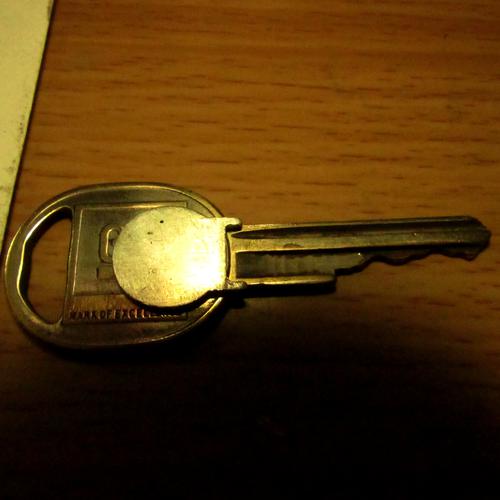
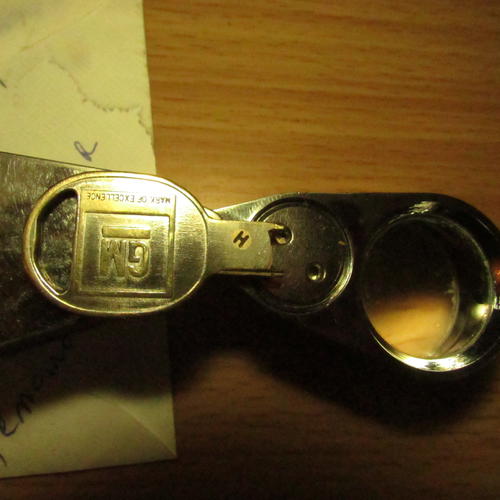
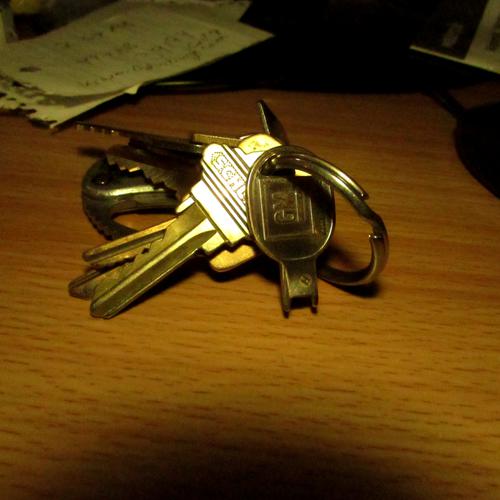
I've still got the original in the storage case, maybe I'll find another old key and make another one just in case.
Thanks for looking.Our house is as Neil left it- an Aladdins cave of 'stuff'.
Kim X
-
The Following User Says Thank You to cudarunner For This Useful Post:
MisterClean (10-13-2016)
-
11-01-2016, 10:57 PM #120

While I have an old style wooden miter box, I didn't like trying to cut acrylics and such for making wedges for scales. The teeth on the crosscut saw were pretty coarse and hard to work with. I tried using a hacksaw but it wobbled in the slots meant for the crosscut saw so I went looking.
I found this:
https://www.amazon.com/gp/product/B0...?ie=UTF8&psc=1
The base is plastic but it's not going to see any 'Heavy Duty' usage. While the teeth were a higher tooth per inch I ordered the 18 TPI. It cuts really nice!
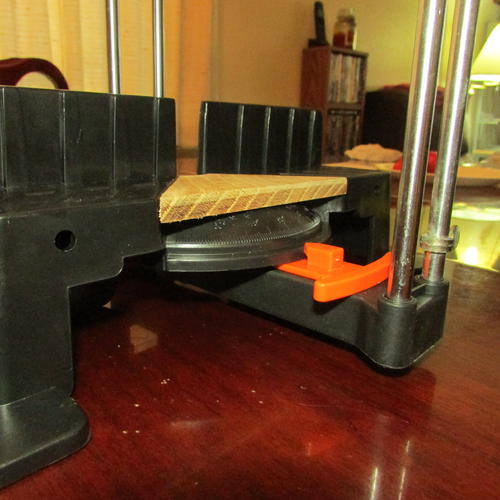
HOWEVER even with gently sawing when I cut a 3/4"X3/4" piece of Inlace Acrylic at the last stroke it chipped out at the bottom. That's because there isn't any support under the blade. So down to my buddy Ski's I went. Here's what we came up with. A piece of white oak cut at a 45deg angle then cut to fit.
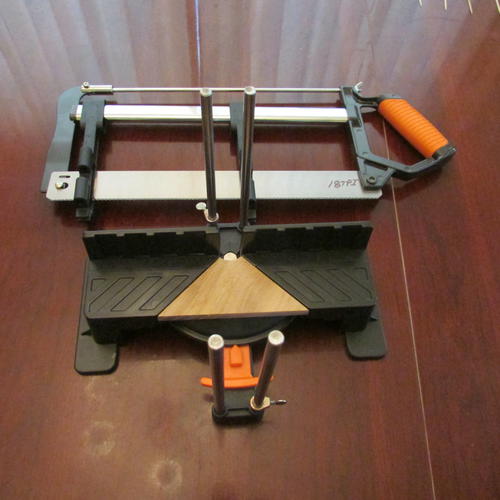
I also sanded it down to just shy of flush. I can put a 5 thousands feeler gauge under a straight edge on one end and barely under the other but a 6 thousands won't go so I sanded it pretty close. There are many, many cross braces underneath and our initial idea of bolting the pieces in place wasn't practical so I used Barge Glue and I'm pretty confident that the pieces aren't going anywhere.
Thanks for looking.Our house is as Neil left it- an Aladdins cave of 'stuff'.
Kim X
-
The Following User Says Thank You to cudarunner For This Useful Post:
MisterClean (11-02-2016)


 616Likes
 LinkBack URL
 About LinkBacks


 Reply With Quote


