Results 51 to 60 of 89
-
08-07-2015, 04:13 AM #51

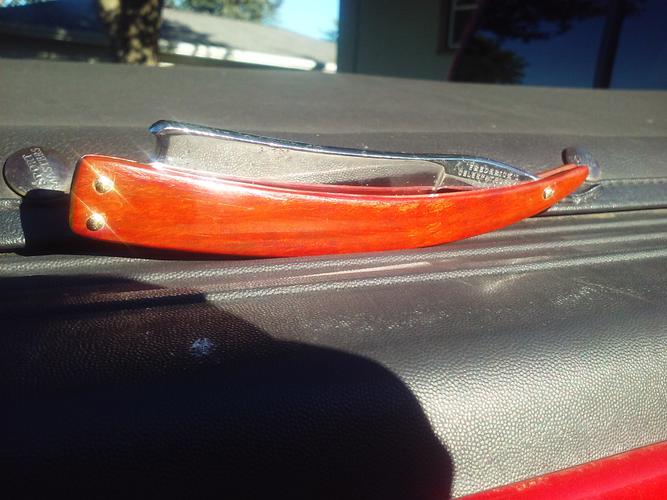
Did kinda the same thing with the Fredric's i put the scales on last monday
 Mike
Mike
-
08-07-2015, 04:40 AM #52
-
08-07-2015, 01:58 PM #53

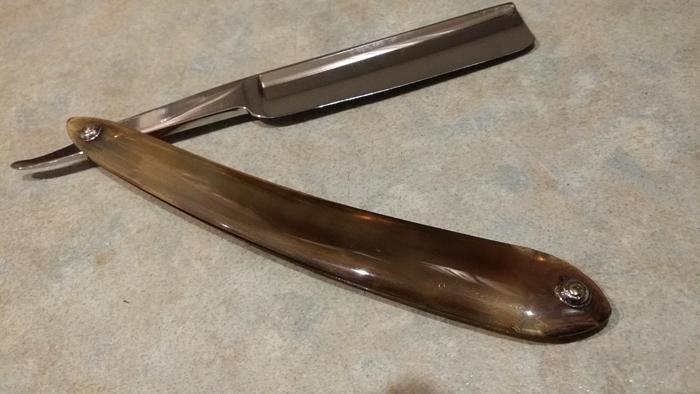
Neetsfoot really works well to revive old horn. Had a set that were flat black and flaking so left them soaking for 3 weeks. They are now mid brown to transparent and with a bit of sanding polished up amazingly. Sorry for the dodgy pisc. You can't see bit the lighter bits you can see the blade through the scales


Last edited by eddy79; 08-07-2015 at 02:01 PM.
My wife calls me......... Can you just use Ed
-
-
08-07-2015, 02:12 PM #54

Makes good sense.
Have to soak a set myself.
Can this be done with the blade still attached, or must it be removed?Mike
-
08-07-2015, 02:15 PM #55
 “You must unlearn what you have learned.”
– Yoda
-
08-08-2015, 02:14 AM #56

Can't see oil hurting the blade. There was some browny bits to the scales before but they were bone dry. The oil didnt discolor at all still golden after 3 weeks so i think this is how they were meant to be just they had been neglected for a long time. All the flaking stopped. They looked mostly like this after a week but as I was still working on the blade didn't see a need to take them out of the oil.
My wife calls me......... Can you just use Ed
-
08-08-2015, 04:24 AM #57

Perhaps that is how they are supposed to be. I wouldn't know, not enough experience with old horn. Anyway I like that look and think you made a good choice with the oil.
After working with this horn on my last one I'm really interested now in making some horn scales from scratch. Have only modified or restored old damaged ones.
-
08-08-2015, 05:21 AM #58

Those scales are probably from the early 1800s so they have had a long life already and probably little attention so that is likley why such a dramatic change. New or younger scales might not react the same
My wife calls me......... Can you just use Ed
-
08-14-2015, 04:50 AM #59

Hello Gents,
Well Ive been taking breaks from my 7 day set to work on other easy projects in between, can only work so long on one project and then need a break. Oh please God let me have just a few hours of undisturbed work this weekend! Ill finish it soon, I think, but for now here is another blade that I had from a long time ago when an antique store owner asked me to buy the whole box of razors and stuff and this was thrown in to the mix. That was a great day!
This one was an ugly duckling and I doubt many would consider restoring it, but as you can see it is looking quite nice. Really got some good practice in on the hand sanding (been working on my blade sanding skills after seeing Wolfpacks amazing blade finish).
I have a question maybe you guys could help with: How do I fill the void inside the spine? After I cut off the broken tip there was is this space inside the spine and I can see it could become a rust hole... Thanks for the info
And thanks for looking!“You must unlearn what you have learned.”
– Yoda
-
08-15-2015, 12:34 PM #60

Maybe too much writing and only the pics were viewed..?
Maybe it's become a boring thread. IDK
One question: How do I fill the hole at the end of the spine left after cutting the broken tip off?
I'm thinking it could rust.
Thanks again for the replies


 176Likes
 LinkBack URL
 About LinkBacks


 Reply With Quote
