
Results 71 to 80 of 220
 110Likes
 LinkBack URL
 About LinkBacks
-
09-27-2013, 02:51 AM #71

Havent done the blade yet. It looks in decent shape, a bit of wear, but I think we can get it to a shaver.
-
09-27-2013, 02:52 AM #72Senior Member

- Join Date
- Aug 2013
- Location
- bakersfield ca
- Posts
- 160
Thanked: 0
Are u doing the hone?
-
09-27-2013, 02:57 AM #73
Originally I thought not, it has been awhile since I have honed. I recently bought about 5 razors that I can hone for practice. I just did one for my brothrr that turned out real nice. I can leave it open for your decision.
-
09-27-2013, 02:59 AM #74Senior Member
- Join Date
- Aug 2013
- Location
- bakersfield ca
- Posts
- 160
Thanked: 0
I dont mind you doing it as long as your comfortable. As long as it will shave comfortably go for it man.

-
09-27-2013, 05:09 PM #75Senior Member

- Join Date
- Dec 2012
- Location
- Hayward, CA
- Posts
- 436
Thanked: 43
Good thread guys! With all of the little problems we encounter when restoring a razor I am glad I have been a plastic modeler for many years as the techniques cross over to razors very well in many instances.
I keep wondering how I can utilize all of my airbrushes on scales sometime? Could prove interesting. My son is a Drill Instructor in the United States Marine Corps at Parris Island, SC
Mike
-
09-28-2013, 08:34 PM #76
A few before pics of the blade.
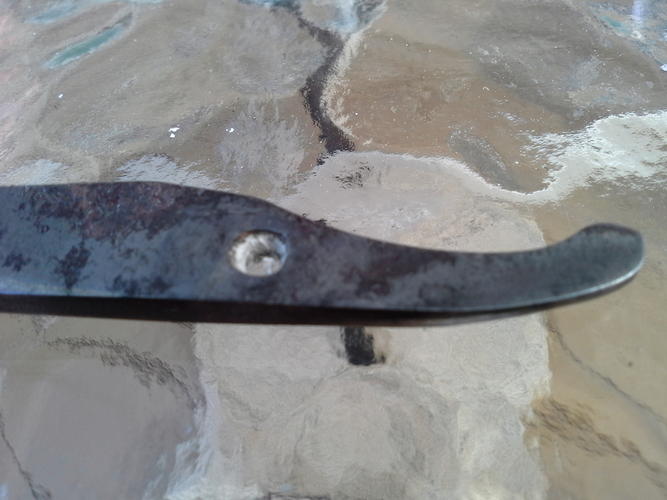
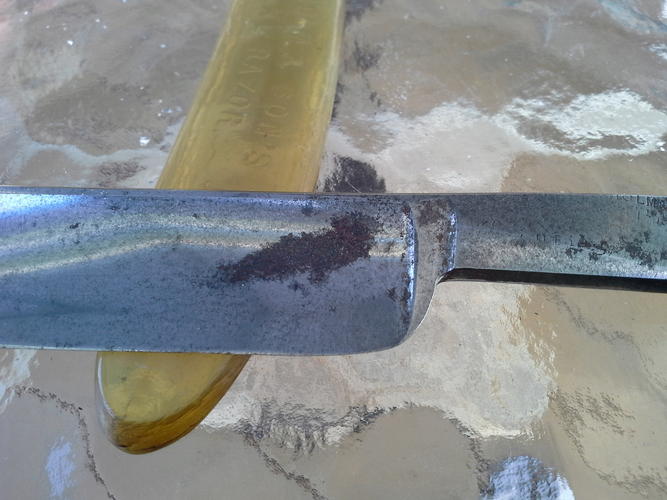
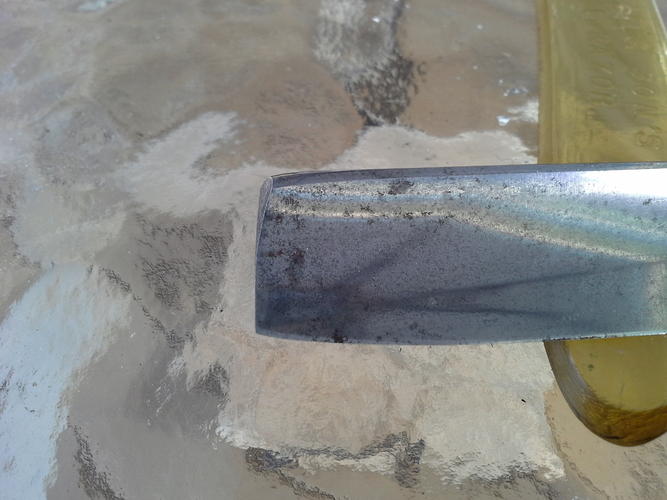
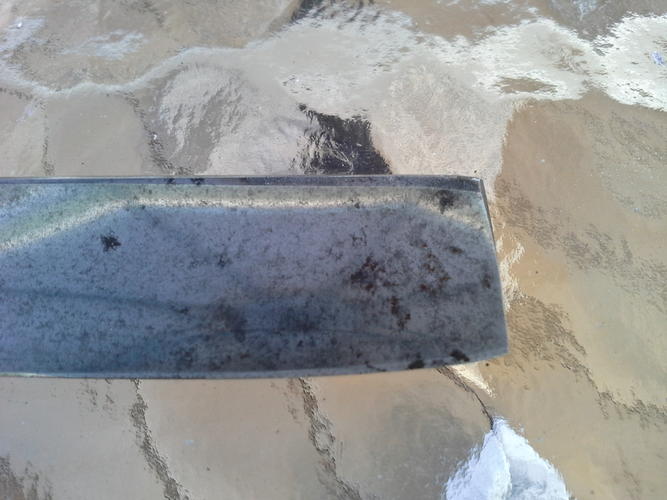
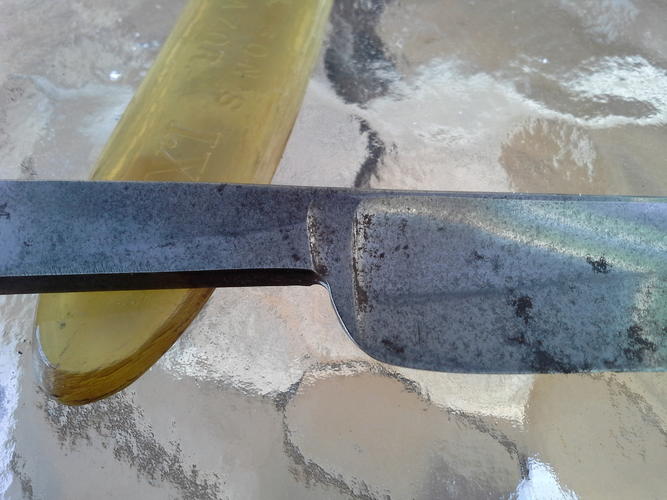
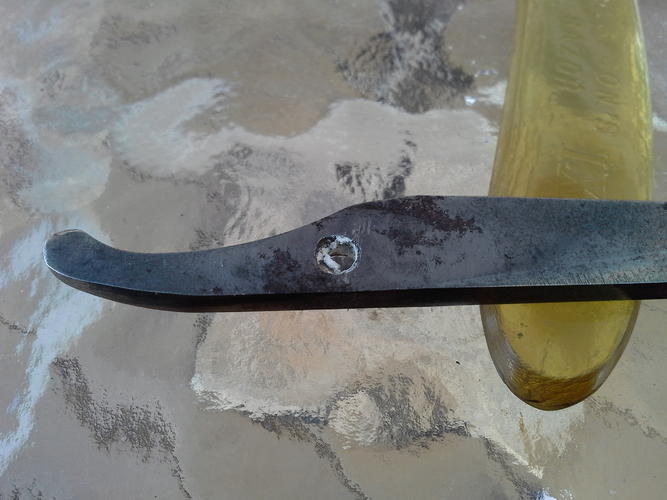
The dark spot along the cutting edge is rust, and goes over to the other side, the big spots of rust are fairly deep. The one on the tang is right at the stamp, most of which is missing
-
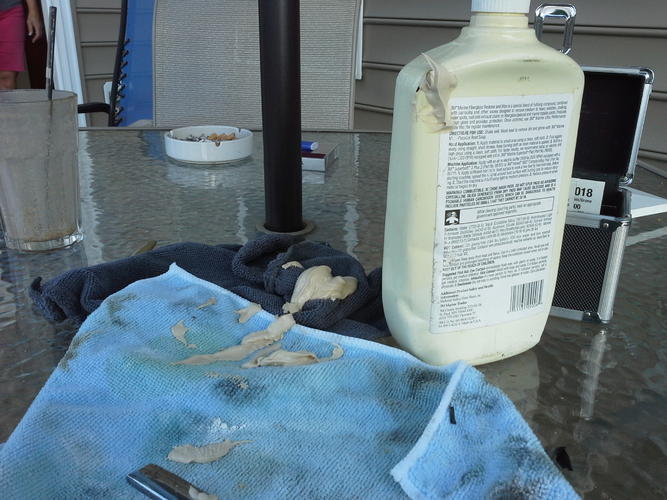
09-28-2013, 08:36 PM #77
I am starting with a rubbing compound I had from years back.

Using a microfiber cloth and elbow grease.
-
09-28-2013, 08:39 PM #78
So this just happened
-
09-28-2013, 08:47 PM #79
So that compound did nothing to the metal. I guess it will strictly be for scales.
On to the sp. Goingbto start at 800. Those big rust spots will need it.
-
09-28-2013, 09:09 PM #80
800 was not doing it. Went down to 600, here is after 15 minutes.
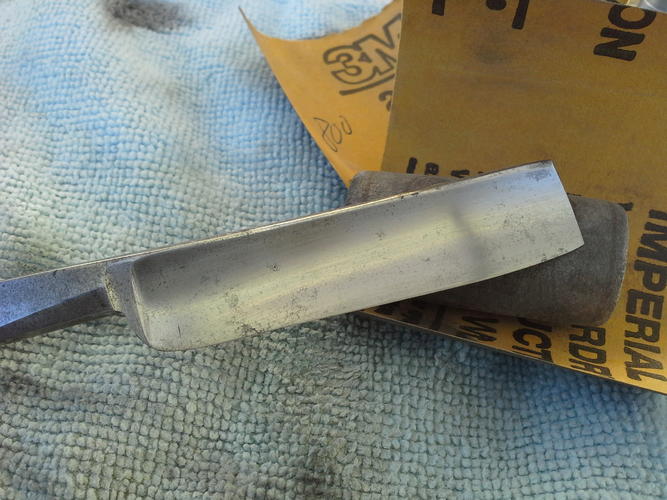 . Gonna try 400.


 Reply With Quote