Results 1,191 to 1,200 of 20602
Thread: What are you working on?
-
07-07-2015, 10:42 AM #1191Junior Member

- Join Date
- Jul 2015
- Location
- Clarkesville,Ga
- Posts
- 12
Thanked: 4
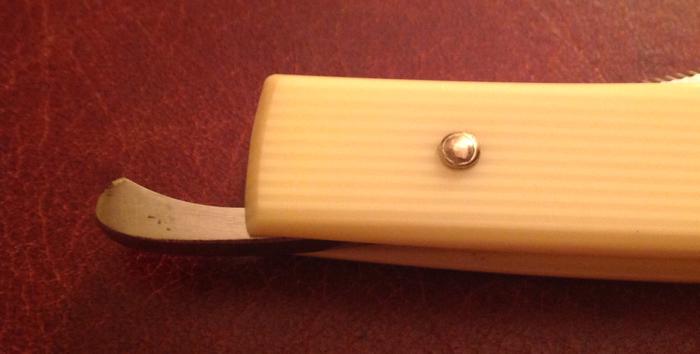
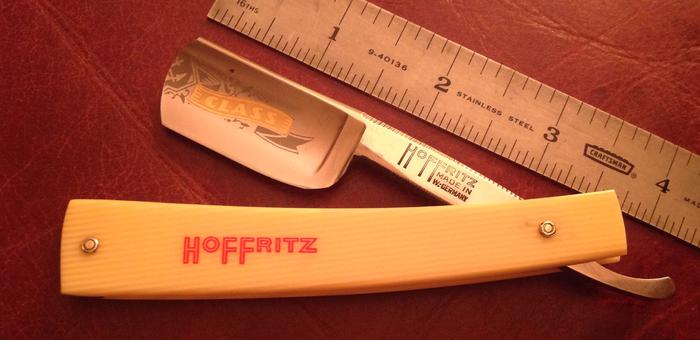
Just restored one of my first razors. Blade was broken. Unpinned, used stop pin location and re pinned. Working on honing it and try to shave. Anybody ever used a razor this short to shave with?
-
The Following User Says Thank You to BillyByars For This Useful Post:
MikeT (07-07-2015)
-
07-07-2015, 11:43 AM #1192

That must have been a fun job, seeing such good results us always nice! You and engine 46 just made these razors look so cool! Seen them at antique stores, never got one, now I'll keep my eye open for them and also the replacement leather and hones, maybe at least to pass on..
-
07-07-2015, 11:49 AM #1193
-
07-07-2015, 11:52 AM #1194
-
07-07-2015, 12:02 PM #1195Junior Member

- Join Date
- Jul 2015
- Location
- Clarkesville,Ga
- Posts
- 12
Thanked: 4
Once the pivot and spacer pins were removed, I taped the scale together. Measured and marked the same length(1/2") for the end. Used a hacksaw to cut. Shaped the end of the scale(while still taped together) with rotary sander.
-
The Following User Says Thank You to BillyByars For This Useful Post:
Geezer (07-07-2015)
-
07-07-2015, 02:31 PM #1196

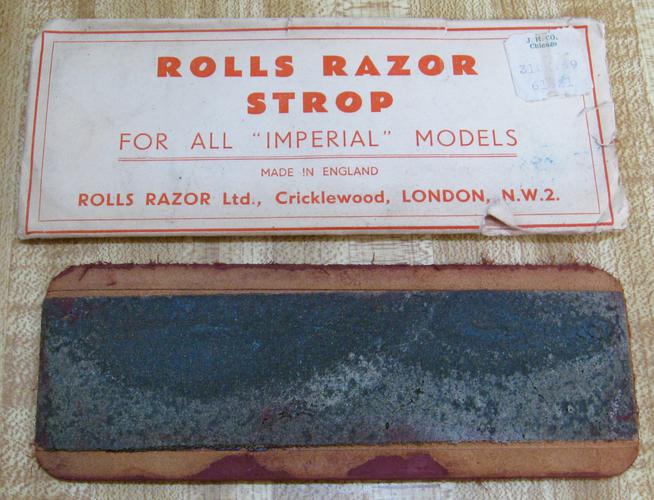
Roll's info
Last thing on the page was
""Avoid slamming the blade on the hone!""
The hone will breakdown over time and there will be a little crater under the blade edge, coming and going. That reallydoes a number on possible smoothness of shave.
Do a lot of stropping strokes after honing, the hone is quite coarse!
~RichardBe yourself; everyone else is already taken.
- Oscar Wilde
-
The Following User Says Thank You to Geezer For This Useful Post:
BillyByars (07-07-2015)
-
07-07-2015, 09:50 PM #1197

Substance
The back side has something like a pad under it. It isn't sticky in any way. If it were a glue pad, it might have dried up over the years. I took the strop from one of my others & it didn't seem to stick as it is made exactly to fit in the lid portion. That is one question that remains unanswered but it could just be a pad because if it were removed, it might sit lower in the lid but at the same time, it could have been a double sided sticky piece to hold it in place.
-
07-11-2015, 05:08 PM #1198Junior Member

- Join Date
- Jul 2015
- Location
- California
- Posts
- 3
Thanked: 0
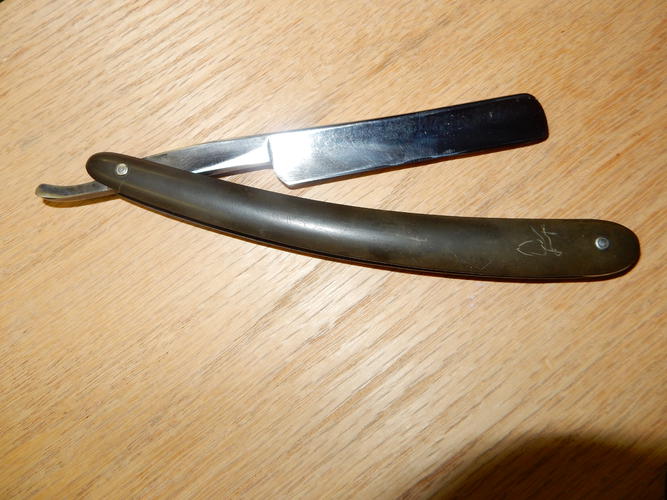
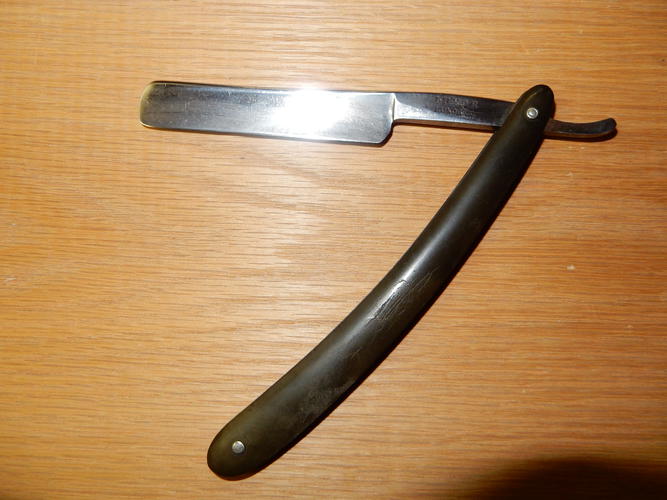
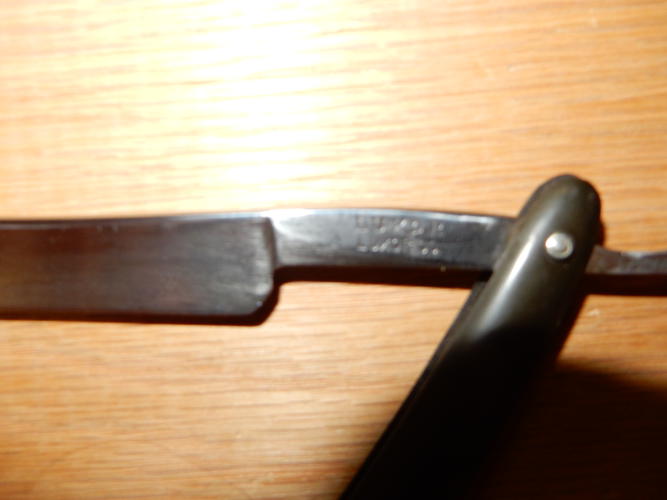
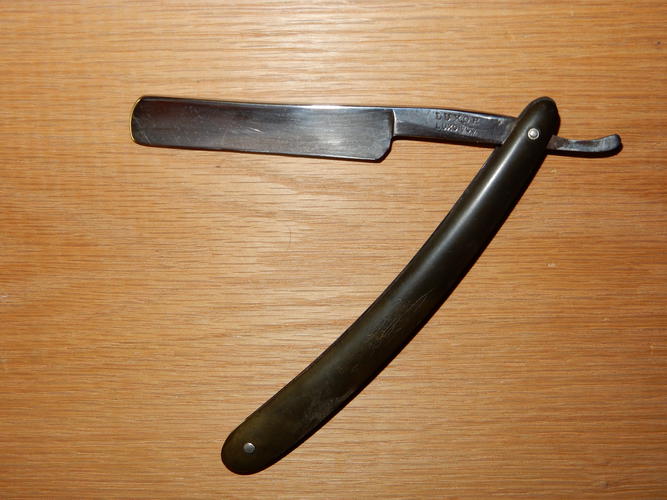
Okay. So this is a new one for me. Typically I work construction yada yada. I enjoy refurbishing knives swords guns furniture what have you. My friends say i have a particular knack for sharp objects. But this is my first straight razor restoration. I didn't take any pictures before, which typically is my S.O.P. Please forgive me I dropped the ball on this one. Its not perfect. You can still see a couple divitts near the blades edge. had you seen it Before you would have seen the rust that had taken over nearly the whole blade and the edge that was. Well it looked like some with turrets and Parkinson's took a dermal to it using the coarsest wheel they could find. as you may tell it's still not perfectly straight. I used a series of wet/dry sand paper ranging from 400-1000. hit it with the buffer for a little bit. Followed by a few wet stone I have the final one being 3000. Then to finish i have a very finely lined synthetic strop that I believe did justice. I used this razor right after completion. Now Im sure i will get yelled at for this, so here it goes. Using soap and water only it didn't tug, cut dig or pull once. That being said I believe it turned out nicely.
-
07-11-2015, 06:40 PM #1199

Scott133
Okay. So this is a new one for me. Typically I work construction yada yada. I enjoy refurbishing knives swords guns furniture what have you. My friends say i have a particular knack for sharp objects. But this is my first straight razor restoration. I didn't take any pictures before, which typically is my S.O.P. Please forgive me I dropped the ball on this one. Its not perfect. You can still see a couple divitts near the blades edge. had you seen it Before you would have seen the rust that had taken over nearly the whole blade and the edge that was. Well it looked like some with turrets and Parkinson's took a dermal to it using the coarsest wheel they could find. as you may tell it's still not perfectly straight. I used a series of wet/dry sand paper ranging from 400-1000. hit it with the buffer for a little bit. Followed by a few wet stone I have the final one being 3000. Then to finish i have a very finely lined synthetic strop that I believe did justice. I used this razor right after completion. Now Im sure i will get yelled at for this, so here it goes. Using soap and water only it didn't tug, cut dig or pull once. That being said I believe it turned out nicely.
You did well enough for a beginner. Like I always say, you never know unless you at least try. It will only get better the more you do it.
-
07-11-2015, 06:54 PM #1200

Hey! I work construction too.
It may be the shadows or angle but the blade looks like it has a bit of a frown. If it's shaving as it's supposed to then that's all that matters but I'd think about grinding back the blade edge to eliminate what looks like thinned out spots on the edge in the fist pic, if they don't go much further toward the spine.Than ≠ Then
Shave like a BOSS


 91550Likes
 LinkBack URL
 About LinkBacks


 Reply With Quote


