
Results 16,001 to 16,010 of 20573
 91474Likes
Thread: What are you working on?
 LinkBack URL
 About LinkBacks
-
04-14-2019, 03:51 PM #16001Skeptical Member


- Join Date
- Nov 2016
- Location
- Colorado Springs
- Posts
- 10,545
Thanked: 2194
I feel ya, Mike. I get to work on scales and slap a wedge in and say. OK, Almost done! But a lined wedge would look cool. But then I put them together. I'd love to hear about your idea on the wedge and not gain too much thickness. That's the one thing that sets me back.
Aaron, I too have an issue most the time of getting pics while working. Sometimes I remember, but most the time I'm just too excited about having a new project and forget. As they say, "Pics, Or it didn't happen". ScoutHikerDad and MikeT like this.It's just Sharpening, right?
Jerry...
-
04-14-2019, 03:55 PM #16002Senior Member


- Join Date
- Mar 2015
- Location
- Akron, Ohio
- Posts
- 12,070
Thanked: 4312
You can find the 3/4oz. glass, at RC hobby stores (remote control ). Its what's used for building the skin, on RC planes.
That 3/4 oz, is what a 3'x3' piece of the glass weighs.
I like to use T-88. Structural, Epoxy adhesive. Waterproof, and stronger than the polyester resin. And the fumes won't burst into flames, either.Mike
-
The Following User Says Thank You to outback For This Useful Post:
MikeT (04-14-2019)
-
04-14-2019, 04:04 PM #16003Razor Vulture

- Join Date
- Oct 2010
- Location
- Lone Star State
- Posts
- 26,121
Thanked: 8612
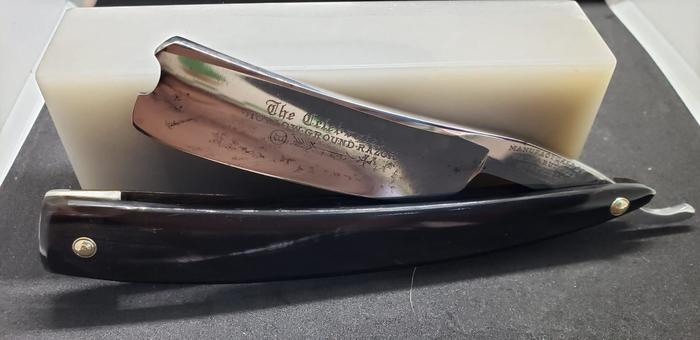
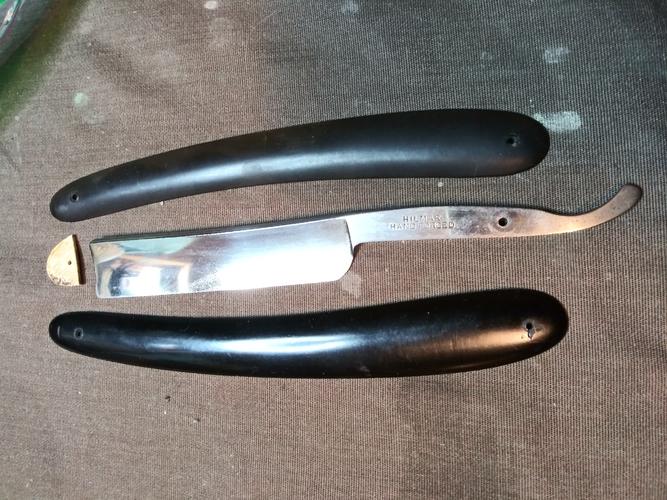
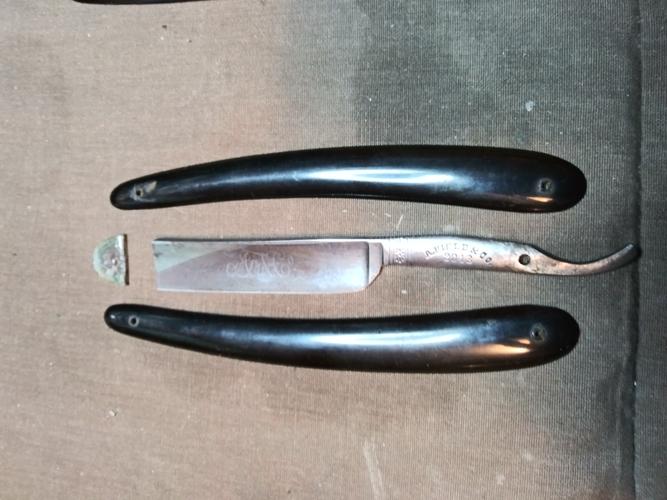
MikeT! Just how did you disassemble the razor?
MikeT likes this.
-
04-14-2019, 04:33 PM #16004Senior Member


- Join Date
- May 2010
- Location
- Upstate South Carolina
- Posts
- 3,308
Thanked: 987
Okay, I was going to wait and post this WB with its mirror-image brother in Austin's camel bone scales, but here goes. "Be gentle, it's my first time," lol. Originally Posted by RezDog

I left some character marks on the blade face, as the stamps were already kinda shallow. I swear it looks like some jackass tried to buff it with a sisal or even a wire wheel given the splayed scratch patterns-no way I'm trying to get through that!
So I left the bone piece a little too fat, and the scales are a little uneven. I also got a little too busy re-shaping the front end, but it was a learning experience. The lined wedge is a bit more work, and a mite fiddly putting it all together, but I think it lends a classy look to horn scales. All I see are my mistakes as usual.
One other thing on the horn scales: this was originally a feathered brown set, but I guess I took off all of the feathering as I thicknessed them down from the outside; all I had left is that white streak in the first photo. I think next time I will flat the outsides, flip them inside out, and thickness sand on the inside surfaces before flipping them around to finish-maybe that will save me more feathering?
Anyway, back to the Masters now; looks like a potential showdown between Tiger and Molinari. A-Aron out.There are many roads to sharp.
-
-
04-14-2019, 04:44 PM #16005Senior Member

- Join Date
- Feb 2015
- Location
- Duluth, GA - Atlanta OTP North
- Posts
- 2,546
- Blog Entries
- 1
Thanked: 315
Still looks like nice work Scout. I like the shape of the scales.
I wish I would have finished some projects with a few imperfections like that instead of just feeling like I needed to start from scratch and never putting them back together!!ScoutHikerDad and MikeT like this.- Joshua
-
04-14-2019, 05:01 PM #16006Senior Member

- Join Date
- Feb 2013
- Location
- Haida Gwaii, British Columbia, Canada
- Posts
- 14,443
Thanked: 4828
Looks good Aaron. Horn unlike manmade materials does not have even colouring. I have learned to put my slabs behind a bride light or sunlit window in an attempt to try to see which way the colour is moving, so I can plan my cuts and thinning. All in all I think you have done well. Some day I will get some material thin enough to do a lined wedge. I like that you are doing mirrors.
It's not what you know, it's who you take fishing!
-
The Following User Says Thank You to RezDog For This Useful Post:
ScoutHikerDad (04-14-2019)
-
04-14-2019, 07:45 PM #16007Senior Member
- Join Date
- May 2010
- Location
- Upstate South Carolina
- Posts
- 3,308
Thanked: 987
Thanks Shaun and Joshua-If I can just get consistent with my scale and wedge thicknesses, all my other elements are working I think. I think I just need to slow down and stop to check more frequently with the calipers!
There are many roads to sharp.
-
04-14-2019, 07:49 PM #16008Senior Member

- Join Date
- Jun 2015
- Location
- South Carolina
- Posts
- 1,838
Thanked: 516
Well, it's a twisted tale, long story, wrought with soul wrenching suffering, riddled with intrigue, drenched in irony. Originally Posted by sharptonn
There was a gypsy, two midgets and a working girl named Jasmine.
Long story short, steel pins and a bad temper!
Aaron, I've made the same mistake.
Mine was with wood. Depending on the wood, the design/pattern of the exposed surface can change dramatically with even very small amounts sanded off.
I always try to get the outside just right and then, like you said, bring it to thickness by removing from the inside.
When I cut blanks, I like to have them book-matched. Best way is to use the thinnest blade possible to cut those blanks, keep in mind that a bandsaw is a thin cut BUT if the blade is wandering side to side (not dialed in or low quality machine) then those gouges will need to be sanded out, which takes the blanks further away from "true" book matched.
This may sound obvious, but even with veteran woodworkers, it is not.
That sandwich looks excellent! Great job on your first!
 You must unlearn what you have learned.
Yoda
-
The Following User Says Thank You to MikeT For This Useful Post:
ScoutHikerDad (04-14-2019)
-
04-14-2019, 10:20 PM #16009Razor Vulture
- Join Date
- Oct 2010
- Location
- Lone Star State
- Posts
- 26,121
Thanked: 8612
That's what I thought.......... Originally Posted by MikeT

-
04-14-2019, 10:32 PM #16010Skeptical Member
- Join Date
- Nov 2016
- Location
- Colorado Springs
- Posts
- 10,545
Thanked: 2194
I got started just now on a couple simple projects. But now the wife wants to go to dinner. Blades are ok. User grade. The scales are rubber. One set i pulled out of the drawer and matched up from broken sets. A little different shaped so reshaping is in order. One also has the brown color so a complete sanding and reshaping is in order. The pins will end up close to the outside edge when they get matched up but good enough.
The other razor just needs the file marks taken off the scales so sanding should fix them. This will give me something to do tonight. Crossing my fingers all will be fine and pinned up tonight. Both are German blades and full hollow.It's just Sharpening, right?
Jerry...


 Reply With Quote