
Results 19,281 to 19,290 of 20602
 91550Likes
Thread: What are you working on?
 LinkBack URL
 About LinkBacks
-
03-13-2021, 03:51 AM #19281'with that said'


- Join Date
- Aug 2010
- Location
- Walla Walla in WA State USA
- Posts
- 11,260
Thanked: 4238
As always pics say more that words. With that said, I would presume according to your description the scales are glued at one end but there's a place for a pin??
Again, pics would be nice to help fill in the blanks.Last edited by cudarunner; 03-13-2021 at 04:30 AM. Reason: Don't know why I post saw when I mean 'say'
Our house is as Neil left it- an Aladdins cave of 'stuff'.
Kim X
-
03-13-2021, 03:55 AM #19282Senior Member
- Join Date
- Sep 2020
- Location
- Austin, TX
- Posts
- 653
Thanked: 56
I'll get some pictures tomorrow and report back, Originally Posted by cudarunner
 If you're wondering I'm probably being sarcastic.
-
03-13-2021, 04:10 AM #19283Senior Member


- Join Date
- Dec 2018
- Location
- Gainesville, FL
- Posts
- 6,875
Thanked: 683
Cool you are working on the same project I am especially since I bought collars from you for the one I am working on. Did you buy that one on the bay? You may have outbid me on that. If so glad someone here got it. Looks good so far. Originally Posted by ajkenne
 Iron by iron is sharpened, And a man sharpens the face of his friend. PR 27:17
-
03-13-2021, 04:14 AM #19284Senior Member

- Join Date
- Feb 2013
- Location
- Haida Gwaii, British Columbia, Canada
- Posts
- 14,457
Thanked: 4830
It’s been a while since I messed with scales with a bonded wedge. Is memory serves me correctly, I slipped the lower washer in and onto the pin, held the other washer on the blade with some sticky grease, likely Vaseline or possibly beeswax, jammed my thumb between the scales to open the slightly put the blade in and gently worked the pin through. It was a tad tricky, also my pin hole in the scales was tight so the pin wouldn’t drop out while monkeying around.
planeden likes this.It's not what you know, it's who you take fishing!
-
The Following User Says Thank You to RezDog For This Useful Post:
planeden (04-11-2021)
-
03-13-2021, 10:58 AM #19285Skeptical Member

- Join Date
- Nov 2016
- Location
- Colorado Springs
- Posts
- 10,559
Thanked: 2197
I peen one end of the pin. Put the pin thru the hole enough to get all parts on using long nosed plyers to get the washers in. Then finish putting it together. Its not a hard thing to do. The worst part about it is you dont have the ability to shift the wedge end around to help in lining up the blade. So go slow when peening and work the pin end the best you can to get alignment.
A little wider holes in the scales can give you some extra room for alignment if needed so test fit before going all in.Last edited by Gasman; 03-13-2021 at 11:02 AM.
It's just Sharpening, right?
Jerry...
-
The Following User Says Thank You to Gasman For This Useful Post:
planeden (04-11-2021)
-
03-13-2021, 11:57 AM #19286Senior Member

- Join Date
- Mar 2015
- Location
- Akron, Ohio
- Posts
- 12,118
Thanked: 4316
I use a Popsicle stick, slid down towards the wedge to hold the scales opened slightly. Then use a pair of tweezers to install the pivot washers during assembly. Originally Posted by planeden
Mike
-
The Following User Says Thank You to outback For This Useful Post:
planeden (04-11-2021)
-
03-13-2021, 04:48 PM #19287Senior Member
- Join Date
- Apr 2012
- Location
- Diamond Bar, CA
- Posts
- 6,553
Thanked: 3215
Use a large rubber eraser to separate the scales. Use the eraser to keep the scales in alignment while pinning the wedge side. I pin on a 6-inch piece of polished small gage railroad track. It is much easier to support the whole scale flat when pinning.
Once pinned tight or in you case, slide the eraser down to spread the scales to access the pin side and stack the pivot collars, thrust washer and blade, remove the eraser once stacked. I form the head on one side well enough to hold the collar, with the pin held in a drill press Jacobs chuck on the bench with the collar in place, then you only need to fuss with one end. Tweezers help. Once the pin head is formed on the other side, you can flip the pivot back and forth to form the pins equally and to the shape you are after.
If you are gluing scales together to make wedge-less scales, make sure to taper the wedge side to the proper angle and provide tension or the scales will not bow and be in tension, the pivot will continually come loose and be a pain to strop and you will have no control over where the blade will sit in the scales when closed.
It is pretty much test fitting by clamping and bolting the pivot to get the right blade height. You still need to measure and mark the blade thickness, with the blade in place where you want the blade to sit in the scales when closed.
I would make a wedge while the scales are flat, the thickness of the blade where the top of the scales mee the blade, and to the angle of the taper of the tang at the pivot.
Once the proper angle is established, grind the scales to the same angle as the test wedge and test fit, clamped and bolted. There is a lot more to a wedge than most folks think. Some planning and testing will pay large dividends in the functionality of the scales. Razor scales are much more than just handles or cover for the blade.
Lately I have been using thrust washer made from PETE, plastic from a water bottle, with a paper punch and small leather punch. They are slick, yet hold tension and do not stain like brass does, especially on transparent and ivory scales. A snap to make.Last edited by Euclid440; 03-13-2021 at 08:13 PM.
-
The Following User Says Thank You to Euclid440 For This Useful Post:
planeden (04-11-2021)
-
03-13-2021, 05:12 PM #19288Senior Member

- Join Date
- Jan 2011
- Location
- Lorton, VA
- Posts
- 349
Thanked: 153
Found the W&B FBU locally at an Estate sale. It is slightly less than a 17/16 measures 1.04". Was able to reuse its original wedge. Has a nice look to it. Originally Posted by PaulFLUS
Currently working on this blade reshape and straightening the scales on below old Sheffield, Barnes & sons. Previous bad honing caused frown and horn, very ugly. Has a nice smile now and hopefully I am able to get a nice shaving edge on it. May have to do some additional heel work to sit right on the stones.

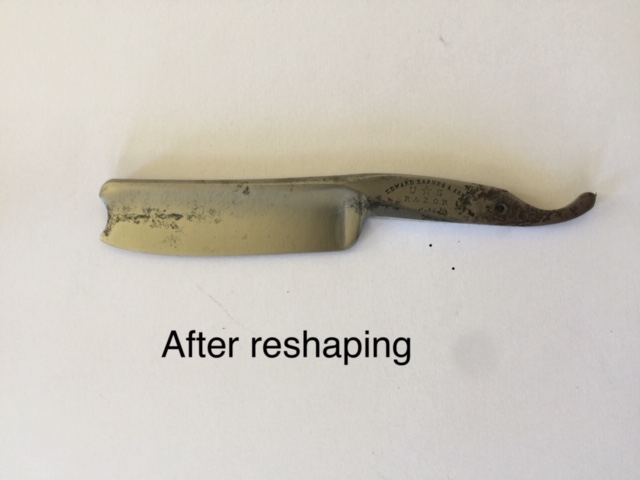
Last edited by ajkenne; 03-13-2021 at 05:14 PM.
-
03-14-2021, 11:59 PM #19289www.edge-dynamics.com

- Join Date
- Feb 2013
- Location
- London
- Posts
- 3,066
Thanked: 512
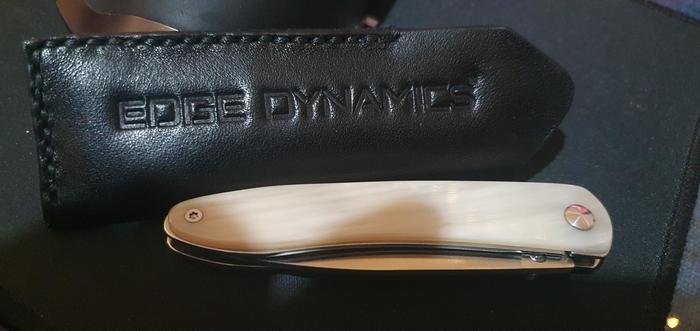
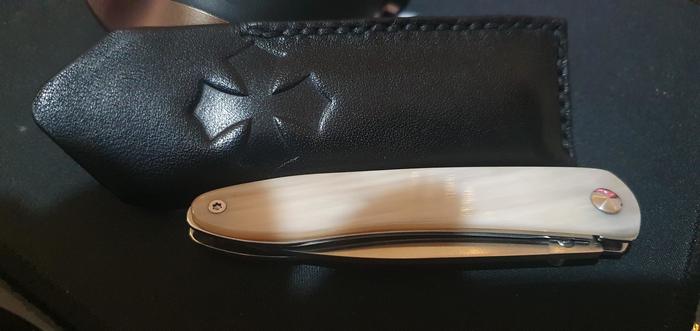
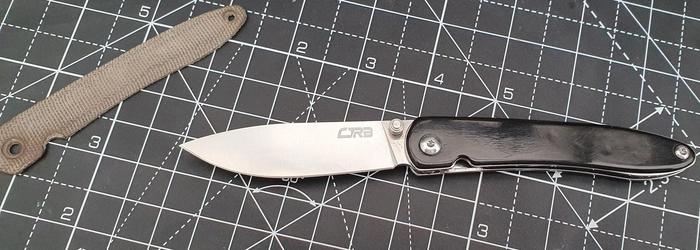
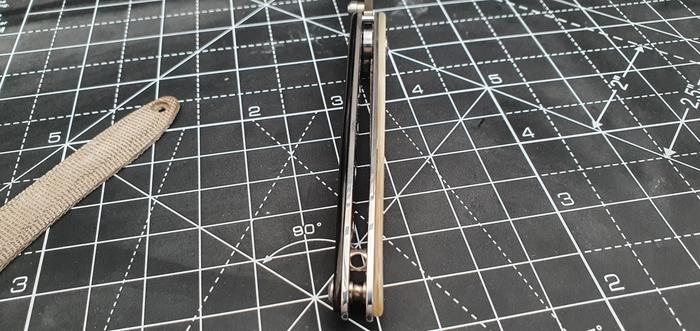
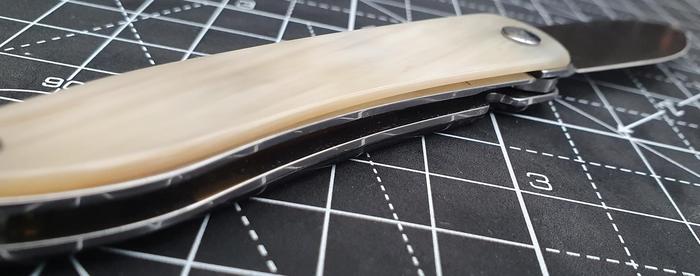
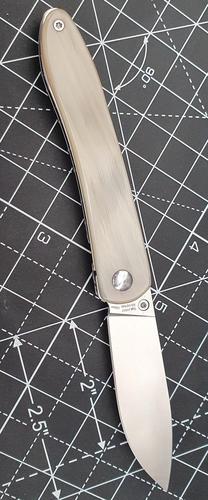
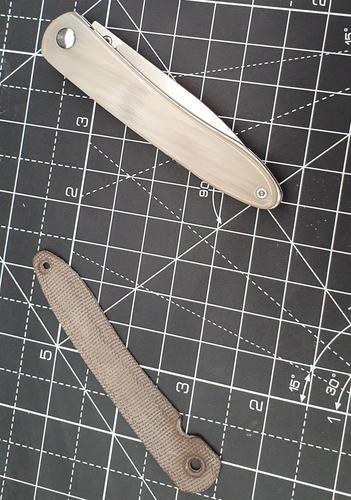
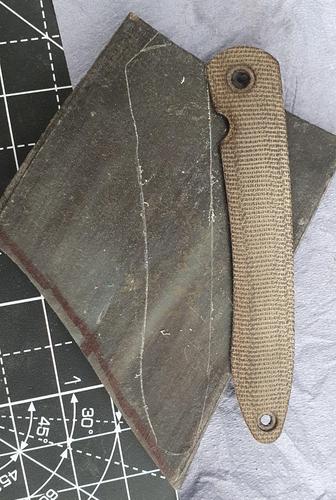
Today i changed the scales on the CJRB penknife.
It came with micarta which i replaced with Ox horn . White on one side and Black on the other. I could only spare that much white hence the multi colours. I was hoping the black would show some green but it was not to be.
Finally i made a little leather case..
Thanks and have a great week ...
-
03-31-2021, 03:20 AM #19290Senior Member
- Join Date
- Dec 2018
- Location
- Gainesville, FL
- Posts
- 6,875
Thanked: 683
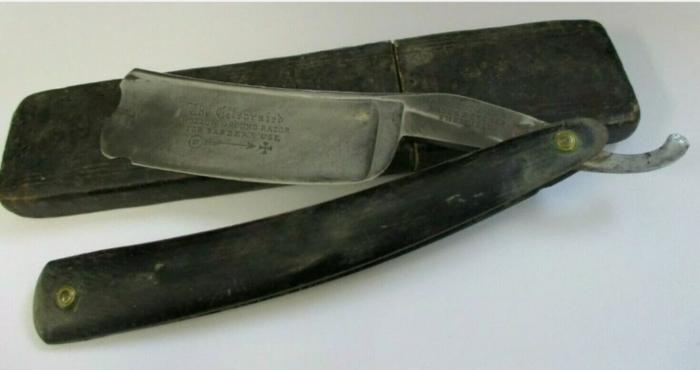
I've been holding off on posting about this project because I've wanted to wait for the big reveal...but I can hardly contain myself with the excitement.

I am so close to finished with it but I don't think I have ever been this stoked about a restoration project so, one little sneak peak.
Before
Almost after
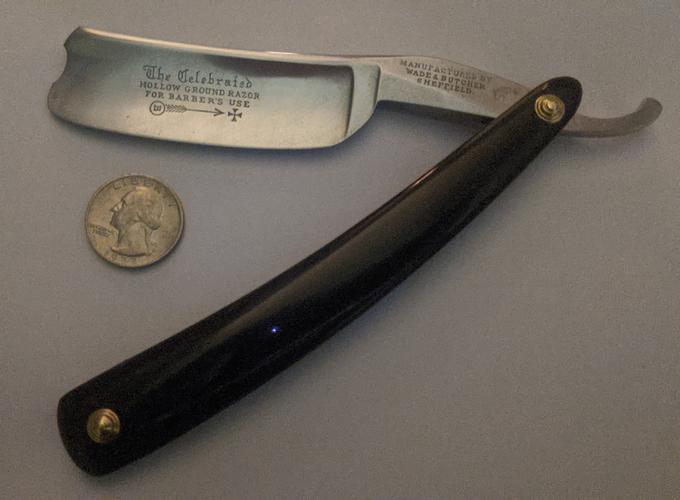
Once I get it completed I'll do a full post from start to finish.Iron by iron is sharpened, And a man sharpens the face of his friend. PR 27:17


 Reply With Quote