
Results 19,341 to 19,350 of 20573
 91473Likes
Thread: What are you working on?
 LinkBack URL
 About LinkBacks
-
05-04-2021, 09:26 PM #19341Senior Member


- Join Date
- Feb 2013
- Location
- Haida Gwaii, British Columbia, Canada
- Posts
- 14,448
Thanked: 4829
Do we have matching SOTD pics coming up soon?
Its looking good Tom. The end of a long road is near.It's not what you know, it's who you take fishing!
-
05-04-2021, 10:32 PM #19342Razor Vulture

- Join Date
- Oct 2010
- Location
- Lone Star State
- Posts
- 26,144
Thanked: 8616
Yes, you did a fine job on these scales, Shaun. They give this old blade the rustic home it needed. Originally Posted by RezDog

Love me some picbone! IIRC, this was your first set and (typically) I hollered MINE!!!!
So let's see if I can follow my cruddy pictures. We have some newer guys here who might get a chuckle out of how I pin.....
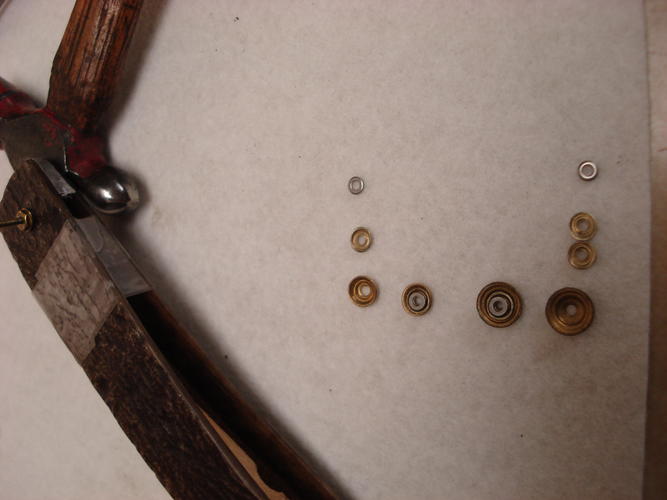
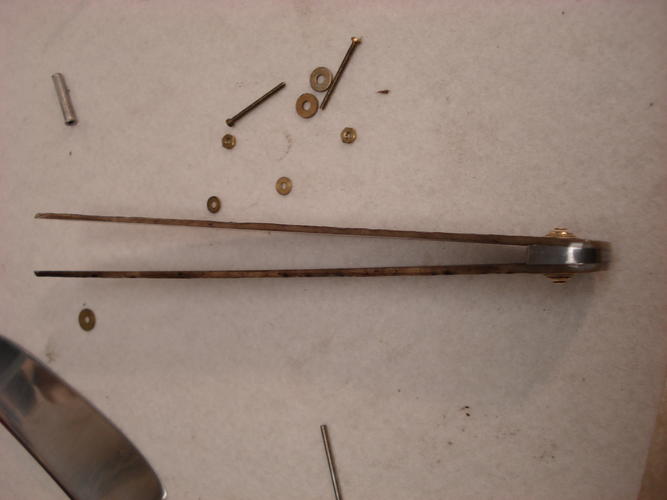
I used Austin's Greaves style collars which are quite deep. He donated them to me for this project. About time, eh?
I wanted lots of support under to keep things tight and not smush the collars as-peening, so I used 2 of his nickel silver regular collars under along with 1 tiny stainless washer for the bigs and one regular and one stainless tiny under the littles.
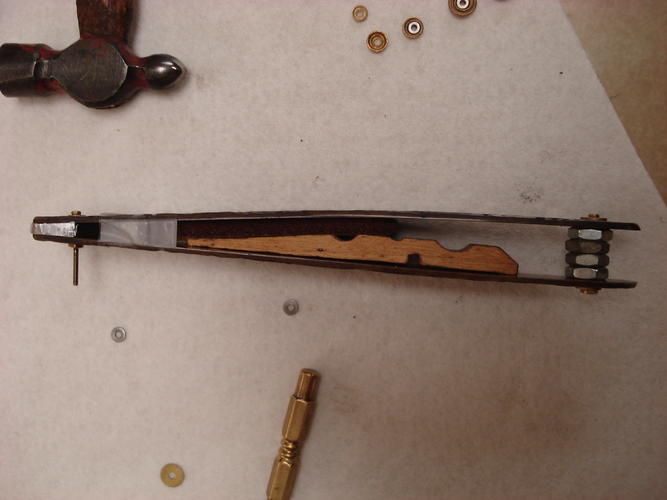
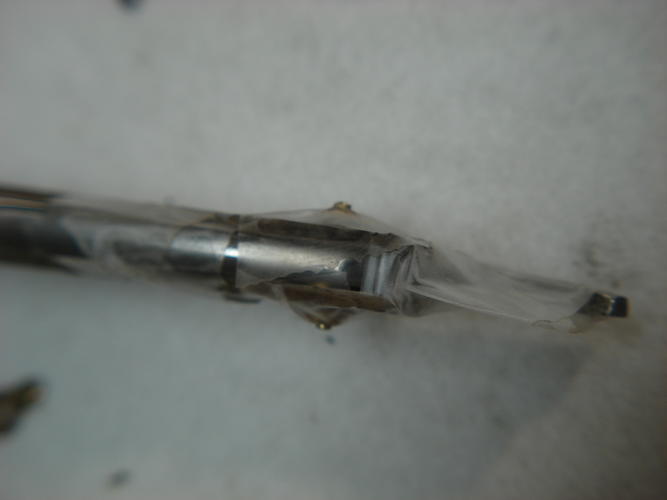
First, I trimmed the wedge somewhat and sanded it fairly close. Took the blade out and substituted some nuts to get some of the spread in so I can pin the wedge tightly to the angle. I shoved half a clothespin and a scrap of leather in the middle. Cuts down on harmonics as I peen. Taped it all up tightly.
Then I could pull the nutsy-boltsy out and install my pin, stack my washers and secure them with tape on both sides. Used a Dremel drum to dress the pin down like I wanted it..

Time to pin, but I see one of my 'guests' set their beverage on my peening anvil.
A small break to hit it with a vibrating sander and the buffer!
-
The Following User Says Thank You to sharptonn For This Useful Post:
planeden (05-05-2021)
-
05-04-2021, 10:44 PM #19343Razor Vulture
- Join Date
- Oct 2010
- Location
- Lone Star State
- Posts
- 26,144
Thanked: 8616
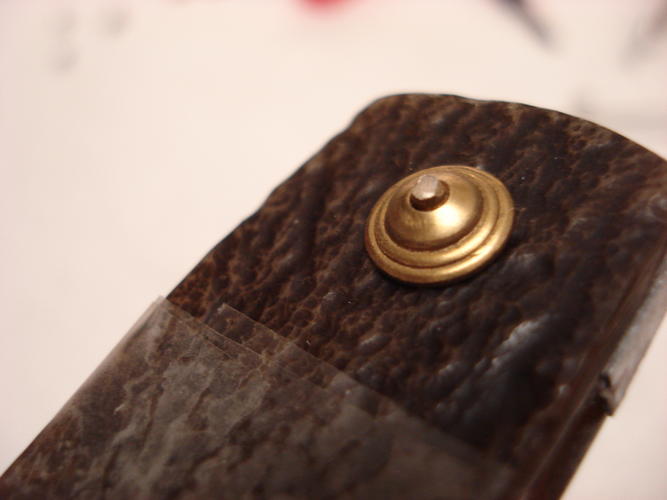
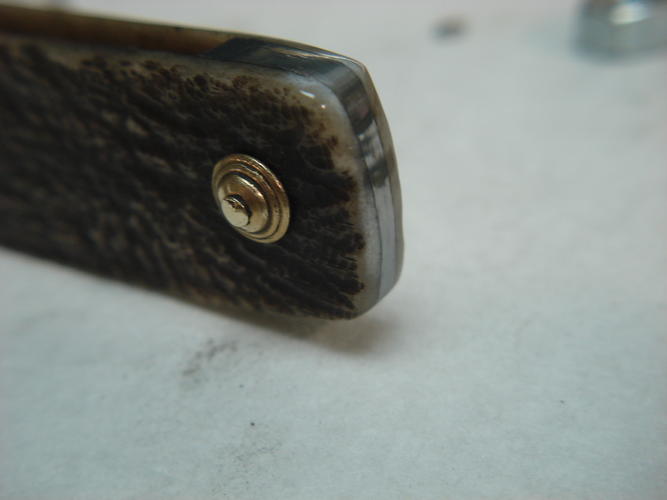
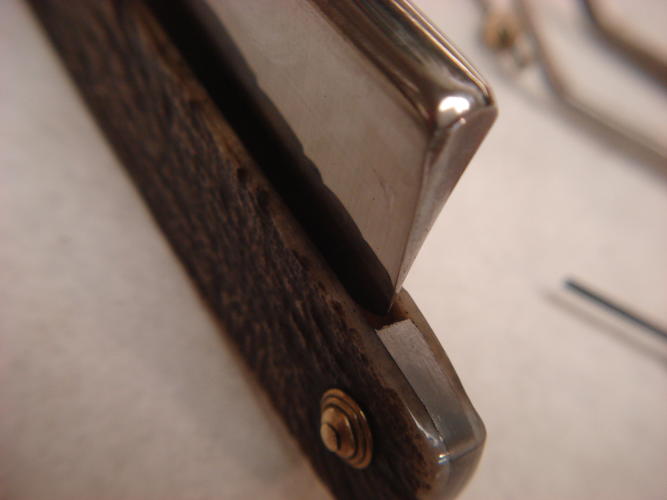
So after pinning the bottom, I filed and sanded the wedge, polished it a bit. Got through Shaun's dye job, so I will just sand lightly around all the edges and buff them a bit to match. Looks like wear on the edges? Patina!
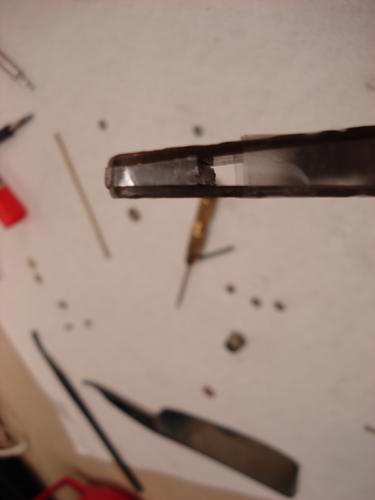
Released the top screw. BOY thatsa big wedge! A big blade I suppose....
Pretty much the same deal at the top. Installed the blade and spacers, nutsy-boltsied them up and taped the whole thing tight.
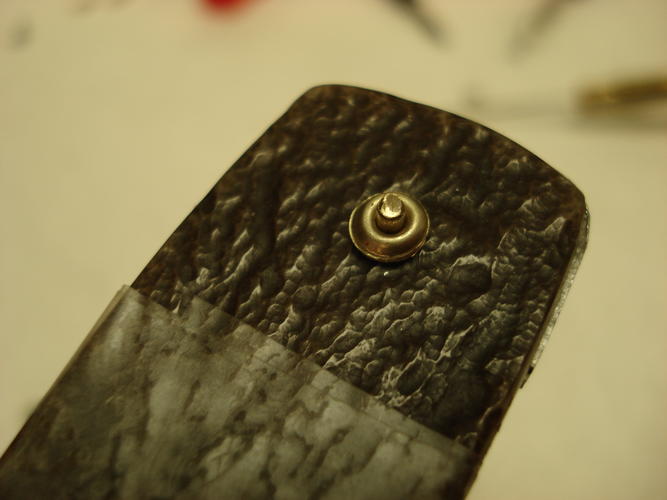
Pulled the hardware, installed my pin and collars. Sized the pin and pinned the top. Some buffer to take the edges off the peens.
Notsobad?
-
05-04-2021, 11:59 PM #19344Senior Member

- Join Date
- Feb 2018
- Location
- Manotick, Ontario, Canada
- Posts
- 2,801
Thanked: 557
That blade looks like it always lived in those scales. Fantastic work!
David
Shared sorrow is lessened, shared joy is increased
― Spider Robinson, Callahan's Crosstime Saloon
-
The Following User Says Thank You to DZEC For This Useful Post:
sharptonn (05-05-2021)
-
05-05-2021, 12:14 AM #19345~ Life is but a Dream ~

- Join Date
- Dec 2014
- Location
- Oakham, Ma.
- Posts
- 3,844
Thanked: 1218
Tom, I love the patina you are doing around the edges.
Gives it a nice contrast and just makes it look more interesting.
Pete <:-}outback likes this."Life is short, Break the Rules. Forgive quickly, Kiss Slowly,
Love truly, Laugh uncontrollably, And never regret ANYTHING
That makes you smile." - Mark Twain
-
The Following User Says Thank You to petercp4e For This Useful Post:
sharptonn (05-05-2021)
-
05-05-2021, 12:15 AM #19346Senior Member

- Join Date
- Mar 2015
- Location
- Akron, Ohio
- Posts
- 12,095
Thanked: 4312
Very nice indeed.
Looks heavy, how's the balance.
-
The Following User Says Thank You to outback For This Useful Post:
sharptonn (05-05-2021)
-
05-05-2021, 12:28 AM #19347Razor Vulture
- Join Date
- Oct 2010
- Location
- Lone Star State
- Posts
- 26,144
Thanked: 8616
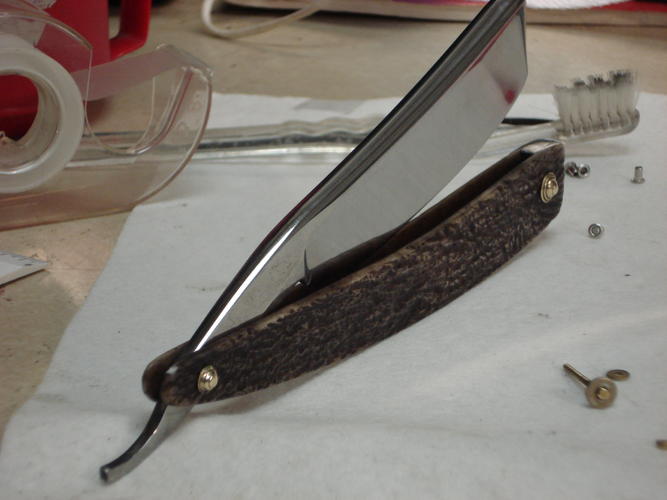
Balance? Notsobad! About like an axe. Looks like 3/4 the way up the tang from the pivot.
I always say better blade-heavy than scale heavy!
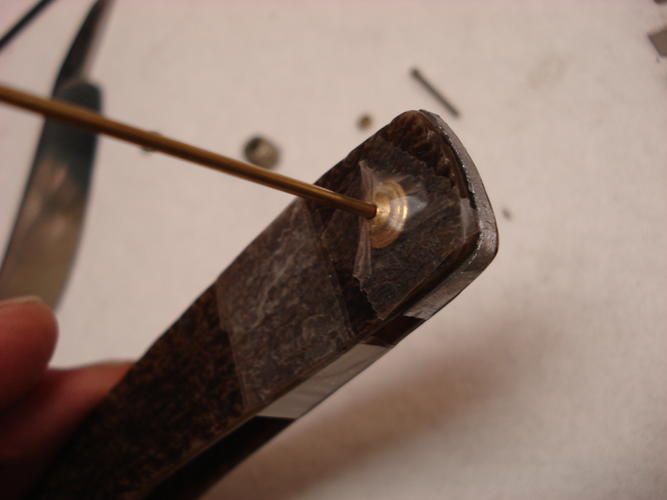
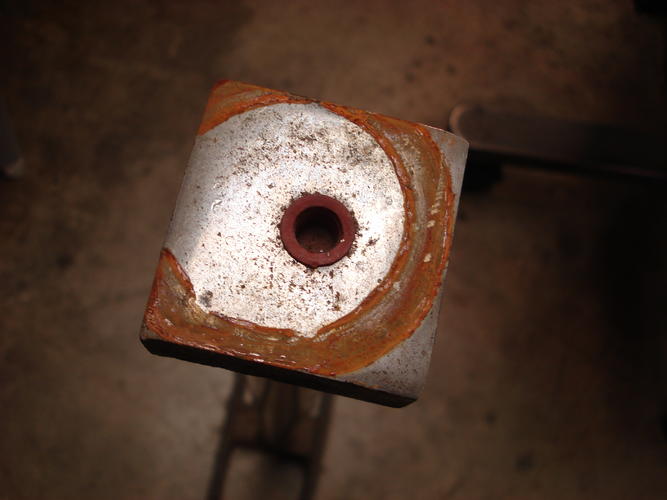
I have decided to unpin the top and put an offset hole pivot bushing in that big pivot hole to push the blade back.
It slides forward on the tang taper and the tip hits the wedge. Just a bit will do it.
Should have done that.... No sweat. These things happen!
That would also help the balance I think? Nah!
Nah!
Last edited by sharptonn; 05-05-2021 at 01:02 AM.
-
05-05-2021, 01:55 AM #19348Senior Member
- Join Date
- Feb 2013
- Location
- Haida Gwaii, British Columbia, Canada
- Posts
- 14,448
Thanked: 4829
Looking good Tom.
I’m looking forward to the finally.sharptonn likes this.It's not what you know, it's who you take fishing!
-
The Following User Says Thank You to RezDog For This Useful Post:
sharptonn (05-05-2021)
-
05-05-2021, 02:08 AM #19349Razor Vulture
- Join Date
- Oct 2010
- Location
- Lone Star State
- Posts
- 26,144
Thanked: 8616
Good things take time!
I am stoked to have it this far. Shoving the blade back is my forte. Just a bit.
Having more lead out back is best. I have used the holy hacksaw blade on the inside of the wedge in the past.
Not here.
If anyone is curious, I will post it as I do it. You old-timers might need to laugh again?
Otherwise, I will share the results. Just a bit...
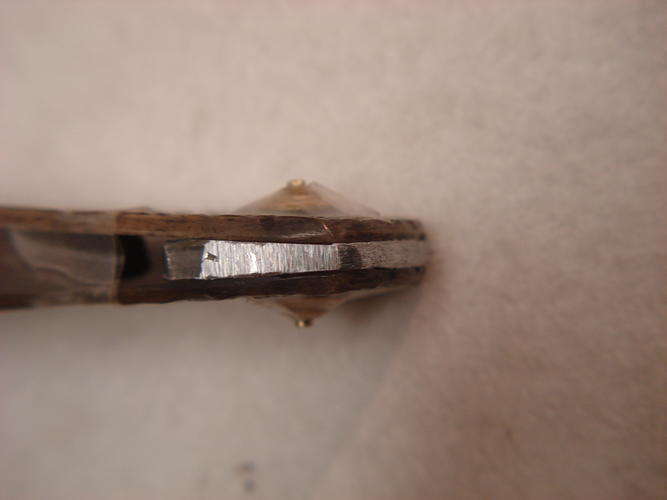
Ok. It worked-out great!
Before..
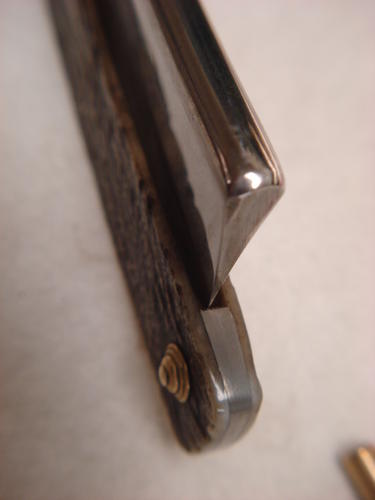
And After
Closes center too!
Now for that pearl-scaled Joseph Elliott.Last edited by sharptonn; 05-05-2021 at 03:38 PM.
-
05-09-2021, 04:43 AM #19350Senior Member
- Join Date
- Feb 2013
- Location
- Haida Gwaii, British Columbia, Canada
- Posts
- 14,448
Thanked: 4829
I started some Herder 49 scales in horn. They are shaped but I still have a bit of work ahead of me. The horn is pretty cool but so hard to photograph.
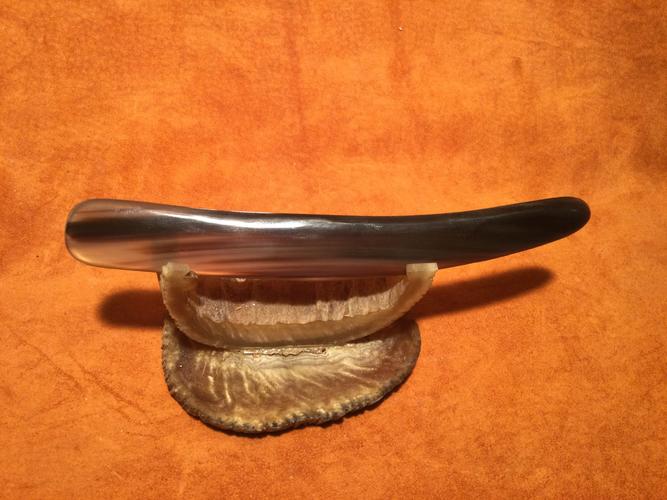
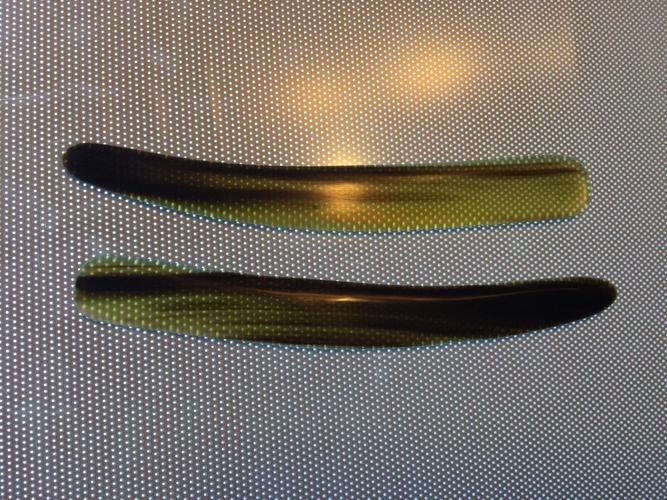
I have a collection of very cool horn that I really need to get dressing some blades.It's not what you know, it's who you take fishing!


 Reply With Quote