
Results 3,821 to 3,830 of 20573
 91473Likes
Thread: What are you working on?
 LinkBack URL
 About LinkBacks
-
06-12-2016, 01:05 AM #3821Senior Member


- Join Date
- Mar 2015
- Location
- Akron, Ohio
- Posts
- 12,107
Thanked: 4313
Drill it out by hand once you get the collar off.
 jmercer likes this.Mike
-
06-12-2016, 01:13 AM #3822I love Burls....... and Acrylic

- Join Date
- Mar 2012
- Location
- Baden, Ontario
- Posts
- 5,475
Thanked: 2284
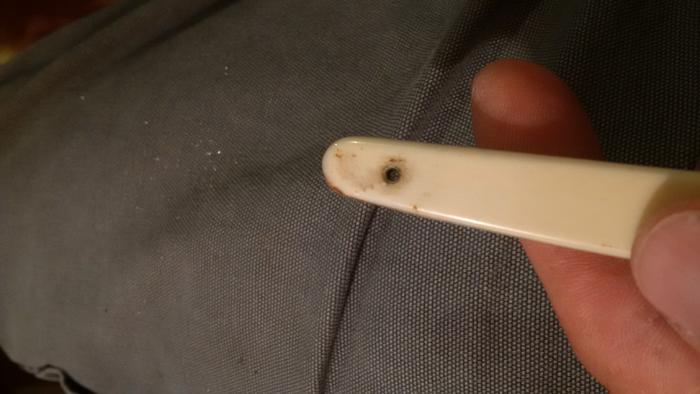
Blades out with 100% success.... Now for the wedge end.
 Burls, Girls, and all things that Swirl....
-
06-12-2016, 01:25 AM #3823I love Burls....... and Acrylic
- Join Date
- Mar 2012
- Location
- Baden, Ontario
- Posts
- 5,475
Thanked: 2284
Got er.
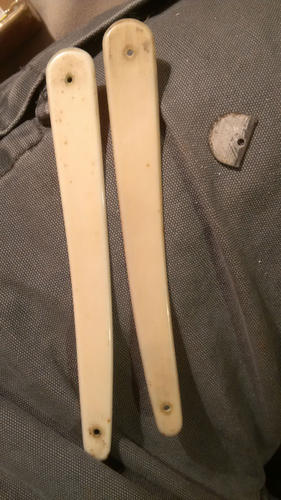
now into some peroxide.Burls, Girls, and all things that Swirl....
-
The Following User Says Thank You to HARRYWALLY For This Useful Post:
outback (06-12-2016)
-
06-12-2016, 01:35 AM #3824
When I drill them out, I first put something like a few layers of tape around the pin to protect the scales from any accidents. I then try to make the surface flat to make my mark & start my drilling. I used to use a file to make it flat but I found by using my belt sander & looking down the side was more accurate. I make a nice flat area & making sure of course the opposite end is on the anvil, I tap it with my center punch & carefully drill.
You seem to be doing alright Andrew.
-
06-12-2016, 01:44 AM #3825I love Burls....... and Acrylic
- Join Date
- Mar 2012
- Location
- Baden, Ontario
- Posts
- 5,475
Thanked: 2284
I almost do the same Steve. I flattened the pin down flush with the very thin DE blade. Then marked the middle of the pin with an awl and began drilling with a cordless and a 1/16th bit very slowly. Once it's down past the face of the scale, I go up a bit size and ever so slowly drill the top away. I have a larger hole drilled in my anvil, just large enough that the pin can nest freely into it. Then I can take a very fine tipped punch and every so gently tap until it starts moving.
Burls, Girls, and all things that Swirl....
-
06-12-2016, 01:44 AM #3826Senior Member

- Join Date
- Aug 2015
- Location
- Montreal
- Posts
- 853
Thanked: 128
You are right it is taking much longer than I had expected. I'm giving up for tonight and going to bed. Back at her tomorrow Originally Posted by outback

-
06-12-2016, 02:01 AM #3827Senior Member
- Join Date
- Mar 2015
- Location
- Akron, Ohio
- Posts
- 12,107
Thanked: 4313
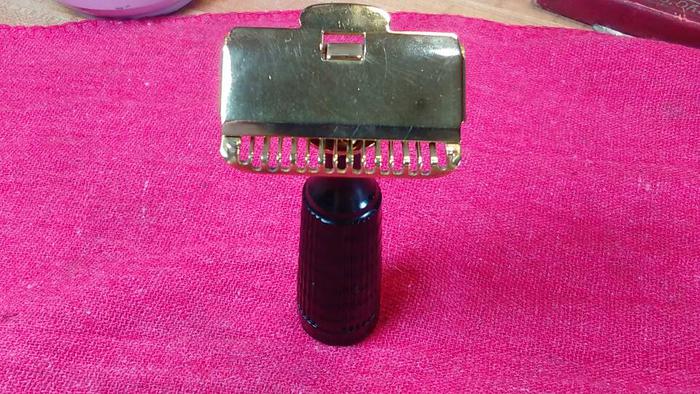
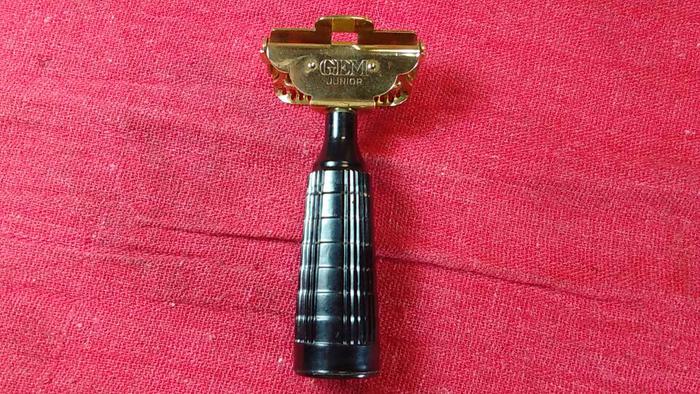
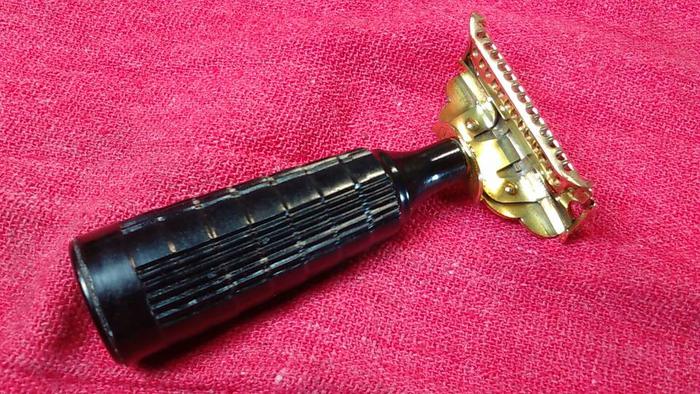
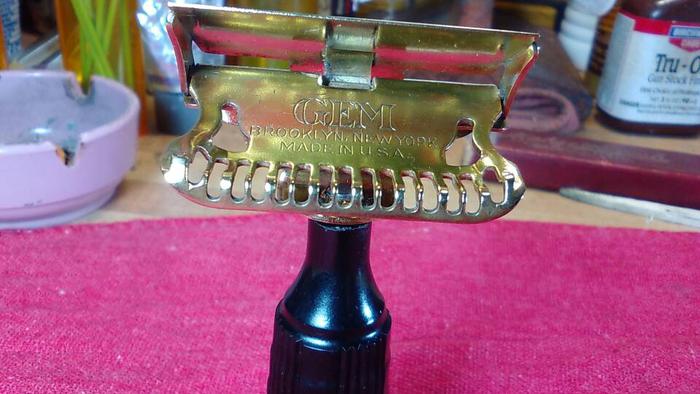
Figured I'd clean up this little Gem, between the straights.
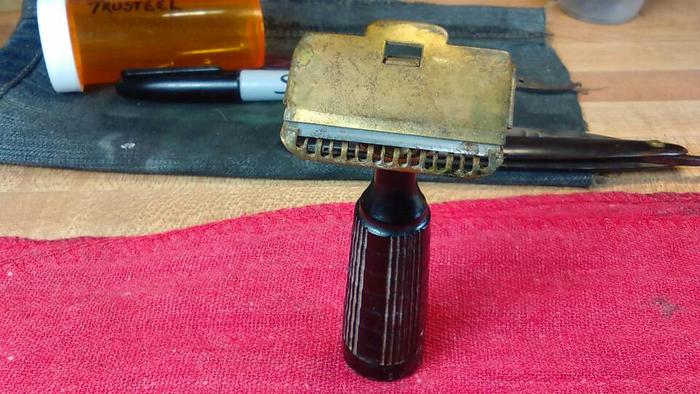
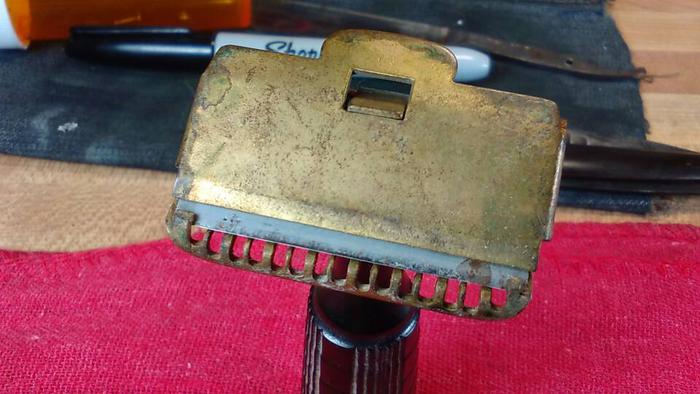

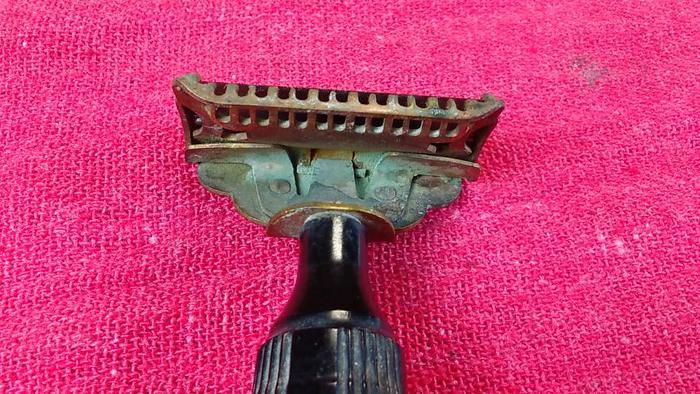
Like it just came out of the box.!!
 Mike
Mike
-
The Following User Says Thank You to outback For This Useful Post:
Hirlau (06-12-2016)
-
06-12-2016, 02:10 AM #3828
Yep, pretty much same here. I have a 1" piece of key stock & it has a few 1/16" holes in it (different depths) for putting a head on one side before pinning so they won't fall off one end. If using collars, I put one in the appropriate hole & put a head on it to keep the collars when pinning a razor. It keeps ya from calling it all kinds of names & such plus makes the job so much easier. And like you, I use my cordless drill. I just got the battery back for it from getting it rebuilt because it is a Snap On but I have a Makita for backup. I found a place that will rebuild your batteries for your cordless tools using high quality batteries. I would have rebuilt it myself but for $41.50 free shipping & 1 year warranty, I couldn't go wrong. The prices differ for the type of battery you have. Originally Posted by HARRYWALLY
I also have different drill bit sizes larger & smaller than 1/16". It comes in handy when you have an assortment of bits for what you are doing. On some razors, they may be so old that they have never been unpinned so I will sometimes lube it as long as the lube doesn't harm the scales & let it set for a few minutes. Lube is your friend.Last edited by engine46; 06-13-2016 at 12:33 AM.
HARRYWALLY and outback like this.
-
06-12-2016, 02:50 AM #3829I love Burls....... and Acrylic
- Join Date
- Mar 2012
- Location
- Baden, Ontario
- Posts
- 5,475
Thanked: 2284
I'll be borrowing your technique with the painters tape around the pin when it's time to pin a new blade in them. don't want any unwelcome scratches.
Burls, Girls, and all things that Swirl....
-
06-12-2016, 02:51 AM #3830I love Burls....... and Acrylic
- Join Date
- Mar 2012
- Location
- Baden, Ontario
- Posts
- 5,475
Thanked: 2284
holy smokes Mike, nice work! Originally Posted by outback
Burls, Girls, and all things that Swirl....
-
The Following User Says Thank You to HARRYWALLY For This Useful Post:
outback (06-12-2016)


 Reply With Quote

