
Results 10,941 to 10,950 of 20601
 91547Likes
Thread: What are you working on?
 LinkBack URL
 About LinkBacks
-
09-27-2017, 02:37 AM #10941Senior Member


- Join Date
- Oct 2015
- Location
- Knoxville,IA
- Posts
- 2,368
Thanked: 762
So while I have been playing with my lathe and getting my wood room set up I glued a couple blanks for bowls hopefully lather bowls and been turning some cherry. Pretty excited to get this finished and play with some new finishes. Can't decide on linseed with carnuba wax or CA. Going to get some teak oil soon as well as true oil. Eventually into acrylics.
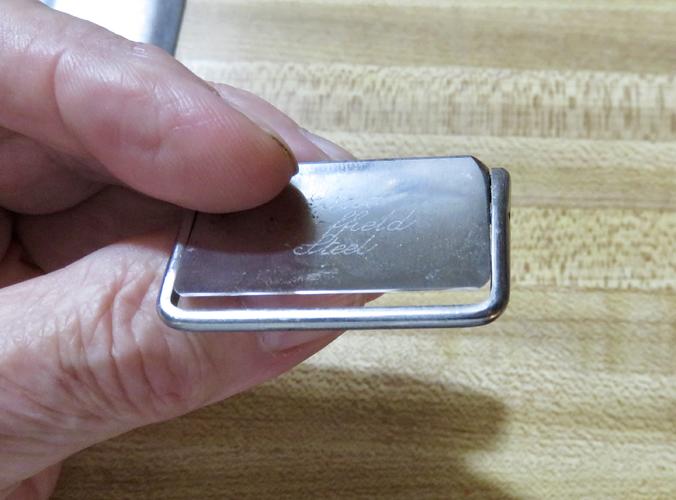
Next up is the Wade and Butcher FBO I acquired awhile back.

 Nothing is fool proof, to a sufficiently talented fool...
-
09-27-2017, 02:40 AM #10942Senior Member
- Join Date
- Dec 2015
- Location
- North Dakota
- Posts
- 1,455
Thanked: 250
All I can tell you Tom is that I bought the thing on flea bay. I bought the "Diller" and the "Osborne and Garret" from the same vendor together at the same time. Why did I buy them?.....Well, they both had top and bottom jimps, and something about the two just said, "PLEASE buy us together and PLEASE keep us together", so I did. I'm an old softy, what can I say? Originally Posted by sharptonn


-
-
09-27-2017, 03:17 AM #10943'with that said'


- Join Date
- Aug 2010
- Location
- Walla Walla in WA State USA
- Posts
- 11,258
Thanked: 4238
Nice work my friend! Originally Posted by ejmolitor37
Hmmm---That can looks really familiar hehehe

 Our house is as Neil left it- an Aladdins cave of 'stuff'.
Kim X
-
The Following User Says Thank You to cudarunner For This Useful Post:
ejmolitor37 (09-27-2017)
-
09-27-2017, 03:37 AM #10944Senior Member
- Join Date
- Oct 2015
- Location
- Knoxville,IA
- Posts
- 2,368
Thanked: 762
Yes Roy the can is familiar, though not so familiar these days for me. I thank my wife, I feel like Will Munny in Unforgiven at times. She has saved me from my wicked ways, some days just require a few drinks.
Nothing is fool proof, to a sufficiently talented fool...
-
The Following User Says Thank You to ejmolitor37 For This Useful Post:
cudarunner (09-27-2017)
-
09-27-2017, 04:36 AM #10945
First up. Excellent job on the scales Mike. I think most of us have that hard head syndrome!!!!
Eric, that handle is looking nice!
Oh yeah, I honed a Rolls blade in one of my sets.
I did it with the guard on it. Didn't affect it none.Last edited by engine46; 09-27-2017 at 04:39 AM.
-
09-27-2017, 05:01 PM #10946
Since they leave the guard on it in the kit, plus I looked at it with the tape on it like Tom did & the blade pivots inside the guard & I made sure the blade w/tape was touching & not the guard. It worked well & didn't chance losing the ball but Tom's idea is an excellent one should the guard touch. I also looked on the bay & they sell little balls as small as 2mm in case someone looses a ball. That didn't sound right......

-
09-27-2017, 05:29 PM #10947Member
- Join Date
- Oct 2016
- Location
- Rolla, MO
- Posts
- 33
Thanked: 11

This, I started wet sanding it a little last night, but don't want to take all it's character away by sanding it to a mirror finish.
Sent from my iPhone using Tapatalk
-
09-27-2017, 05:51 PM #10948Senior Member

- Join Date
- Mar 2015
- Location
- Akron, Ohio
- Posts
- 12,116
Thanked: 4315
Always finish sanding, by sanding from spine to edge.
Once you have it where you want it, toss it in a zip lock bag with a bit of pure, neats foot oil. (2Tblsp) Put it in a shallow dish, should the bag leak, and place on a window sill for a few days while you start your next project. Then you can pull it out, wipe it off, clean up the collars, snug up the pins, hone and enjoy.
OTT. Its lookin good.!!
Set um up...knock um down. [emoji6]Mike
-
The Following 2 Users Say Thank You to outback For This Useful Post:
Geezer (09-27-2017), TorreyTorrent (09-27-2017)
-
09-27-2017, 06:15 PM #10949Senior Member

- Join Date
- Nov 2016
- Location
- Somewhere in Mass.
- Posts
- 320
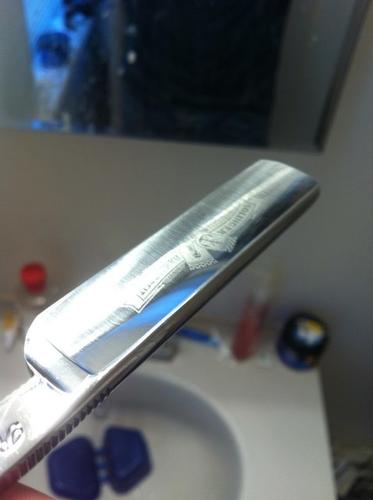
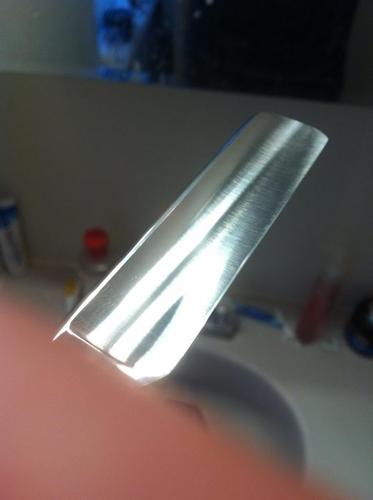
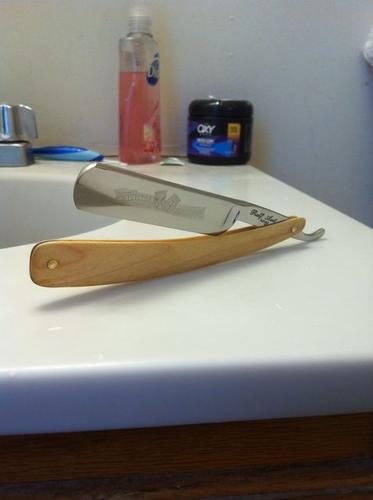
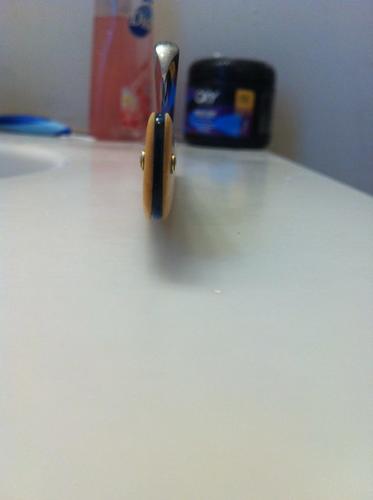
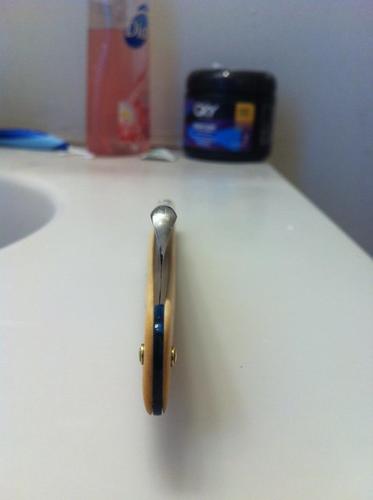
Thanked: 80 2nd Re-Scale Job
Well figured I would share my second re-scale job. This was more practice working with wood before the nice stuff gets here. Everything was made from scratch even the shape. Where as my first one I copied the original shape and wedge.
I used hard red leaf maple finished with boiled linseed oil, and polished with #0000 steel wool between coats approx 4 till it stopped soaking in. The wedge was made with some blue w/ black swirl plastic from an old set of knife handles. The taper is damn near perfect, and the blade has the same tension through its entire range of motion.
My only complaint is I made them just a touch on the light side, still balances well just a hair lighter than I would have preferred. Oh and the razor is a Ralf Aust 5/8's round point, the cheap one with plastic scales. What a great shaver though.
I also did a polished brush look and I think it came out awesome. I used 600 grit W/D with a cork going from spine to edge really carefully and then polished the tops of the ridges w/ Mothers to the desired effect.
 "If the brakes don't stop it, something will"

-
-
09-27-2017, 07:12 PM #10950
That's very nice for your 2nd job plus it's a lot better than the plastic scales!!!!
Great job!


 Reply With Quote


