
Results 11,261 to 11,270 of 20574
 91475Likes
Thread: What are you working on?
 LinkBack URL
 About LinkBacks
-
10-18-2017, 09:57 PM #11261Razor Vulture


- Join Date
- Oct 2010
- Location
- Lone Star State
- Posts
- 26,168
Thanked: 8617
One thing about it, Tim. The things will make hot lather for EVERYONE!

-
10-18-2017, 10:54 PM #11262Skeptical Member


- Join Date
- Nov 2016
- Location
- Colorado Springs
- Posts
- 10,554
Thanked: 2195
Just showed the pic to the wife and explained it to her and she didnt fall for the wedge o'matic. Damn, now i feel really dumb. Guess ill.continue making them by hand.
It's just Sharpening, right?
Jerry...
-
10-18-2017, 11:36 PM #11263Senior Member


- Join Date
- Mar 2015
- Location
- Akron, Ohio
- Posts
- 12,110
Thanked: 4314
Aww, that will look sweet in some bog oak, shoe's. Originally Posted by sharptonn
 sharptonn likes this.Mike
-
10-19-2017, 12:14 AM #11264Razor Vulture
- Join Date
- Oct 2010
- Location
- Lone Star State
- Posts
- 26,168
Thanked: 8617
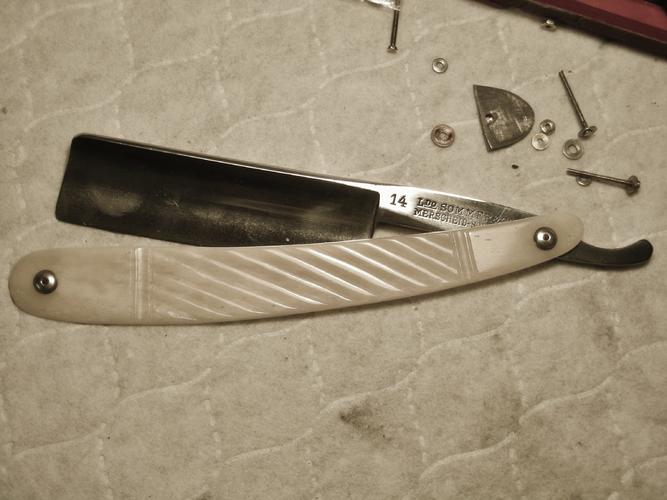
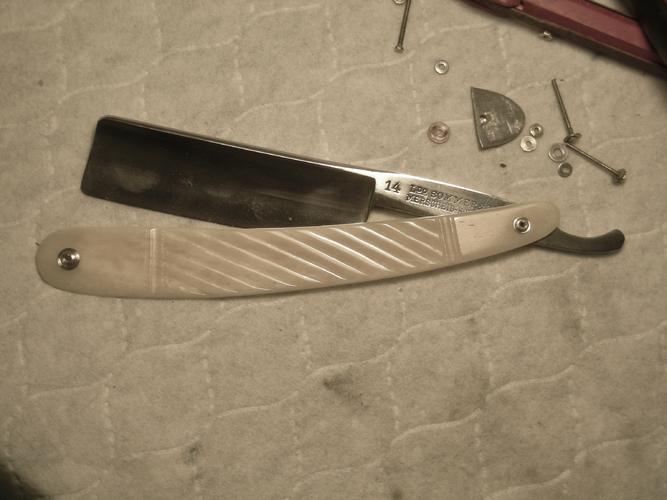
So my blade was WAY off-center as I test-fit it. Checked it on a flat surface with the thumb pressing down on the pivot point. Yep. Tang and blade are not the same on both sides.
Not wanting to grind on the tang, I did something I have done before on bone scales.
If the scales were horn or plastic. lots of things could be done.
However, bone does not bend much, so altering the angle of the tang is necessary somehow.
Some grind on the scales, etc. Easy to take it off. Hard to put it back.
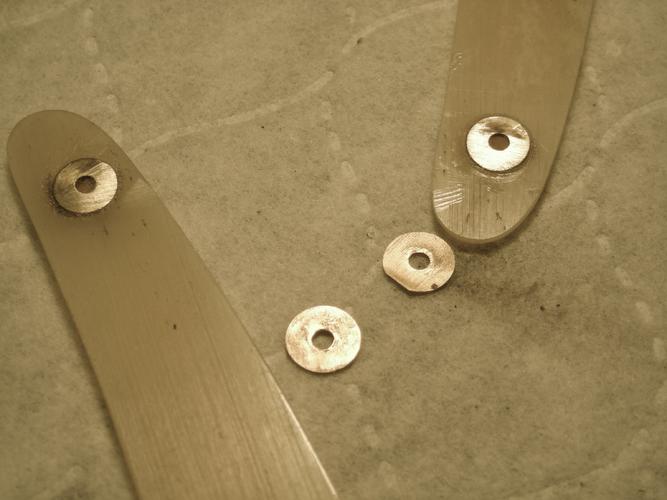
I did what I have done several times before with success. I roughed-up and CA'd some thickish brass spacers to the insides of the pivot holes and cranked them down with microscrews to set.
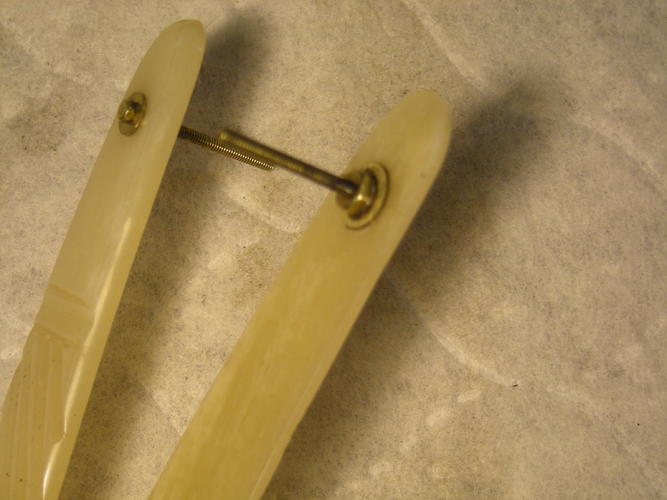
Then, sanding the washers at opposite angles on each scale to send the tang/blade over.
Some thin spacers to keep the tang off the scales as it is opened fully.
No matter how you do this the victory is the blade closing center.
The tradeoff is it will be a bit wonkey as-opened. Got to make certain the tang will not hit the top scale and the tail will not hit the opposite one as-opened.
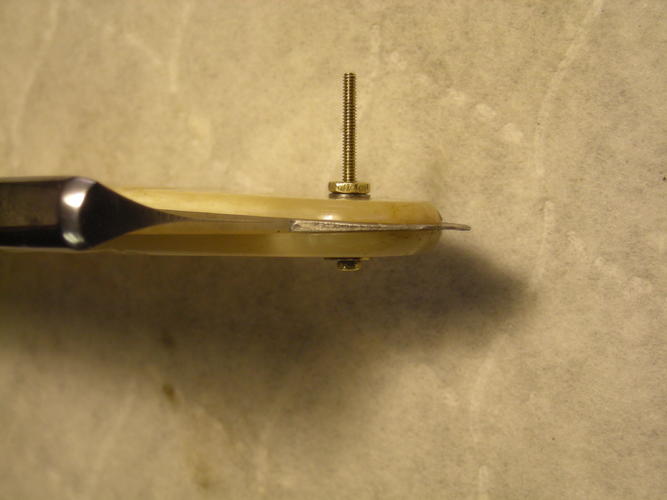
Oh well. Nothing seems to go easy for me!
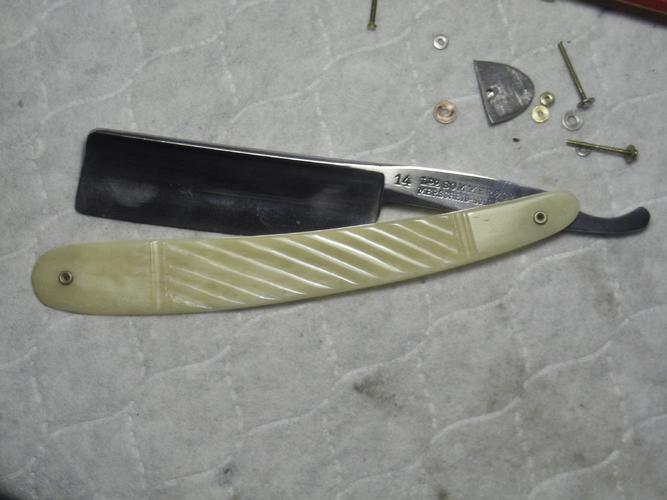
Time to pick some collars. Am leaning toward Austin's basic silver ones.
Will do some mocking-up of some others too.
-
-
10-19-2017, 01:03 AM #11265Captain ARAD.

- Join Date
- May 2011
- Location
- Pacifica, CA
- Posts
- 2,474
Thanked: 2227
With horn scales, I just bake the razor and scales in the toaster oven at 210 degrees for 45 minutes. Fixes'em right up! Originally Posted by sharptonn
-Zak Jarvis. Writer. Artist. Bon vivant.
-
-
10-19-2017, 01:13 AM #11266Razor Vulture
- Join Date
- Oct 2010
- Location
- Lone Star State
- Posts
- 26,168
Thanked: 8617
Have you tried that with bone or ivory, Zak?
I don't have the guts!
-
10-19-2017, 01:55 AM #11267Str8Faced Gent.


- Join Date
- Aug 2013
- Location
- Orangeville, Ontario
- Posts
- 8,463
- Blog Entries
- 1
Thanked: 4207
Hey Zach, try spraying your wedges with a bit of cooking spray before making your impressions, can wipe them clean with acetone after the jb cures. Originally Posted by Voidmonster
Also the stuff may be setting up quicker in the pipe than in free air due to the concentration in the pipe generating heat quicker than a smaller amount free in hand. Heat=cure and all.
Neat way to make wedge molds, I may borrow that idea buddy!

Just my $.02 sir.Last edited by MikeB52; 10-19-2017 at 01:58 AM. Reason: See others already suggested,, never post till you are all caught up,
"Depression is just anger,, without the enthusiasm."
Steven Wright
https://mobro.co/michaelbolton65?mc=5
-
10-19-2017, 03:33 PM #11268Senior Member

- Join Date
- Feb 2015
- Location
- Duluth, GA - Atlanta OTP North
- Posts
- 2,546
- Blog Entries
- 1
Thanked: 315
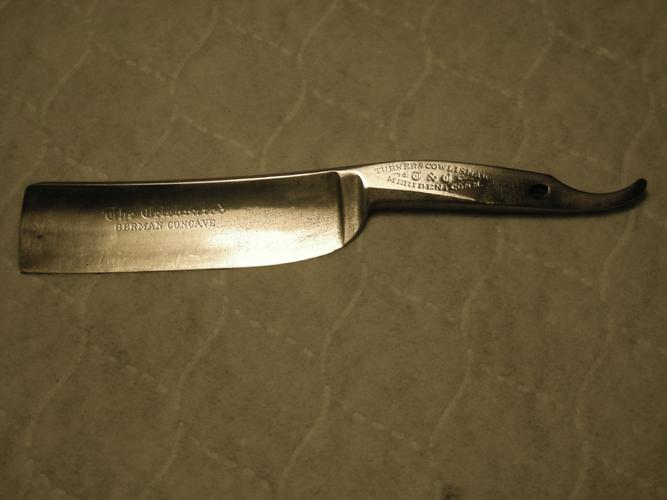
Now that I've looked at some similar Filarmonica 13 razors, they seem to have pretty straight edges. I don't know if this needs much/any smile to it. Originally Posted by Gasman
 .
.
-
10-19-2017, 05:15 PM #11269Skeptical Member
- Join Date
- Nov 2016
- Location
- Colorado Springs
- Posts
- 10,554
Thanked: 2195
I only have a 14 and the edge matches the spine. If its straight that will be fine but as someone else pointed out. A stra8ght edge is the closest point to a frown. Or something like that. Its yours and if your happy with the edge is all that matters. No need to make it smile if you dont want too. Many razors have straight edges.
It's just Sharpening, right?
Jerry...
-
10-19-2017, 07:17 PM #11270Razor Vulture
- Join Date
- Oct 2010
- Location
- Lone Star State
- Posts
- 26,168
Thanked: 8617
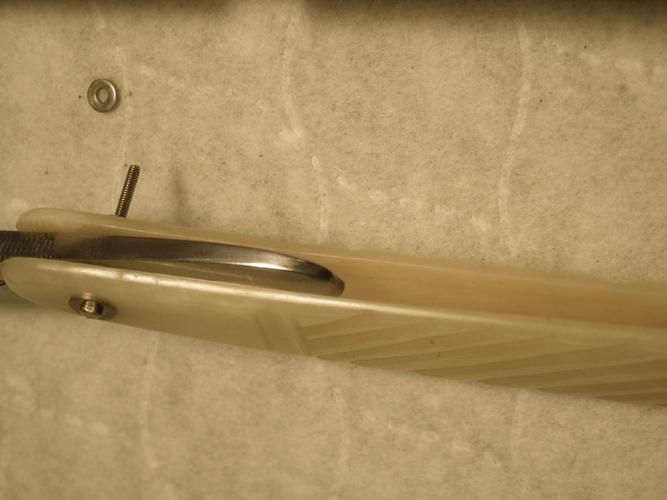
Otay...After what seems like bolting and unbolting 20 times, I am satisfied.
Swapping different wedges and even trying a spacer showed me a lot of my multiple issues after donning my 'Lord Dork' visor so I could actually see them.
My slanted outer spacers were not as effective until I oversized the pivot holes to 5/64.
The pin was too tight in the scales to 'lean' with my angles.
My angles were a lot overdone after this and some sanding a bit at a time of the angle out made the blade move over almost perfectly. It also kept the tail and tang off the scales quite a lot. I learned by 'bending' the scales with tapered wedges that one of my scales would naturally bow more than the other during closing causing the tang to be pushed-over on one side too much. Sanding the one scale where the tang contacted it as-closing did that trick. So after unassembling, sand sand sand on the scale and the spacers many times and reassembling, checking fit, it all got there. Thank Goodness!
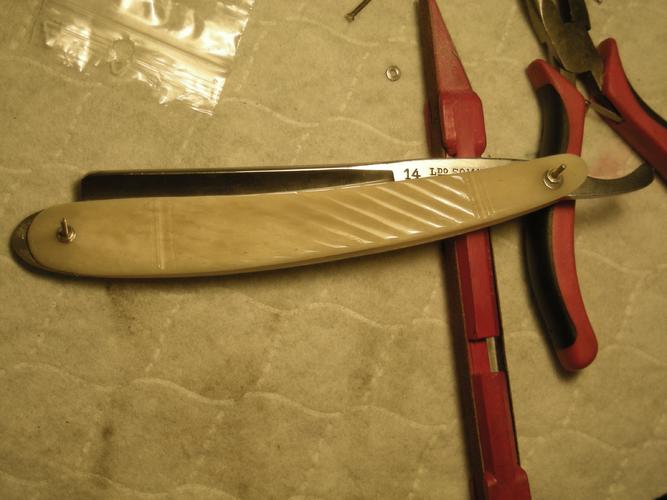
So mocking-up some collars. Austin's regular silver ones are always winners.
His stainless domes look nice, a bit 'Sheffieldy', though.
Also have some bigs and littles from the fellow in Europe. Kindof fancy them for these scales. Any opinions?
Last edited by sharptonn; 10-20-2017 at 02:06 AM.
-
The Following User Says Thank You to sharptonn For This Useful Post:
Hirlau (10-21-2017)


 Reply With Quote