
Results 14,081 to 14,090 of 20573
 91473Likes
Thread: What are you working on?
 LinkBack URL
 About LinkBacks
-
09-18-2018, 01:18 PM #14081

Where we get into trouble is...we say to ourselves that...'I can do this little bit up under the spine if I rotate the buff upward into it'...Ooopz!
The buffs and some of the other things may have longer threads that stick out a t high RPM. That is the major hassle. Those will catch the edge. Been there and done by that! Some problems are caused by the buff catching the cloth, etc. that you are buffing on. Get or make a magnetic jig.
A Harbor Freight buffer with aftermarket tapered threaded shafts can be a real winner. Using the small diameter felt wheels and 4" buffs does the trick.
Wait till you know that you are going to do more restoration work before investing in the buffer.
JMO,YMMV
~Richard
PS. The finer the polish grit the faster the heating effect is. Fat? polish will take much of the heat away with it...Usually.Last edited by Geezer; 09-18-2018 at 01:20 PM.
Be yourself; everyone else is already taken.
- Oscar Wilde
-
The Following User Says Thank You to Geezer For This Useful Post:
sonnythehooligan (09-18-2018)
-
09-18-2018, 01:24 PM #14082Senior Member


- Join Date
- Feb 2018
- Location
- Manotick, Ontario, Canada
- Posts
- 2,801
Thanked: 557
I bought the Dremel stand that looks like a drill press. It allows you to fix the Dremel in position vertically, horizontally or anywhere in between and guide the blade with two hands. That eliminated a lot of the issues I experienced previously.
You are correct, the direction the wheel rotates has to be from spine to edge to avoid catching the edge and sending it flying or breaking off a chunk. From experience I learned you are going to throw a lot of stuff away from you or toward you depending on where you place the blade. Be prepared to put something behind the machine or be prepared to clean the wall behind your work surface. Regardless, wear eye protection.
The Dremel branded accessories can be expensive. I found a lot of off-brand alternatives on Amazon. I particularly like the Brillo pad-like scrubbing wheels. They are permanently mounted to their shafts and you throw the whole thing away when they are done. Relatively cheap in comparison to the Dremel alternative and great for removing rust or adding a satin finish to a blade.David
Shared sorrow is lessened, shared joy is increased
― Spider Robinson, Callahan's Crosstime Saloon
-
The Following 2 Users Say Thank You to DZEC For This Useful Post:
Geezer (09-18-2018), sonnythehooligan (09-18-2018)
-
09-18-2018, 01:40 PM #14083Senior Member


- Join Date
- Feb 2013
- Location
- Haida Gwaii, British Columbia, Canada
- Posts
- 14,448
Thanked: 4829
Both the tools can cause death to blades. Rotation direction and heat are the two big ones. I always buff and Dremel with bare hands so I can tell if the blade is getting hot. With junk blades to learn with, you will be able to get both tools figured out. I try to work on nicer blades these days, so the work is much shorter. On bad blades I used steel wool and WD-40 to start and then buff and then hand sand, and then back to the buffer and then polish by hand. I think that when a blade gets to a certain point you are better off with a belt sander than anything else, then hand sand then hand polish. Trying the really far gone blades is very good learning. Brad Maggard did a couple short videos that I watched a few times while beginning. It’s been so long since I did much . . .
It's not what you know, it's who you take fishing!
-
The Following 2 Users Say Thank You to RezDog For This Useful Post:
Geezer (09-18-2018), sonnythehooligan (09-18-2018)
-
09-18-2018, 04:26 PM #14084Skeptical Member


- Join Date
- Nov 2016
- Location
- Colorado Springs
- Posts
- 10,548
Thanked: 2194
What Richard said was the death of my blade. Sense then i havent used the dremmel much on blades. Bought a buffer. Still dont use it much either. I do most of my work by hand. A razor being thrown across the garage opened my eyes wide! Scared me!
It's just Sharpening, right?
Jerry...
-
The Following User Says Thank You to Gasman For This Useful Post:
Geezer (09-18-2018)
-
09-18-2018, 05:56 PM #14085Razor Vulture

- Join Date
- Oct 2010
- Location
- Lone Star State
- Posts
- 26,144
Thanked: 8616
Operator error is often corrected by mistakes.
Like anything else, some never learn..
A Dremel and a buffer are great tools for razor restoration at times.
Learning safety and what does NOT work is better gleaned from the experience of others here, such as Geezer's post above.
My spine and tang look much nicer now. Knowing when to stop and go to hand-work is key when using the power-tools, I feel.
Anyhoo, the scales are sanded and in the oil.
Reload!
-
The Following 4 Users Say Thank You to sharptonn For This Useful Post:
MikeT (09-18-2018), outback (09-18-2018), RezDog (09-19-2018), sonnythehooligan (09-18-2018)
-
09-18-2018, 07:39 PM #14086Senior Member

- Join Date
- Jan 2018
- Location
- Illinois
- Posts
- 277
Thanked: 47
Looks great, sharptonn!
Thanks for the advice, folks. It is appreciated!
-
The Following User Says Thank You to sonnythehooligan For This Useful Post:
sharptonn (09-18-2018)
-
09-19-2018, 07:36 PM #14087Razor Vulture
- Join Date
- Oct 2010
- Location
- Lone Star State
- Posts
- 26,144
Thanked: 8616
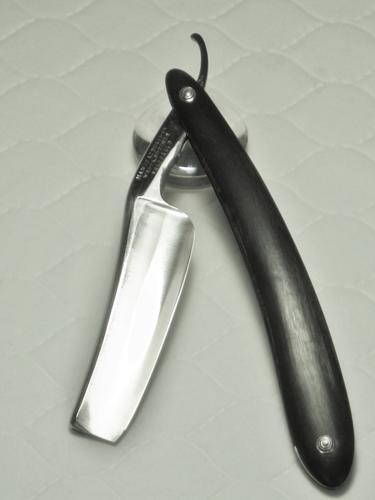
Got My razor assembled and honed last night.
Used some of Austin's silver collars. Nice and tight!
-
09-19-2018, 08:34 PM #14088Skeptical Member
- Join Date
- Nov 2016
- Location
- Colorado Springs
- Posts
- 10,548
Thanked: 2194
Great looking blade Tom. Love the curves it has.
sharptonn likes this.It's just Sharpening, right?
Jerry...
-
09-19-2018, 08:45 PM #14089Skeptical Member
- Join Date
- Nov 2016
- Location
- Colorado Springs
- Posts
- 10,548
Thanked: 2194
I was going to hold off on posting this one but...
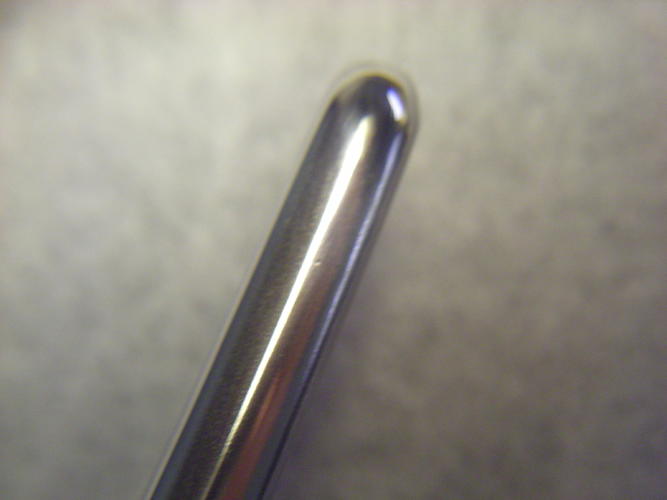
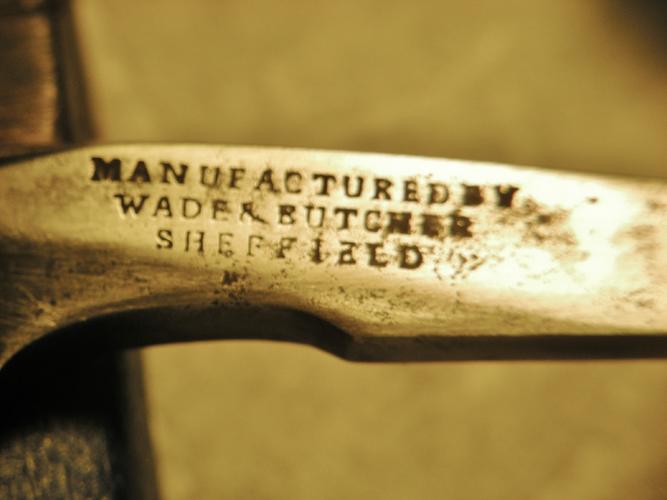
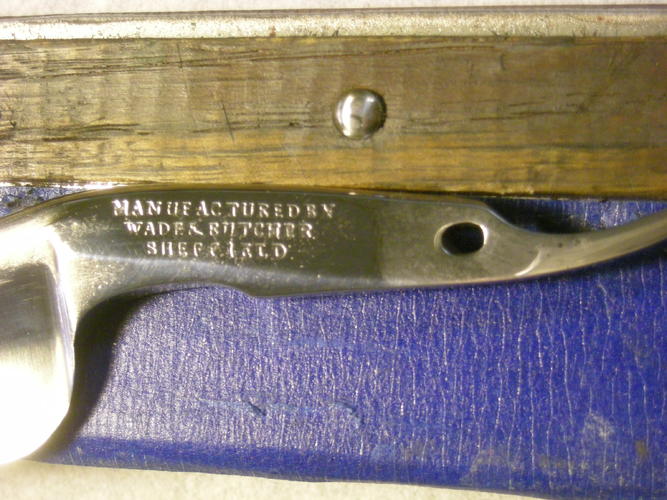
The French blade knowbody knows anything about. And right now i dont remember the name on it. Hope to keep original besides the pins. It had no collars. I thought that was odd for horn but...
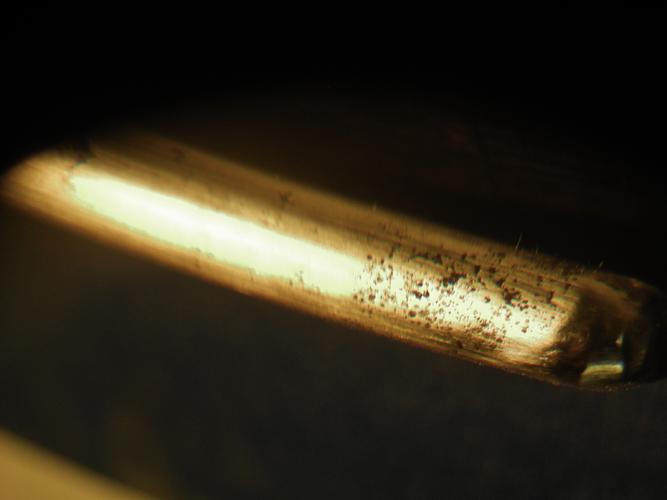
A few small bug bites pitting and devils spit so it would be nice to make it look like new ut we will see in the next few weeks.
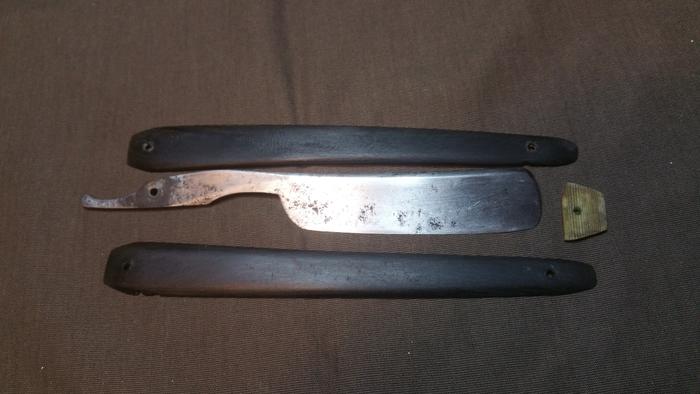
Phone is acting funny. Ill post more pics later.Last edited by Gasman; 09-19-2018 at 08:53 PM.
It's just Sharpening, right?
Jerry...
-
09-19-2018, 11:03 PM #14090Skeptical Member
- Join Date
- Nov 2016
- Location
- Colorado Springs
- Posts
- 10,548
Thanked: 2194
Having trouble uploading pics.
So, what kind of epoxy do you guys use to fill bug bites? Guessing its clear? I have some black horn bits i can get filler material from but will need to mix it with the epoxy. So im guessing 5 minute epoxy is out of the question. Ha.
Or would CA mixed with horn be better? Why pick one way over the other. I guess thats a good question too.It's just Sharpening, right?
Jerry...


 Reply With Quote