Results 14,291 to 14,300 of 20575
Thread: What are you working on?
-
10-11-2018, 02:08 PM #14291

You can do it, Sonny! Just don't make the pin too long!

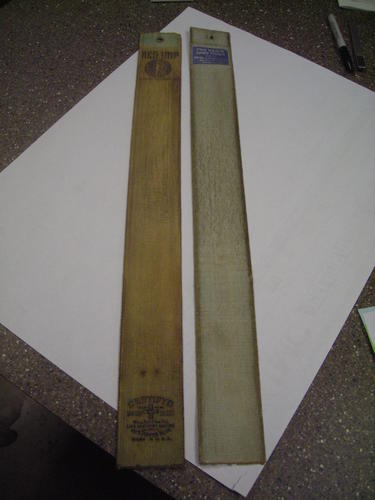
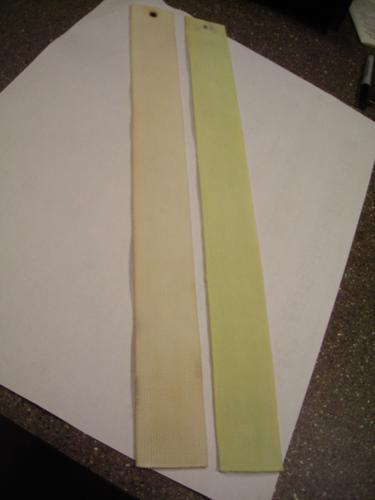
All clean and dry..Much mo better.
-
The Following 3 Users Say Thank You to sharptonn For This Useful Post:
Gasman (10-11-2018), MikeT (10-11-2018), sonnythehooligan (10-11-2018)
-
10-11-2018, 03:03 PM #14292Senior Member


- Join Date
- Feb 2013
- Location
- Haida Gwaii, British Columbia, Canada
- Posts
- 14,455
Thanked: 4830
A couple things about pinning. Tom hit the important one. The total amount of pin sitting above the collar should be around 1/16” or 1/32 per side.you can use a drill chuck to peen one side before you assemble the razor. The more shiny your hammer is will effect how shiny your peen is.
It's not what you know, it's who you take fishing!
-
The Following 2 Users Say Thank You to RezDog For This Useful Post:
sharptonn (10-12-2018), sonnythehooligan (10-12-2018)
-
10-11-2018, 03:10 PM #14293

What type of washer/collar are you using? Are they a tight fit to the pin? Makes a big difference as to how much pin needs to be protruding..
The idea is to have it peened-over nicely and the razor tight at the same approximate time. If too long, the pin may bend. Then it will never get tight.
1/16 is way too much, Rez!
-
The Following User Says Thank You to sharptonn For This Useful Post:
sonnythehooligan (10-12-2018)
-
10-11-2018, 03:12 PM #14294

I like using the mock- up screws.
Get the wedge pinned, but not totally tight. Then assemble the blade and thrust bearing into the scales with the mock-up screws, tighten them down pretty good, then some scotch tape on each side if the screw. Now remove the screw and install pin, trim and file to just above the collar. Bingo..! A few taps and its snugging up.Mike
-
The Following User Says Thank You to outback For This Useful Post:
sonnythehooligan (10-12-2018)
-
10-11-2018, 03:32 PM #14295Senior Member


- Join Date
- Feb 2013
- Location
- Haida Gwaii, British Columbia, Canada
- Posts
- 14,455
Thanked: 4830
I just measured my pin height gauge. It is 0.021” so it is slightly under 1/32” per side so 1/16” total is a wee bit bigger. I use that gauge for all of Austin’s collars and it works great.
It's not what you know, it's who you take fishing!
-
The Following 4 Users Say Thank You to RezDog For This Useful Post:
Gasman (10-11-2018), ScoutHikerDad (10-12-2018), sharptonn (10-12-2018), sonnythehooligan (10-12-2018)
-
10-11-2018, 03:47 PM #14296

So pinning is like honing is like everything else. Everyone does it differently.
The goal is the same, however.
Too long a pin is my nemesis. I have gradually cured myself!
-
10-11-2018, 03:55 PM #14297

I've messed up a couple pins before catching the mistake..
When making my wedge I made the wedge hole too big, so when tapping it, the middle of the pin bent with no support from the wedge hole. If it's snug all the way through it will help prevent that.
Though the most important is not hitting it hard.
I think it was Mike B52 who said you could use a spoon. ...
That is as hard as you should tap it.“You must unlearn what you have learned.”
– Yoda
-
The Following User Says Thank You to MikeT For This Useful Post:
sonnythehooligan (10-12-2018)
-
10-11-2018, 04:13 PM #14298
 “You must unlearn what you have learned.”
– Yoda
-
The Following User Says Thank You to MikeT For This Useful Post:
sharptonn (10-12-2018)
-
10-11-2018, 05:07 PM #14299

Nice work cleaning those Tom. Hard to believe they are the same ones.
Sonny, i think the last few posts on pinning was right on the money! Go by those comments and you should be fine. It dont take much of a peen to hold and the trick is like Tom said. Just enough peen and the scales tight at the same time. This is the hard part for me too. To short or too long is still an issue when i peen. But its getting better. When its bouncing when you peen, its bent. It just wont feel right. So take it out and start over. Done that a lot of times.
The scales look great.It's just Sharpening, right?
Jerry...
-
The Following User Says Thank You to Gasman For This Useful Post:
sonnythehooligan (10-12-2018)
-
10-12-2018, 12:01 AM #14300

Thanks, Guys....You would not want to put these nasty things in the washing machine.
Esp if the wife catches you!
This is certain to entertain!
So I have been piddling all day. At some point, I grabbed 8 razzers out of the unpin pile and went out to the drill press with my lord dork visor.
Lessee... Wind chime....Nice scales.....Nice blade.....windchime...Picbone......windchime....
You know.
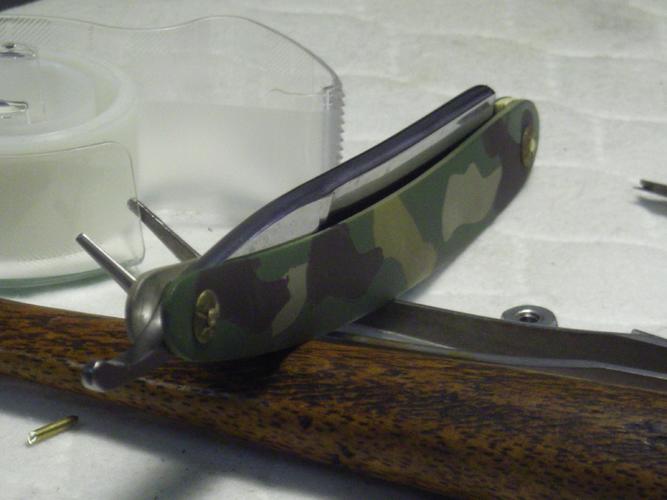
Got to this thing and it brought back memories. My old razzer buddy Paul (who I have not heard from in ages) was doing a coating on guns.
Forget what it was called? Anyhoo, we decided to do a razor with it. Gave him an old Barlow wedge and some old aluminum scales.
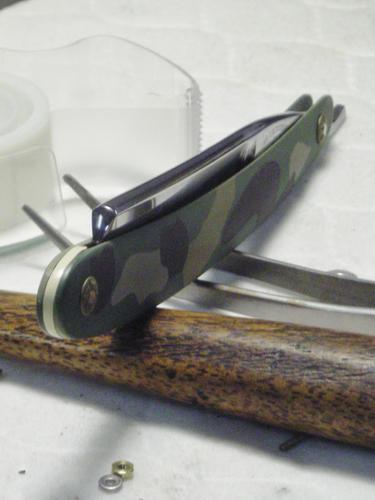
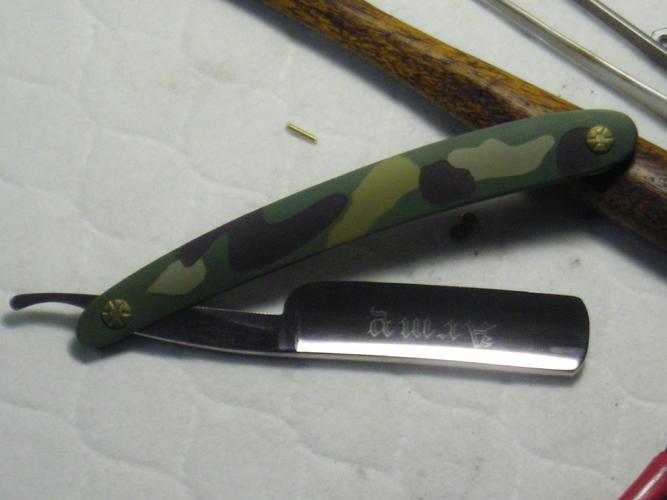
He did a camo job on the scales and a sand on the blade. I bead-blasted some of Babur's collars as we wanted nothing shiny and proceeded to cobble it together.
In pinning it, the blade was rattling against the back scale and cracked-off some of the coating....Oh well!
Got it apart and remembered the cluster....
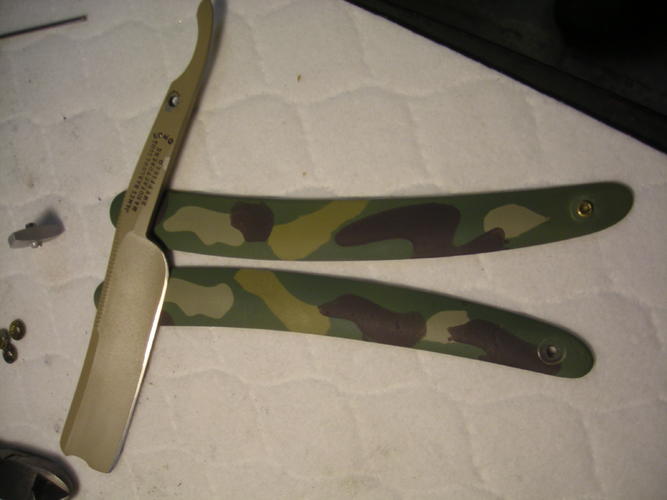
Lots of these aluminum scales had the wedge cast-in. This one was cast-in in such a way (in a jig, I suppose?) that the wedge, pins, and peens were all cast in at once at the bottom. Strange!
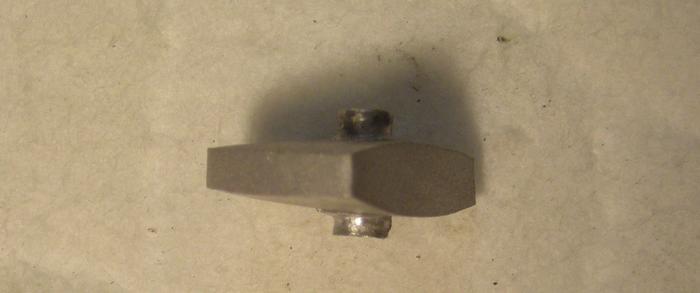
I recalled I drilled-through and used Babur's inner and outer collars as I did the bottom years ago.
I had also unpinned a nice 6/8 Torrey Army today and the light-bulb flicked-on!
Army! CAMO! Allright!
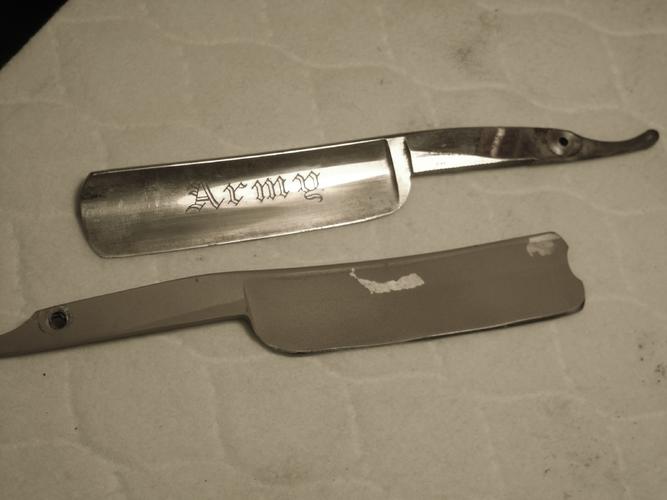
This wedge contraption was way too wide for the Torrey blade, so I dug through my pile O wedges and found a white one that would fit just right.
Problem was, the inside of the scales at the wedge end were concave inside and the 'pinholes' were huge!
After a bit of head-scratching ( ), I went out and found some aluminum pop-rivets and popped them in from the inside of the scales at the bottom. Carefully ground the outside down until the salvaged bottom outer collars sat on the protruding rivet-body and ground the heads on the inside until my new wedge sat flat.
Hey! This may work!
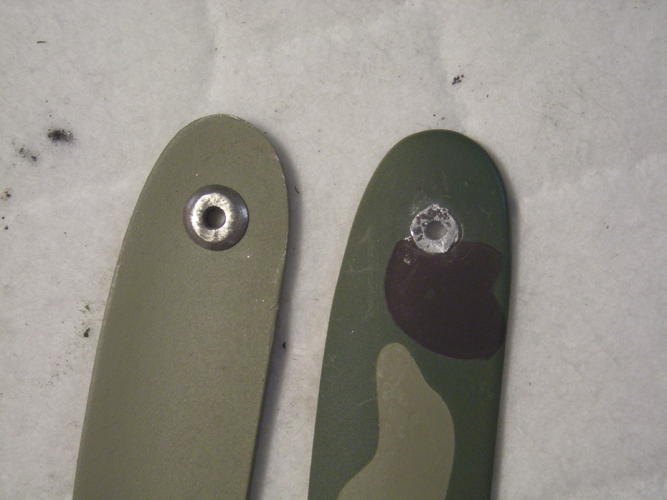
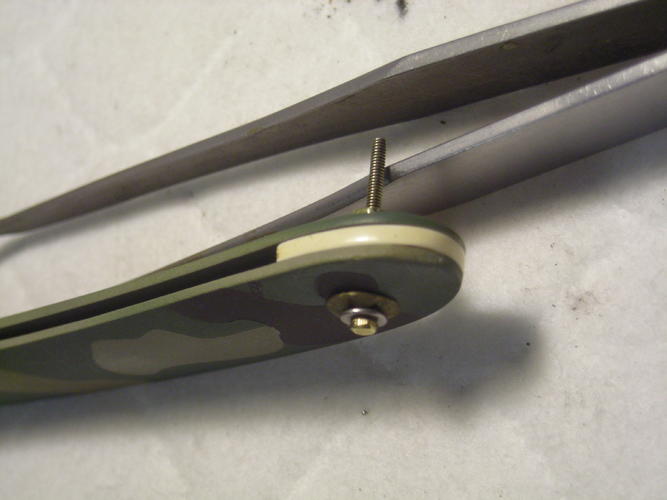
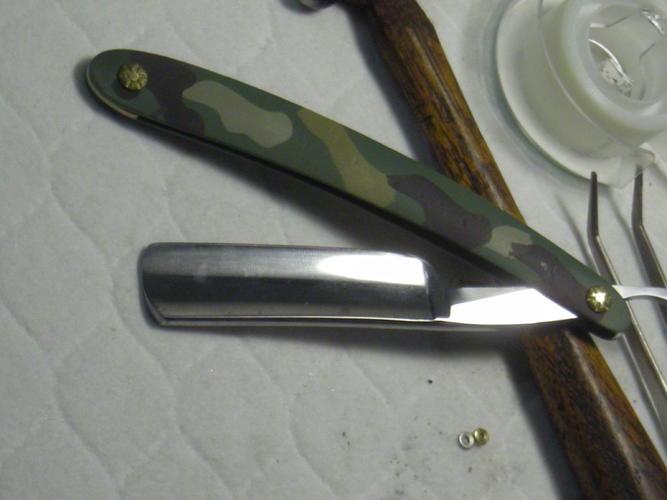
Taped everything tight and pinned the bottom, got the blade cleaned-up and installed with brass-spacers using the salvaged inner and outer collars at the top and darned if it did not work out pretty cool, I think.
So it's all about recycling!

Last edited by sharptonn; 10-12-2018 at 12:50 AM.
-


 91478Likes
 LinkBack URL
 About LinkBacks


 Reply With Quote

