
Results 14,301 to 14,310 of 20574
 91475Likes
Thread: What are you working on?
 LinkBack URL
 About LinkBacks
-
10-12-2018, 12:09 AM #14301Senior Member


- Join Date
- Feb 2013
- Location
- Haida Gwaii, British Columbia, Canada
- Posts
- 14,455
Thanked: 4830
Looking good Tom.
sharptonn likes this.It's not what you know, it's who you take fishing!
-
The Following User Says Thank You to RezDog For This Useful Post:
sharptonn (10-12-2018)
-
10-12-2018, 12:27 AM #14302Senior Member

- Join Date
- Jan 2018
- Location
- Illinois
- Posts
- 277
Thanked: 47
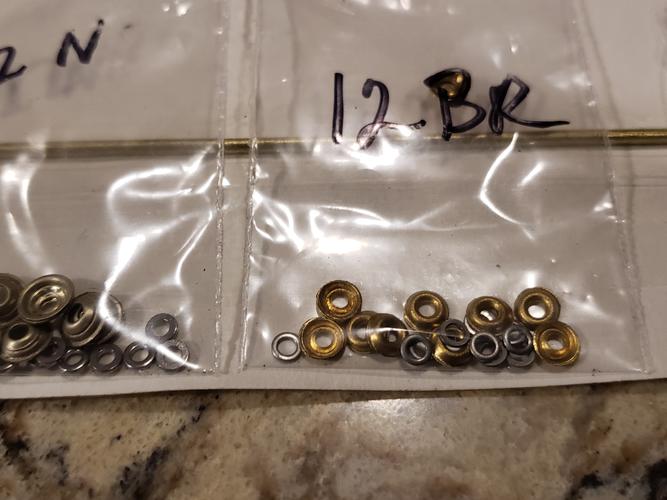
Thanks for all the responses! Below are some pics of the collars I'll be using.
Just to be certain, the little washers go directly under the collars, correct?
I noticed in one vid that a restorer was also using a thrust washer between the inside of the scale and the tang of the blade. Mine didn't come set up that way, is it common?
-
10-12-2018, 12:38 AM #14303Razor Vulture


- Join Date
- Oct 2010
- Location
- Lone Star State
- Posts
- 26,170
Thanked: 8618
Not as necessary for the spacers on old horn scales, Sonny. Lots did not have them.
TBH, lots of them will not work properly with spacers installed, FME
Dress the ends of your pin flat. Makes for a nicer peen.
On those, little washer under the collar, yes. Just a teeny-tiny bit protruding on Austin's collars. peen a bit on one side, flip and a bit on the other.
Keep it even!
I wrap scotch tape tightly around the scales on either side of the collar before I take the micro-screw out. Insert pin, tape the collar down with a bit of tape and push the rod through. Cut the pin and dress the end.
Keeps the collars from flying until you peen a bit.
Then, you can take the bits of tape off to see how it's going.
Wait til close to the end to cut the wraps and pull them off. Easy....Peasy?
It often looks like this as I peen the wedge end....https://straightrazorpalace.com/work...ml#post1445732Last edited by sharptonn; 10-12-2018 at 02:25 AM.
-
The Following User Says Thank You to sharptonn For This Useful Post:
sonnythehooligan (10-12-2018)
-
10-12-2018, 01:40 PM #14304Senior Member
- Join Date
- Jan 2018
- Location
- Illinois
- Posts
- 277
Thanked: 47

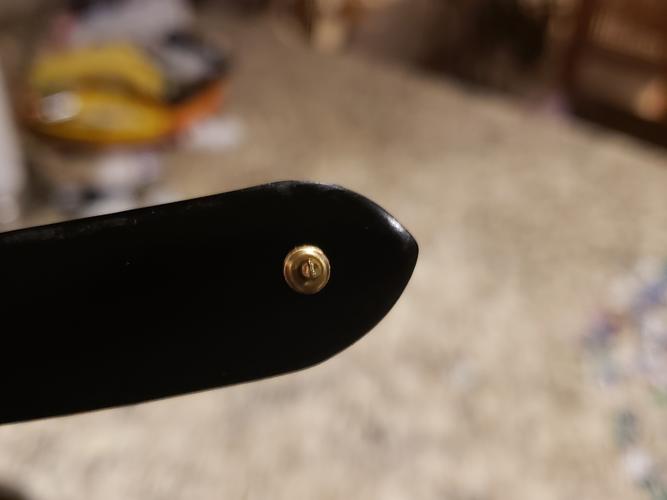
Here's what happens when the new guy does what he's told.
It could stand to be just a touch tighter, I'll see if I can work on that a bit. The scales do stay in place when they are open so maybe that's good enough.
On to the hones!
-
The Following User Says Thank You to sonnythehooligan For This Useful Post:
sharptonn (10-13-2018)
-
10-12-2018, 02:37 PM #14305Razor Vulture
- Join Date
- Oct 2010
- Location
- Lone Star State
- Posts
- 26,170
Thanked: 8618
Looks great!
 sonnythehooligan likes this.
-
10-12-2018, 03:23 PM #14306Senior Member
- Join Date
- Feb 2013
- Location
- Haida Gwaii, British Columbia, Canada
- Posts
- 14,455
Thanked: 4830
For a first time thing that is amazing. I think I bent three sets of pins before I got my first one close to properly pinned. I think you must be a natural at this.
It's not what you know, it's who you take fishing!
-
The Following User Says Thank You to RezDog For This Useful Post:
sonnythehooligan (10-13-2018)
-
10-12-2018, 05:06 PM #14307Senior Member
- Join Date
- Jan 2018
- Location
- Illinois
- Posts
- 277
Thanked: 47
Thanks, but those were a really simple set of scales. They were already cut so no wedge was needed, they closed really well right down the center, etc. These were nice to start off from.
Plus, I stuck really close to what you guys were advising me. Then there was a good amount of luck.
-
10-12-2018, 05:37 PM #14308Razor Vulture
- Join Date
- Oct 2010
- Location
- Lone Star State
- Posts
- 26,170
Thanked: 8618
Indeed, some luck is nice!
-
10-12-2018, 11:44 PM #14309
Also, if I buff these, is there a preferred buffing compound for this?
 Originally Posted by sonnythehooligan

The perfect thing for that is black CA. It works great!!! Sorry I didn't see this sooner.
For buffing I use Maas, Mothers Chrome polish or Flitz.Last edited by engine46; 10-13-2018 at 01:08 AM.
-
The Following User Says Thank You to engine46 For This Useful Post:
sonnythehooligan (10-13-2018)
-
10-13-2018, 01:05 AM #14310
I think i showed this awhile back when they first came out with it but i have black, white & thick clear. I already had the thick clear but i also used some un-cure to clean the whip tips out. I'm still on my first whip tip & those work really nice also.
https://www.stewmac.com/Materials_an...uper_Glue.html
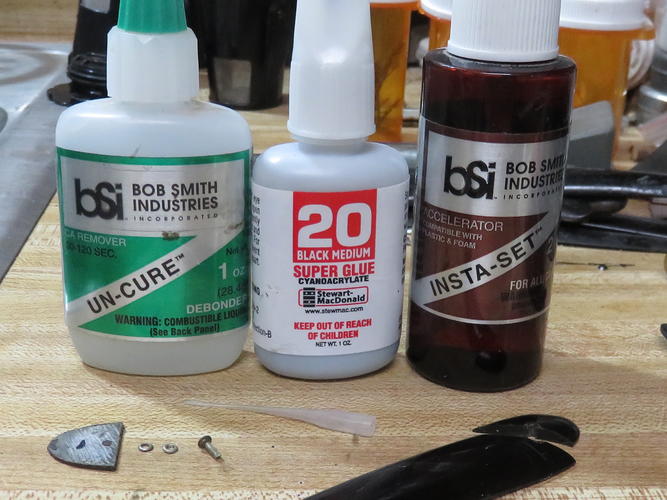
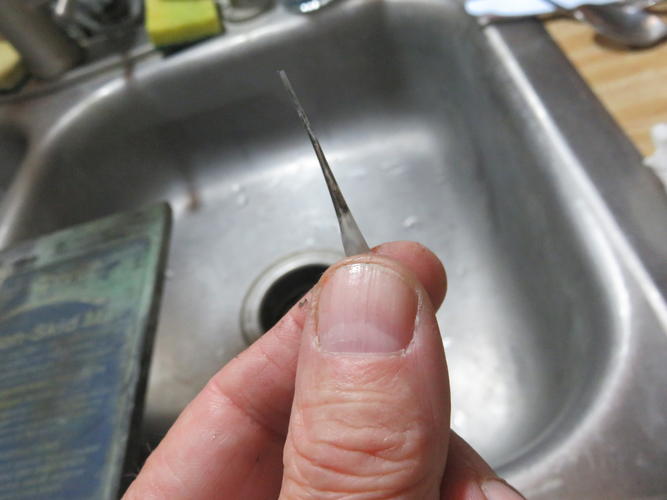
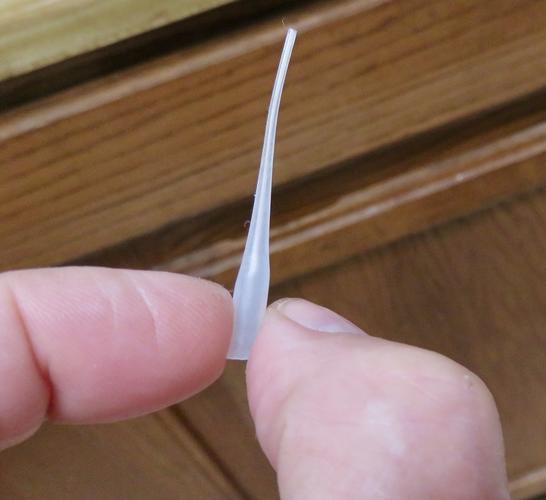
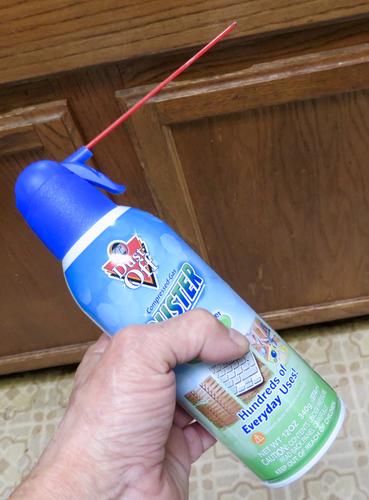
The first pic above shows my black CA, un-cure & accelerator. The next ones show a dirty whip tip, a clean one & the canned air (and un-cure) I use along with a piece of copper wire to clean it out.
-


 Reply With Quote

