Results 15,361 to 15,370 of 20574
Thread: What are you working on?
-
02-04-2019, 11:24 PM #15361

Got my 2 Babur's collars sized for the inside of the pivot collars.
Soaked the collars in jewelry cleaner a while to get the green gunk out from under.
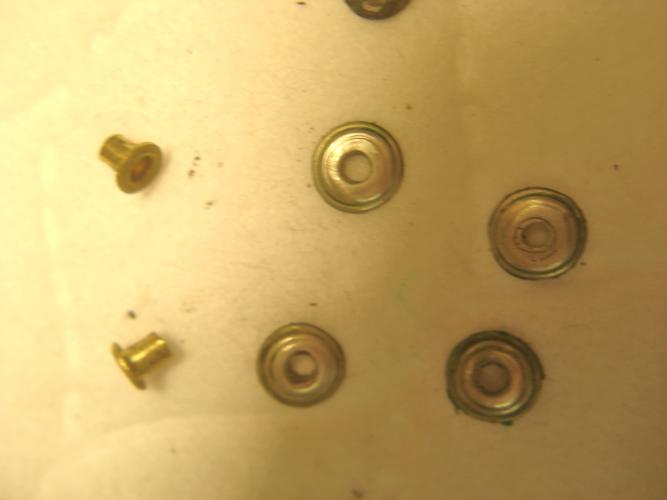
I know I showed this before, but there are always new guys....
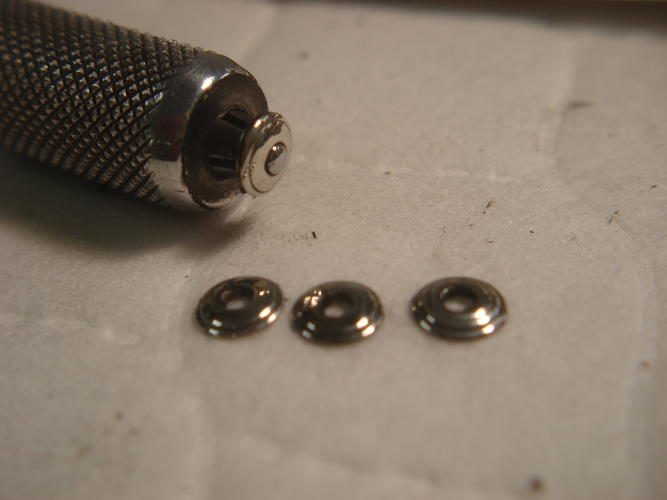
Out to the buffer using my pin-vise with a peened pin and washer under to polish the top collars....
All taped-up tight at the wedge end with collars, undercollars installed with the tape over the edges. Top end with a small hex nut bolted between the scales and a Popsicle stick between the scales.
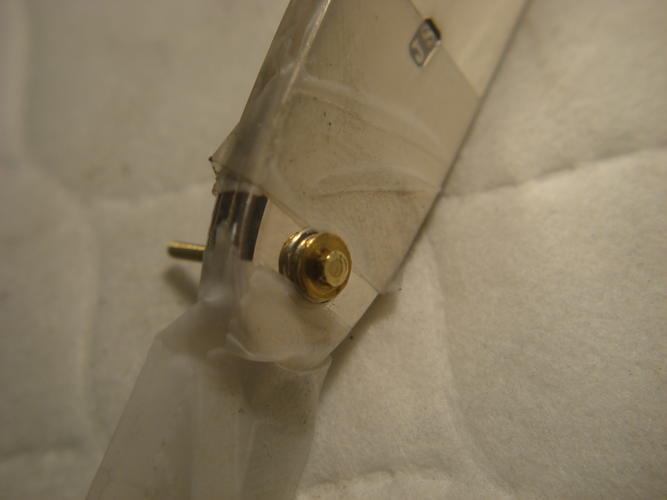
Pull the bottom bolt and everything stays happy. Sized the pin and off to the anvil.
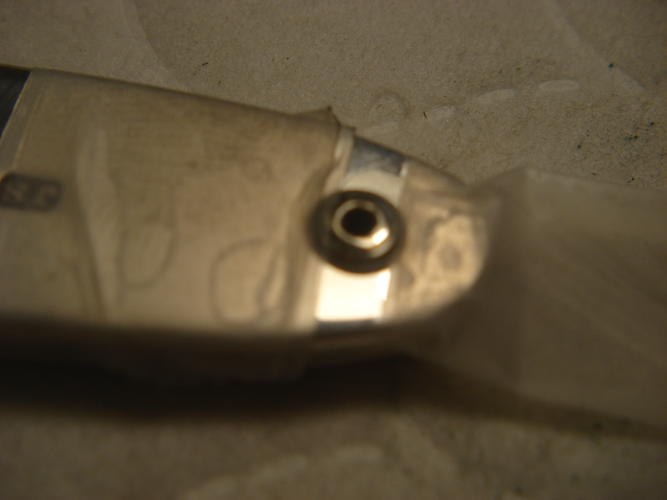
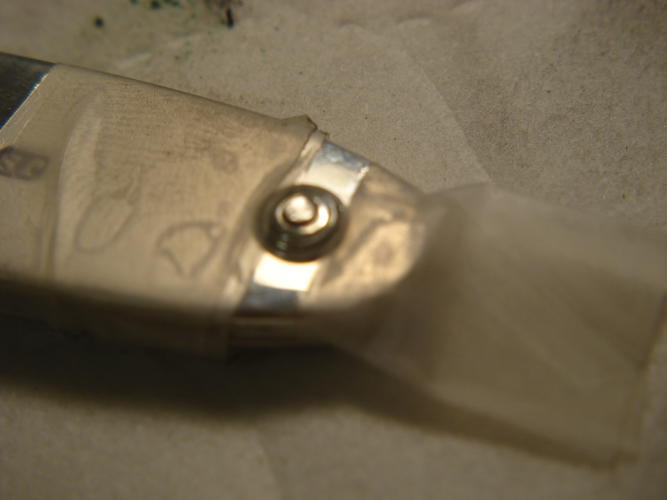
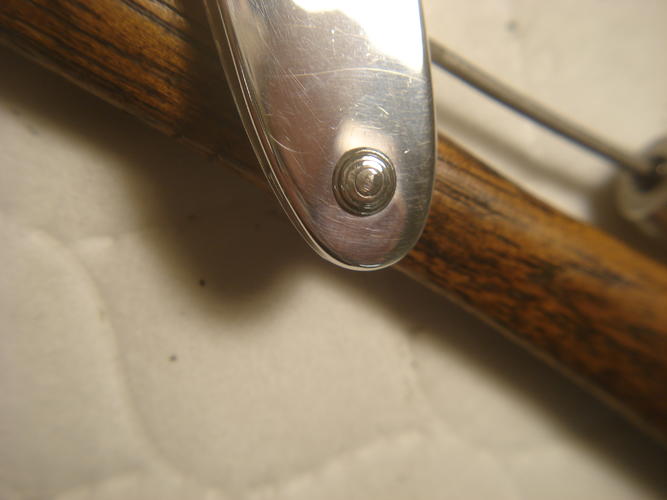
To the top!
-
The Following 3 Users Say Thank You to sharptonn For This Useful Post:
32t (02-04-2019), MikeT (02-06-2019), ScoutHikerDad (02-05-2019)
-
02-04-2019, 11:28 PM #15362

I think this is a wonderful thread but things get lost.
Do you have your own specific thread to this somewhere?
-
02-04-2019, 11:39 PM #15363

I probably have one for a 1/2” collet laying around if you want to borrow it I can ship her out to you.
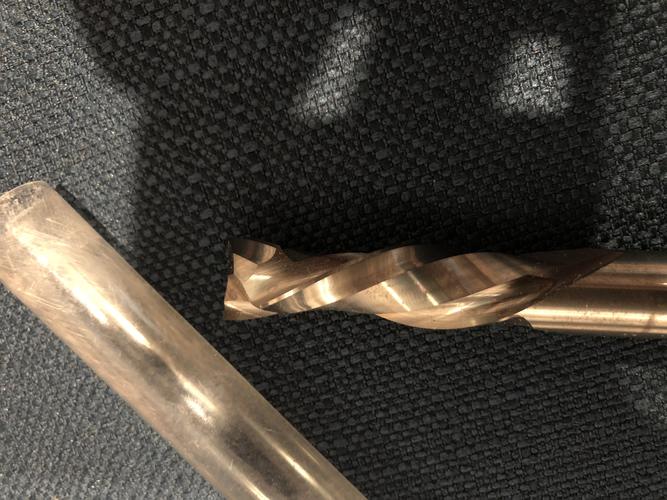
I have a compression bit. Couldn’t find a down cut, which is troubling...
As long as your depth is 5/16” or more it would work. Your first pass would need to be at least 5/16 as that’s where the down cut part of the spiral ends before the upcut side. You would also need a template guide as this bit doesn’t have a rub collar.Last edited by jfk742; 02-04-2019 at 11:55 PM.
-
The Following User Says Thank You to jfk742 For This Useful Post:
Gasman (02-05-2019)
-
02-04-2019, 11:39 PM #15364Senior Member


- Join Date
- Feb 2015
- Location
- Duluth, GA - Atlanta OTP North
- Posts
- 2,546
- Blog Entries
- 1
Thanked: 315
Looks great Tom!
Jerry, nice work cleaning up those razors. Considered painting the decorative scales?Last edited by JP5; 02-04-2019 at 11:50 PM.
- Joshua
-
02-04-2019, 11:55 PM #15365

Tom, gotta ask, being this is something I do when pinning the pivot
Before pinning, do you use the set up screws to set tension before taping..?Mike
-
02-05-2019, 12:08 AM #15366

Yes, Mike. Why I spread the scales and add a spacer at the top before pinning the bottom.
I typically use a half clothespin between the scales shoved down before taping.
At the top, I bolt things down hard before taping. Gets things really close before peening.
So, back to this razor, the top goes like the bottom with exception of blade spacers and these Babur's collars sized to the inside of the scales to take up slop from the oversized pivot holes These become my undercollars at the top. Quite a juggling act to get it all together and bolted-up.
After that, just sizing a pin and peening.
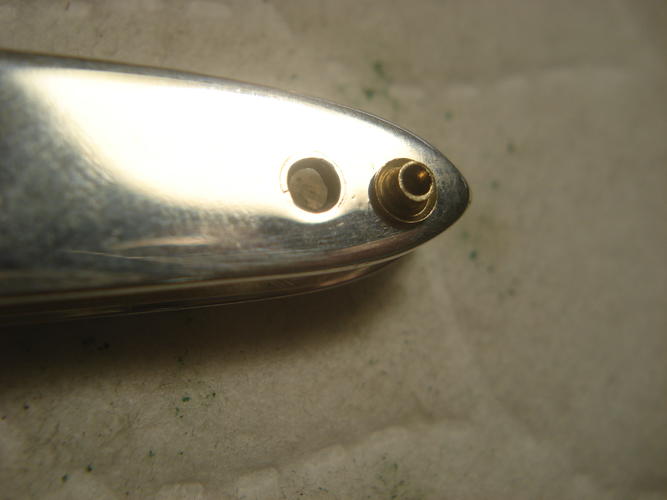
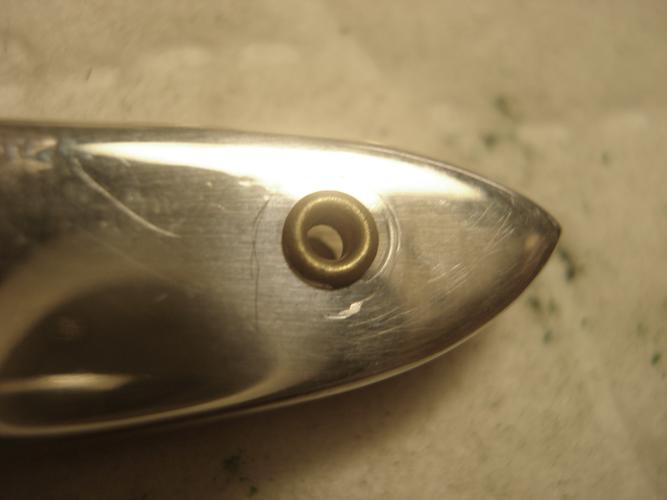
Anyhoo, it's all together and ready for honing and a final polish
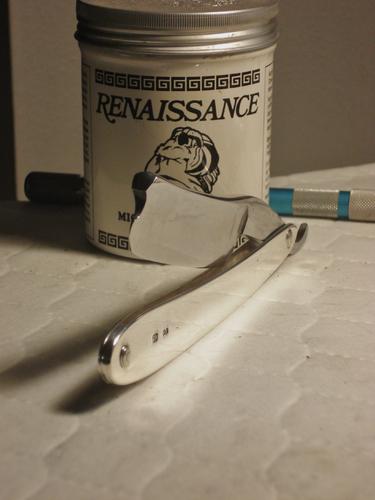
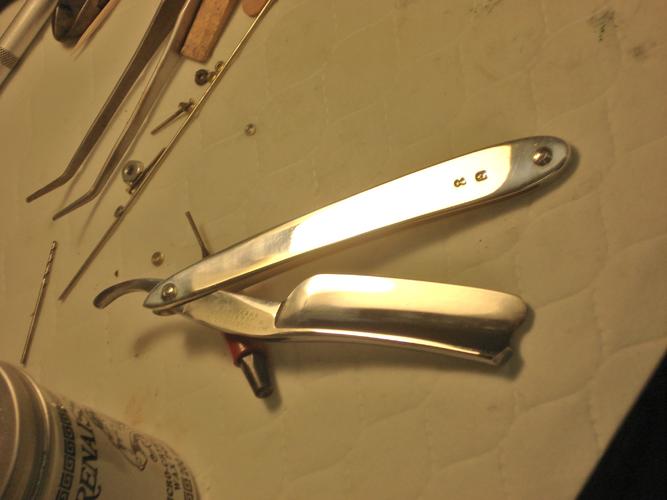
Last edited by sharptonn; 02-05-2019 at 01:40 AM.
-
02-05-2019, 12:12 AM #15367

This thread has it all, Tim. The exception is I purposefully oversized the pin-holes in the MOP to add strength to the peens and to save the pearl.
https://sharprazorpalace.com/worksho...op-liners.html
-
The Following 3 Users Say Thank You to sharptonn For This Useful Post:
32t (02-05-2019), dinnermint (02-05-2019), Geezer (02-05-2019)
-
02-05-2019, 12:30 AM #15368

Nice job and write-up Tom.
JFK, thank you for the offer. I went out and bought one. Also picked up a couple more bits because i was there. Plus my collet is 1/4" so it wouldnt have worked. Got the box next to done. Pics later.
Josh, id paint them but detailed painting is not something i do very well. Now give me a 3" wide brush and i can slather paint everywhere with no problem. Ha.It's just Sharpening, right?
Jerry...
-
02-05-2019, 01:53 AM #15369

Since this is Razor Equipment, I will post it here.
I wanted to make a wood box for my Thuri and gave it a try with pine. No good. I broke it before getting very far in the cutting. Then Tom said to use a Router. I thought, Hey, I got one of those. Then Rez said to use a Down cut spiral bit. So today I went on the hunt for the bit and found one. I've never used my router so I didn't know what to expect. Its a wireless one so not a big machine. But it came with all its parts and one bit.
After a few hours of playing, testing and figuring out what the hell I was doing, this is what came of it.
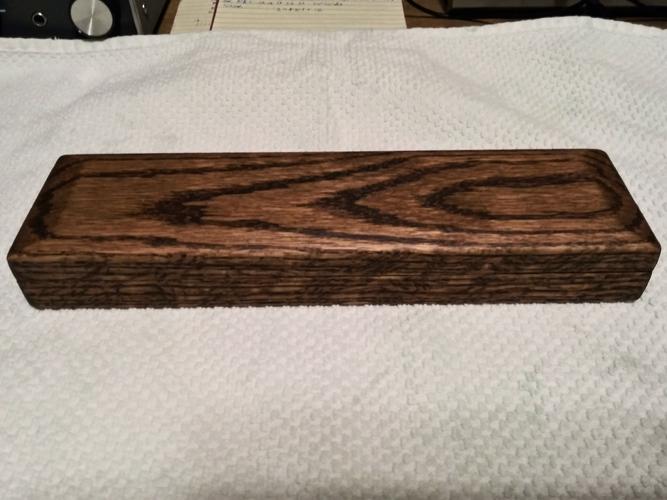
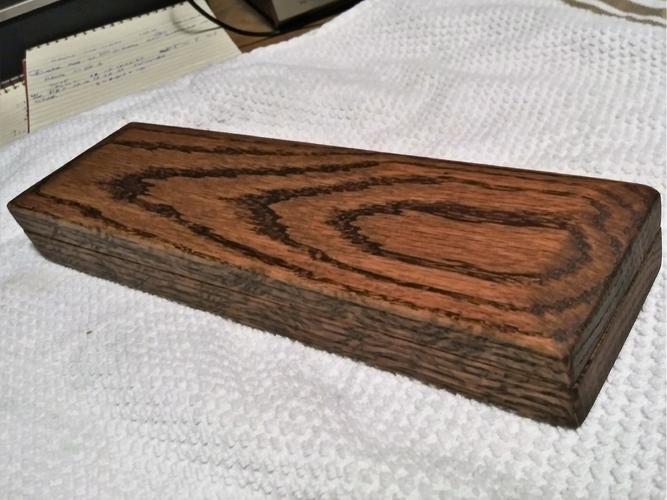
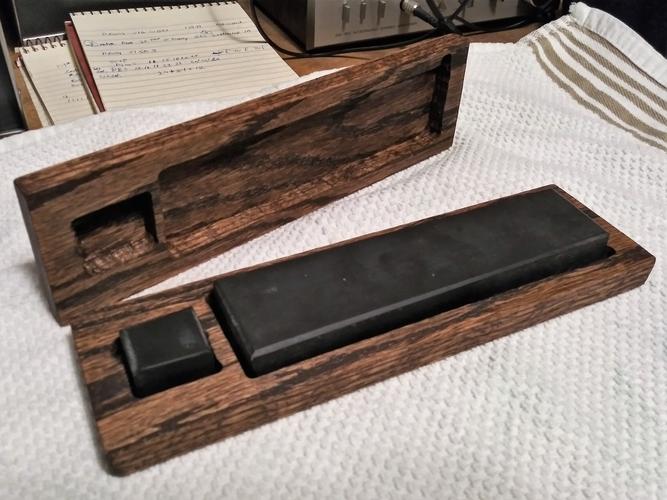
I use 2 board feet of Oak. I had it get away from me a couple times so there are a couple spots where I got out of line. I made it big and then cut the box down to the outside dimensions I wanted. A little time on the belt sander and a touch of hand sanding. Dark Oak stain and a little polish. It needs to dry a little longer but by tomorrow I should be able to store my stone in it. Maybe a better sealer in an option too.
So, If you feel you have an idea, Some ability and have the tools, Go For It!It's just Sharpening, right?
Jerry...
-
-
02-05-2019, 02:03 AM #15370Senior Member


- Join Date
- Feb 2013
- Location
- Haida Gwaii, British Columbia, Canada
- Posts
- 14,455
Thanked: 4830
That’s a pretty nice first plank box Jerry.
It's not what you know, it's who you take fishing!
-
The Following User Says Thank You to RezDog For This Useful Post:
Gasman (02-05-2019)


 91475Likes
 LinkBack URL
 About LinkBacks


 Reply With Quote

