Results 15,911 to 15,920 of 20573
Thread: What are you working on?
-
04-04-2019, 02:05 AM #15911
 Wey Hand heel correction
Ok here's the pics of the Wey Hand with the heel problem Euclid440 pointed out. I also cleaned up the strange toe shape. Before I touch up the edge, does anyone see any more correcting or does it look good?

-
04-04-2019, 02:30 AM #15912

Looks good to me!
-
The Following User Says Thank You to sharptonn For This Useful Post:
JellyJar (04-04-2019)
-
04-04-2019, 02:34 AM #15913

As above
 The white gleam of swords, not the black ink of books, clears doubts and uncertainties and bleak outlooks.
-
The Following User Says Thank You to onimaru55 For This Useful Post:
JellyJar (04-04-2019)
-
04-04-2019, 03:14 AM #15914

Thanks for the second sets of eyes. I didn't want to do the two steps forward, one back thing. Haven't done this with a blade before and I really like this razor. It went a lot quicker and smoother than I thought it would. Just a few breath holding minutes sneaking up on it with a diamond file and thought it was looking finished. Like someone has said here before (gssixgun I think?), you can't put metal back.
-
04-04-2019, 08:26 AM #15915
-
04-04-2019, 01:20 PM #15916Senior Member


- Join Date
- Apr 2012
- Location
- Diamond Bar, CA
- Posts
- 6,553
Thanked: 3215
Nice work.
Enjoy
-
04-04-2019, 04:18 PM #15917

I got a Hauffman Tom. But mine has nothing on the scales and the name on the tang. If we could put the two together we would have something. Ha. Im still jealous of shauns ability to scrim. I couldnt do it with a pencil and paper!
It's just Sharpening, right?
Jerry...
-
04-04-2019, 04:23 PM #15918

Indeed, I have found there is not much Shaun cannot do.
Sharp cookie!
-
The Following User Says Thank You to sharptonn For This Useful Post:
RezDog (04-04-2019)
-
04-04-2019, 06:11 PM #15919

Unlike Rezdog, some redneck work going-on.
Sometimes I think I am more lazy than smart and I outsmart myself!
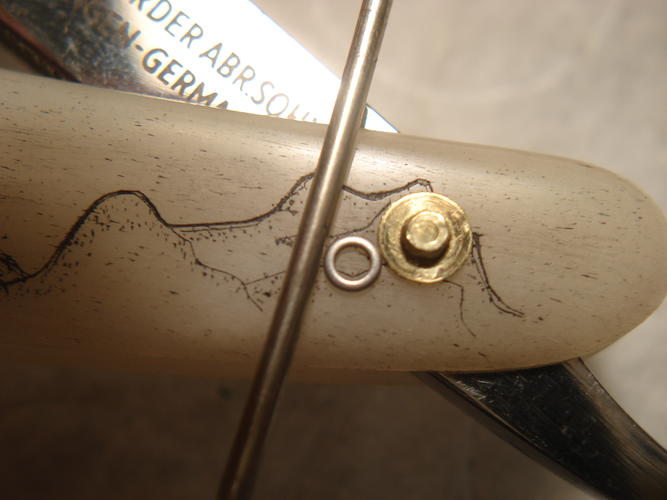
The scales are a bit longish for the blade, but notsomuch.
So, I found another set of bone which was also a bit longish and mocked things up
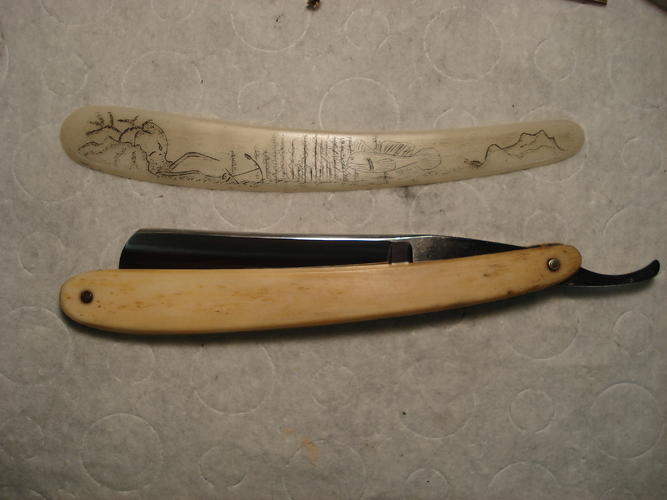
They had to come apart sooner or later, so disassembled and centered things with an
o-ring...Different shape. That's where the o-ring comes-in.
Stay with me!
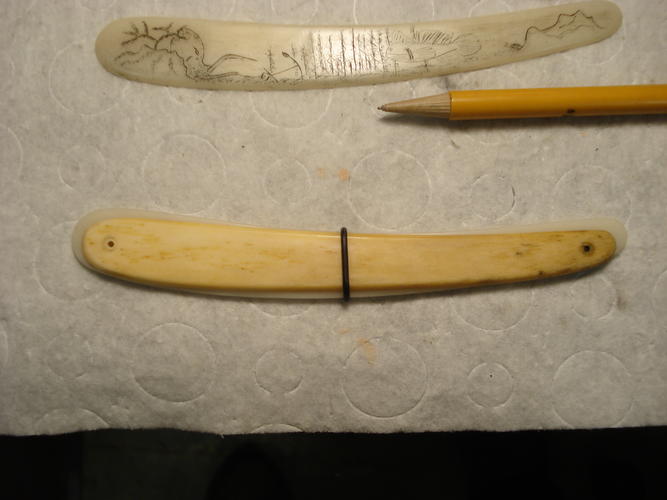
The o-ring keeps it all centered and allows me to move the ends in order to eyeball center and mark with a pencil..
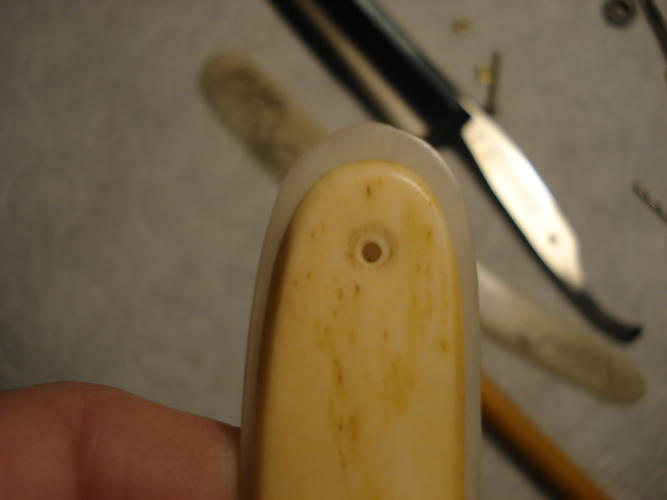
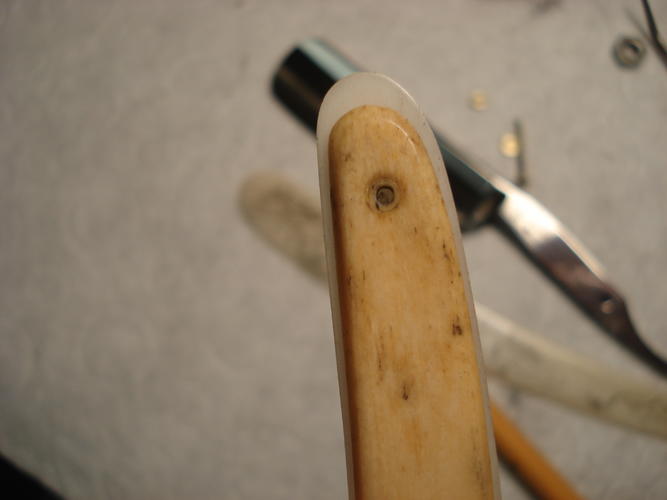
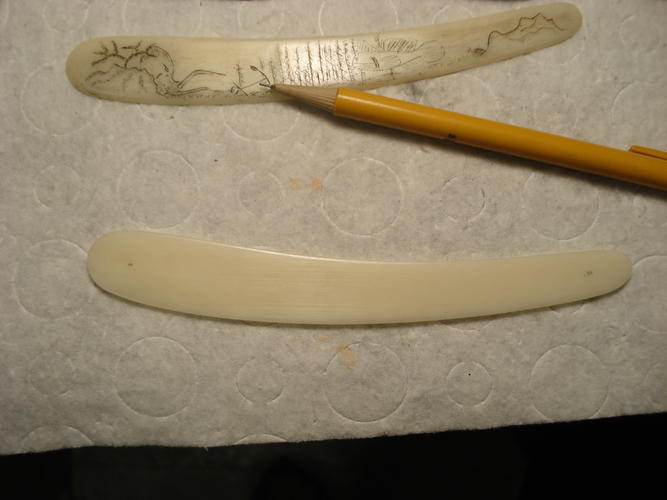
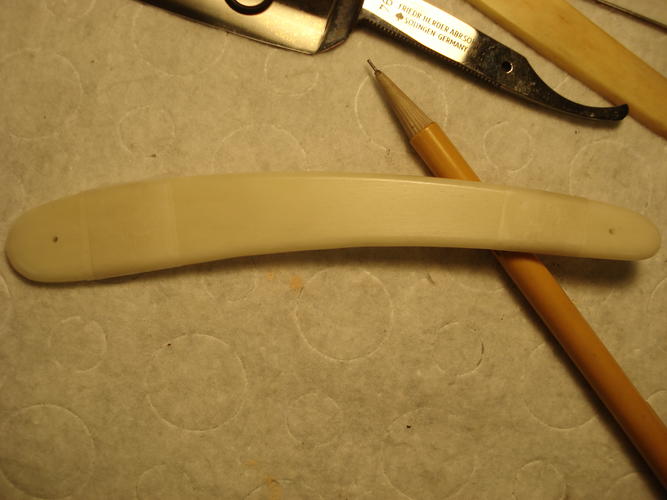
Drilled the holes on the backside scale, taped it to the front scale, and drilled-through.
Holes drilled!
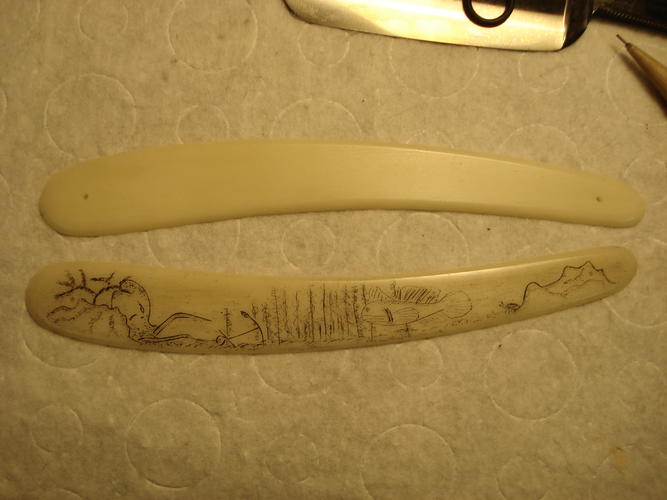
Dug through my lead wedges and found I had a few FBU wedges.
Will pin it all up and then trim the wedge, tap it into the end a bit. file and sand flush.
My redneck calculations tell me it should have neigh perfect balance!
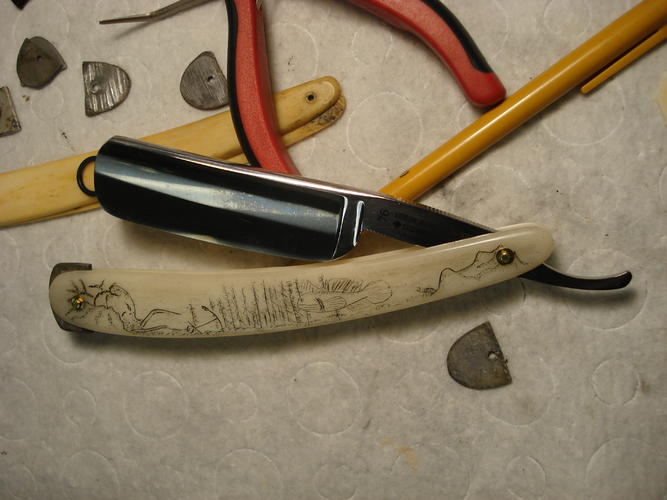
Don't want a bunch of collar going on over the scrim, so I will peen over a couple of Austin's inner collars with annealed pins to get a collarless look without risking this fine art!
A break from this and out to polish windows and headlights I avoided yesterday!
-
The Following 4 Users Say Thank You to sharptonn For This Useful Post:
32t (04-04-2019), cudarunner (04-04-2019), RezDog (04-04-2019), ScoutHikerDad (04-04-2019)
-
04-04-2019, 10:31 PM #15920

Howdy gentlemen!
I've been a busy bee with work, and have had in-laws in from out of town camping out way longer than logically advisable!.. so haven't been online.
BUT I have been sneaking away to my makeshift workshop in the laundry room to work on some projects, perhaps my only hope for sanity.
I have several projects that I'm working on but now that I have gathered most of my supplies, I can now finish them.
Here is a pic of the scales of a W&B shorty,
Used bog oak dust and epoxy. Still have a few steps before pinning.
Mixed the epoxy and bog oak dust different than before, I put dust in both resin and hardener first, much better I think.
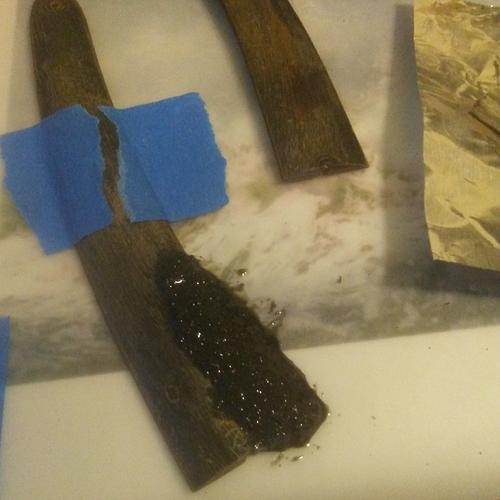
Sorry for the terrible pic quality.“You must unlearn what you have learned.”
– Yoda


 91473Likes
 LinkBack URL
 About LinkBacks


 Reply With Quote


