
Results 18,361 to 18,370 of 20600
 91543Likes
Thread: What are you working on?
 LinkBack URL
 About LinkBacks
-
04-15-2020, 05:33 PM #18361Senior Member


- Join Date
- Mar 2015
- Location
- Akron, Ohio
- Posts
- 12,116
Thanked: 4315 More like it found me. I was cleaning up a boat that was traded in, that was originally in salt water. All the chrome fixture's were covered in corrosion, and we had the 3M on the cleaning supplies, shelf. I was taken away by how well it worked. So was my boss, it would have cost him a pretty penny to replace all the fixtures, to be able to resell the boat and make some profit from it. So I stole a little, to try on a blade. It beat everything I've previously tried, hands down, so I bought a whole tub of it for my workshop.
 Originally Posted by JellyJar

 Mike
Mike
-
The Following User Says Thank You to outback For This Useful Post:
PaulFLUS (04-15-2020)
-
04-15-2020, 07:43 PM #18362Senior Member


- Join Date
- Dec 2018
- Location
- Gainesville, FL
- Posts
- 6,785
Thanked: 677
In the immortal words of Loretta Lynn Originally Posted by outback
"Crisco'll do you right every time"outback likes this.Iron by iron is sharpened, And a man sharpens the face of his friend. PR 27:17
-
04-15-2020, 07:55 PM #18363Senior Member
- Join Date
- Dec 2018
- Location
- Gainesville, FL
- Posts
- 6,785
Thanked: 677
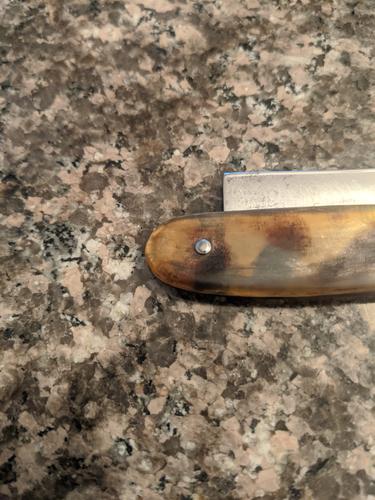
Did as much as I was willing to on these scales. I could have sanded more and tried to spruce them up more but I wanted to stay authentic. Pinned it back with German silver (nickel silver) pins and collars. I noticed the toe was catching the wedge (Lead wedge. Went back with the original) before I took it apart but I took the wait and see approach until it was back together. Still catching when I put it back together.
So I used the old hacksaw blade trick.
Being lead this went quickly.
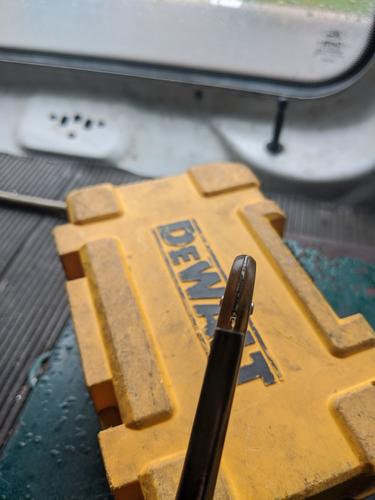
Pretty proud of the pins. I took a lot of time doming them.
I'll post a good thread on it over in "custom built and restorations" threadIron by iron is sharpened, And a man sharpens the face of his friend. PR 27:17
-
04-15-2020, 08:09 PM #18364Senior Member
- Join Date
- Dec 2018
- Location
- Gainesville, FL
- Posts
- 6,785
Thanked: 677
You were right (as usual ) Mike. Thanks for the push to do it right instead of getting impatient. I can't wait to hone this one and shave with it. That bigass blade rings like a bell. Originally Posted by outback
ScoutHikerDad and outback like this.Iron by iron is sharpened, And a man sharpens the face of his friend. PR 27:17
-
04-15-2020, 08:23 PM #18365Senior Member


- Join Date
- May 2010
- Location
- Upstate South Carolina
- Posts
- 3,308
Thanked: 987
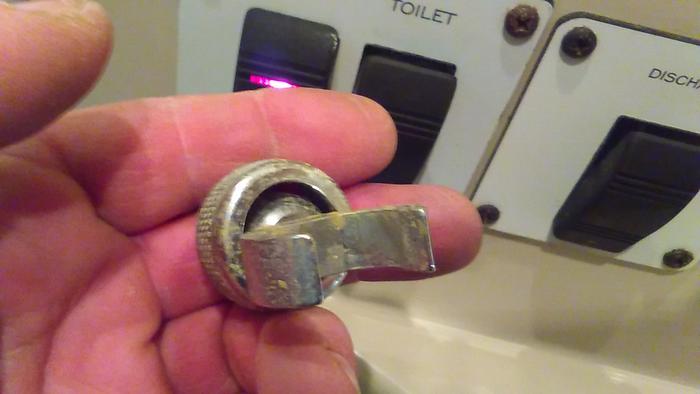
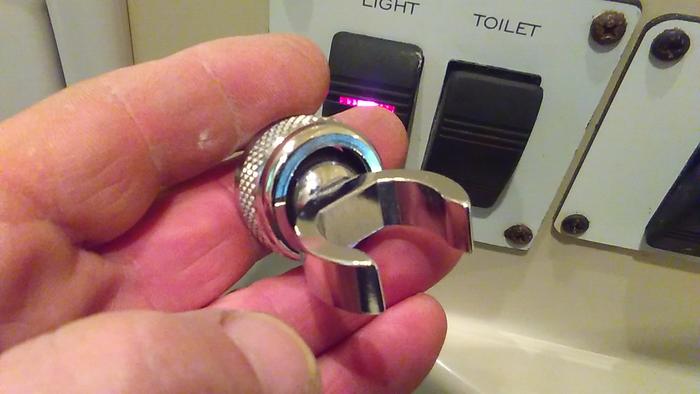
Nice work, Paul-Pinning and wedges have caused some cursing in my shop over the years lol! You can give those pins a final polish with the eraser trick as long as you don't smush it down too much as you're not polishing the scales. Again, it also works well for hollows and that pesky area between the tang and the heel that is always hard to get into. Here's a pic of what I was talking about:
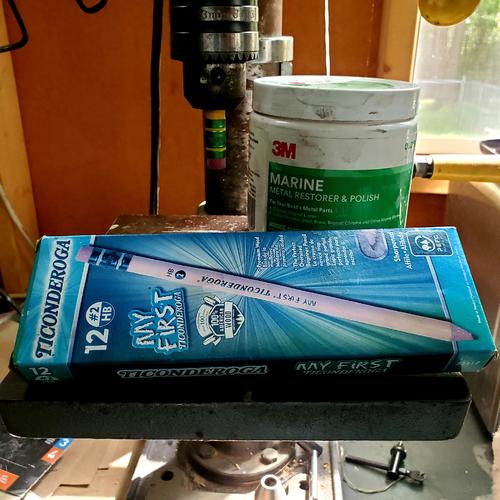
My First Ticonderoga #2HB-we all remember them from 1st grade, right? I still prefer the low-speed buffer for most heavy polishing, as my recurring CTS in my grading hand won't tolerate a lot of heavy wrist work these days.
I've developed quite a few, let's just say different techniques in the shop, mostly just trying to figure things out in a self-taught environment. Plus I didn't learn much in my 7th grade shop class, as the instructor was an old burn-out and known child predator who I just tried to keep my distance from!Last edited by ScoutHikerDad; 04-15-2020 at 08:29 PM.
There are many roads to sharp.
-
04-15-2020, 09:23 PM #18366Senior Member
- Join Date
- Dec 2018
- Location
- Gainesville, FL
- Posts
- 6,785
Thanked: 677
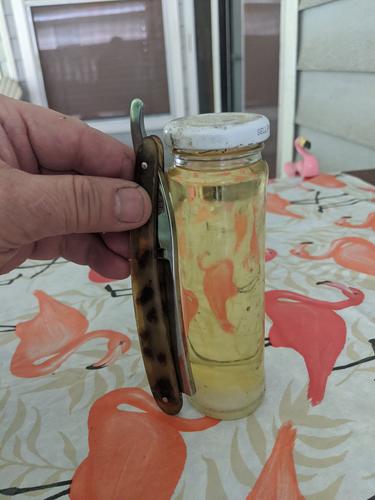
Don't know if I mentioned this before but my dad made a pretty cool little rack for bottles this size. It's like a little wooden six-pack box. The top portion is cut just big enough to go around the top (with no lid on it) but too small for the bottom to come out. The bottles will lift up but won't come out. It's pretty ingenious really. He used them to keep scroll saw blades in but I found that they are the perfect size for most scales to soak in Neatsfoot. Knowing him they probably had Spanish olives in them but if I'm not mistaken this is the same bottle that Lindsay brand capers come in. Maybe some other brands too.
 Iron by iron is sharpened, And a man sharpens the face of his friend. PR 27:17
-
04-15-2020, 11:58 PM #18367Senior Member
- Join Date
- Apr 2012
- Location
- Diamond Bar, CA
- Posts
- 6,553
Thanked: 3215
Soak scales in a Zip lock bag in a plastic tray, for left-overs. I have had some neetsfoot in a bag for well over a year.
You can make a small divot on the end of a chop stick,(round one) with a 1/8th in. drill bit, chuck a 3-4 inch piece in a drill press, put a dab of metal polish on the chopstick, and polish the pins perfectly round and shiny.
If you drill the divot shallow, it will form perfectly to the pin and not touch the scales.
Watch the heat on plastic scales. Dunk in water if they get hot or use less pressure.
-
04-16-2020, 01:26 AM #18368Senior Member

- Join Date
- Oct 2010
- Location
- 50 miles west of randydance
- Posts
- 9,698
Thanked: 1355
I just punch a hole in a piece of metal such as a beer/pop can the size of the rivet/washer and polish the pin using that as a guard for the scales.
-
04-16-2020, 01:44 AM #18369Skeptical Member


- Join Date
- Nov 2016
- Location
- Colorado Springs
- Posts
- 10,555
Thanked: 2195
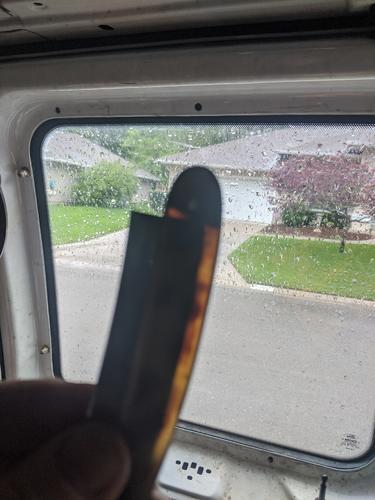
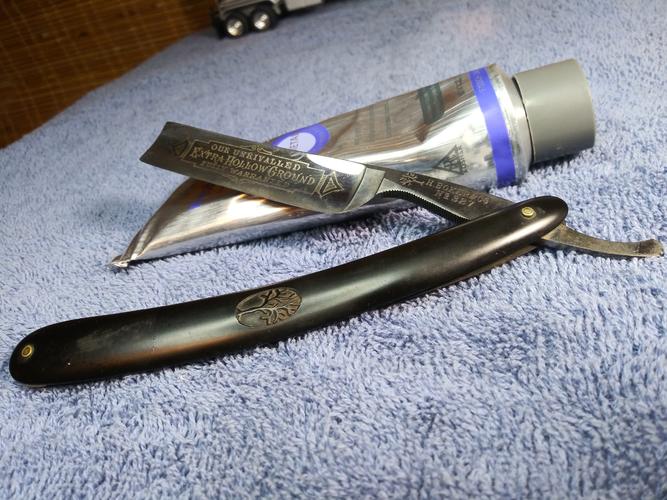
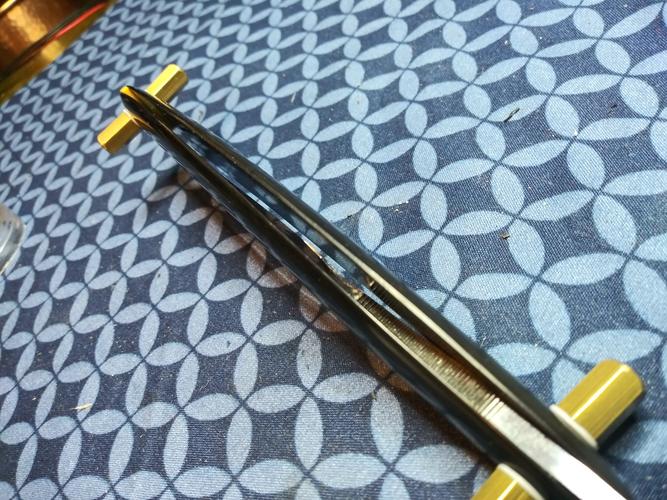
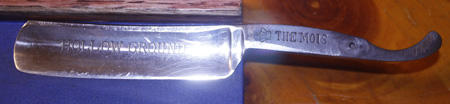
H. Boker going through the steps.
Before. Not in real bad shape but needs some help...
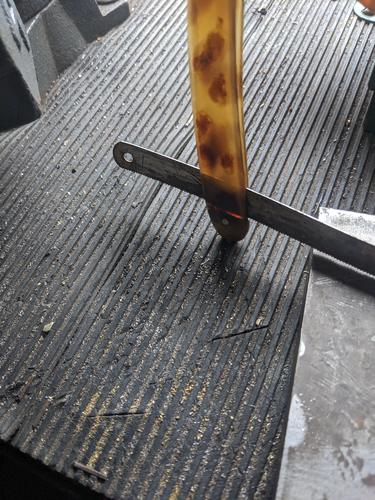
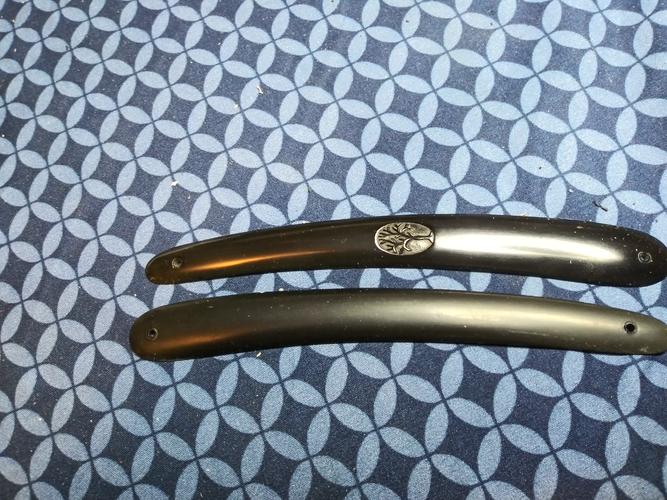
Unpinned and look at that warp. Plus the edges of the scales don't line up...

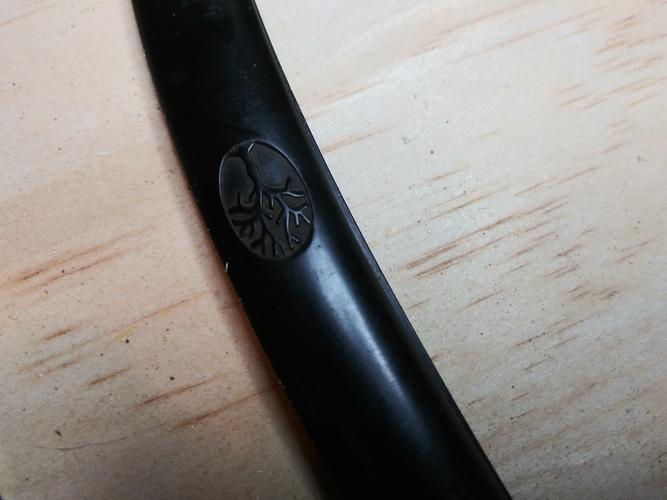
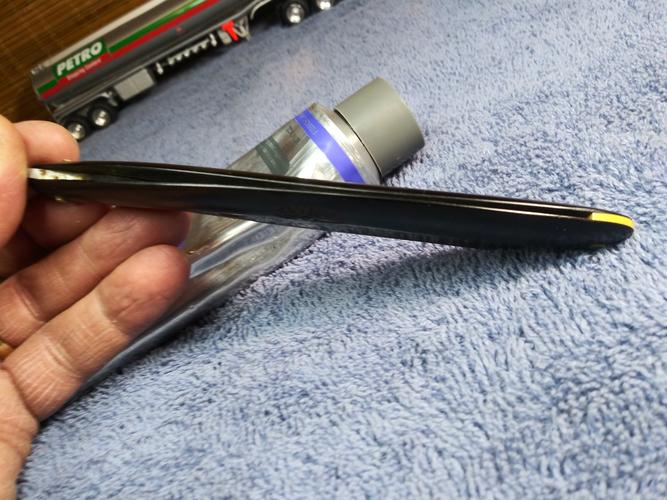
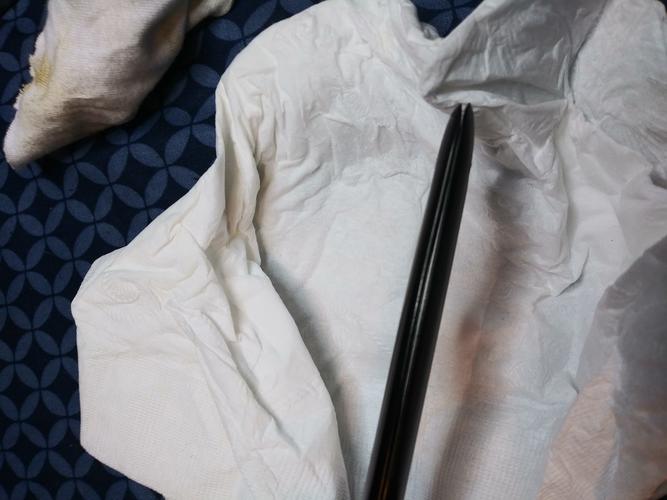
Little heat lamp time and a bit of steel wool and polish and the scales are much better...
A little difference in color after some cleaning and straightening. The back scale has not been cleaned yet...
Next a little work on the edge and blade. You can see the rust and the chewed on edge...
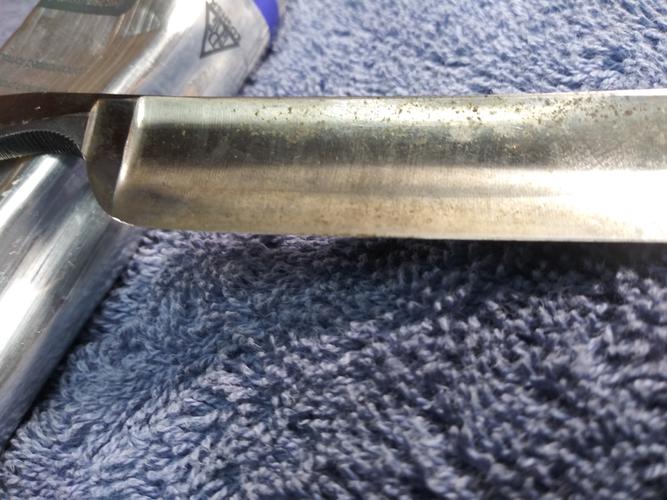
Now after a few minutes with some polish and DMT plate. The edge sure feels much better...
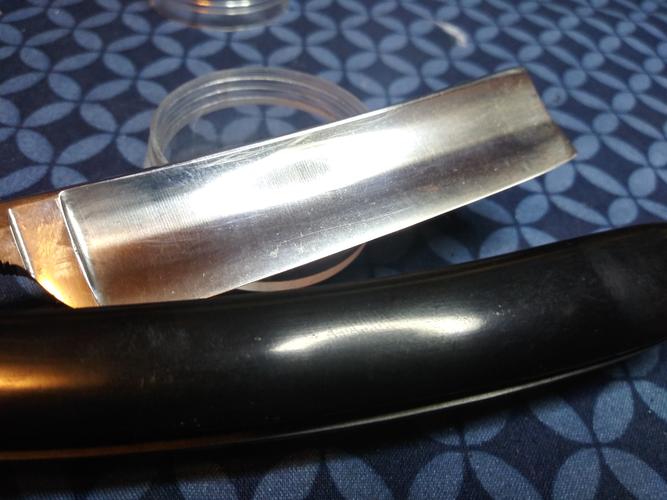
Now it's ready to get pinned and honed. Maybe tomorrow...
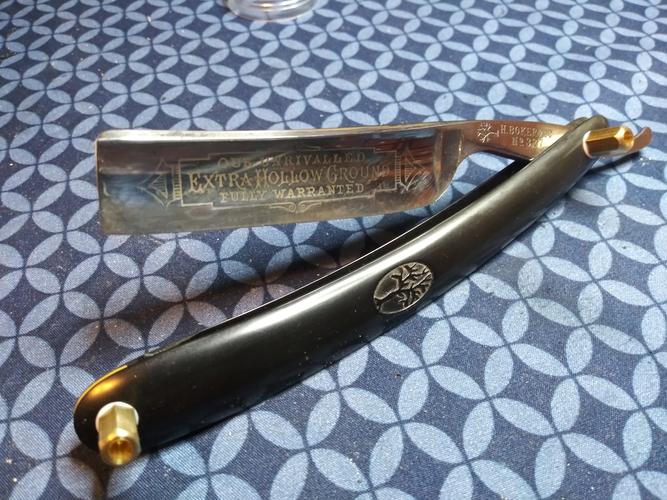 It's just Sharpening, right?
Jerry...
-
04-16-2020, 02:01 AM #18370Senior Member
- Join Date
- Dec 2018
- Location
- Gainesville, FL
- Posts
- 6,785
Thanked: 677
Outstanding Jerry. Beautiful work. I need to get some mock up pin bolts.
Iron by iron is sharpened, And a man sharpens the face of his friend. PR 27:17
-
The Following User Says Thank You to PaulFLUS For This Useful Post:
Gasman (04-16-2020)


 Reply With Quote