Results 521 to 530 of 4688
Thread: The Butchered Blade
-
09-09-2015, 03:34 AM #521

..............damit

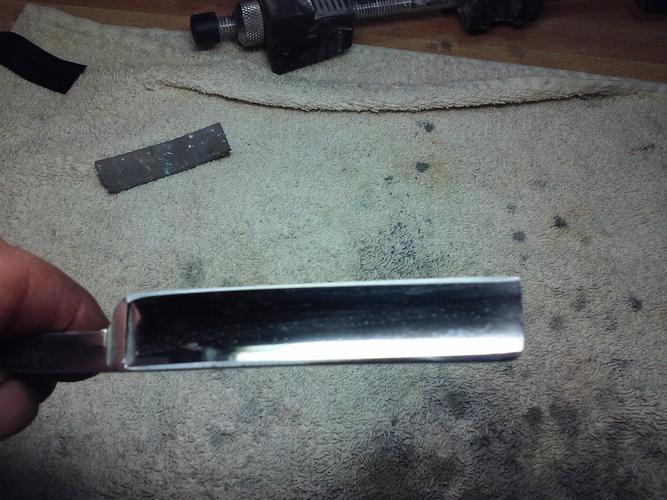
Forgot the picMike
-
09-09-2015, 04:30 AM #522
-
The Following User Says Thank You to RezDog For This Useful Post:
outback (09-09-2015)
-
09-09-2015, 04:33 AM #523

outback:
Forgot the pic..............damit
Good goin' Mike! I love it!!!
-
The Following User Says Thank You to engine46 For This Useful Post:
outback (09-09-2015)
-
09-09-2015, 03:22 PM #524

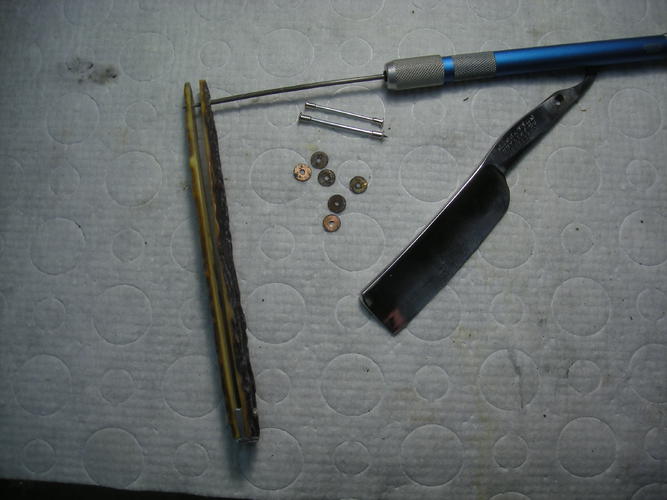
I had drilled the holes 1/16 and will enlarge them gently with a round file. Found some stiff bronze spacers and remembered I had a few of Babur's larger sized collars (bottom ones). They will get me closer to matching the bottom peens. Will have some slight 'bigs n littles' going on. I don't usually use the pins that come with them as they are too hard, but in this case I will have to in absence of the right size silver rod. Will have to anneal the ends. The blade has about 2 1/2 inch cutting edge, so a shorty but not extreme.
 "Don't be stubborn. You are missing out."
I rest my case.
-
09-09-2015, 03:41 PM #525
-
The Following User Says Thank You to outback For This Useful Post:
sharptonn (09-12-2015)
-
09-09-2015, 04:48 PM #526

Stopped at oversizing the pin-holes at the size of the 1/16 collars and temporarily slipped some in to use with my 1/16 microfasteners for a test-fit. Some judicious sanding on the inside of the front scale kept it from pushing the blade back.
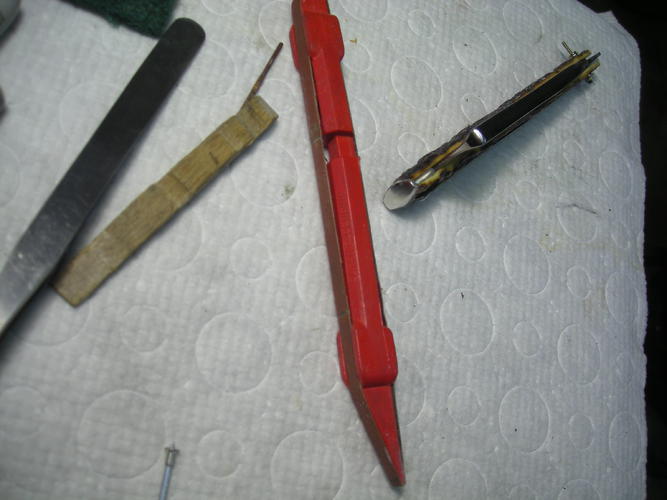
Closes center now. Anyone messing with razors needs one of these little sanders from StewMac.
Gotta quit for now!
 "Don't be stubborn. You are missing out."
I rest my case.
-
The Following User Says Thank You to sharptonn For This Useful Post:
MikeT (09-10-2015)
-
09-09-2015, 05:02 PM #527

Thats it Tom, right down the middle.!!
Thats gonna look great when done.
Got my fingers crossed for you, that nothing bad happens.
[emoji85] [emoji86] [emoji87]Mike
-
09-09-2015, 06:48 PM #528

Hush up, outback! Yer gonna jinx me!

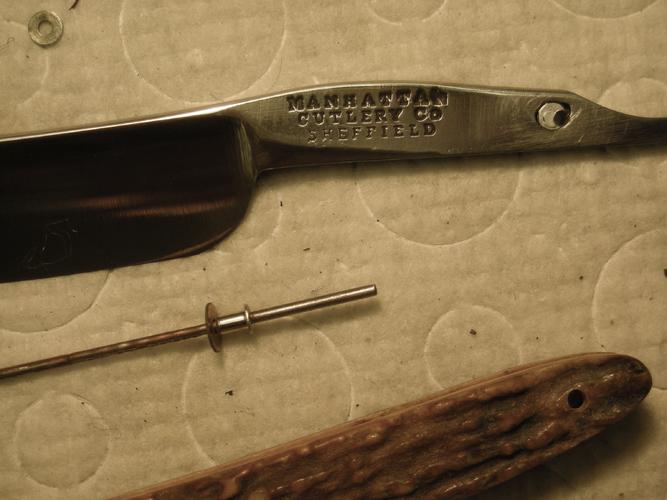
Doing all the insurance I can! Waiting on a few parts, so I installed my aluminum pop-rivet bushing.
On this one, I did a variation. As I got the bushing done, I peened an aluminum rod into the center. This gives me a solid aluminum plug. since the blade was close to the bottom of the scales with them having little curvature, I wanted to raise the tang. Also, I took a bit more off the tip than I intended, so I wanted to shove it forward for a tighter fit to the wedge.
By drilling the hole at about 4 O'clock relative to the front side, I am able to accomplish both.
On that little mandrel is an example of what I intend to do. The collar will go through the scales and bottom on the spacer leaving a tiny gap at the top. As I peen, the crush created will lightly set the collar on the scales about the time I finish up.
(I hope!)
 "Don't be stubborn. You are missing out."
I rest my case.
-
09-09-2015, 07:54 PM #529

Now i like that idea!
Will the majority of the peening take place on other scale?Mike
-
09-09-2015, 08:16 PM #530

Might be Mike. Just leave Tom be so you don't jinx him & let's see if his work is successful. No disrespect meant buddy.
I have been dealing with some other issues the last few days & then last night I reached down to pick up a printer & I felt my back go so now I'm in even worse back pain. It is always something.................
-
The Following User Says Thank You to engine46 For This Useful Post:
outback (09-09-2015)


 13682Likes
 LinkBack URL
 About LinkBacks


 Reply With Quote


